Tacos are usually the star of casual gatherings, whether it’s Taco Tuesday, game day, or a celebration. You’ll be surprised at how quickly a full plate disappears, with everyone coming back for seconds.
Sure, you could grab some from the store for ease, but making tacos at home adds an extra layer of fun to the occasion.
Having tacos for dinner just makes everyone happy. The whole family rushes to the table, and the best thing? You don't require anything fancy to make them great.
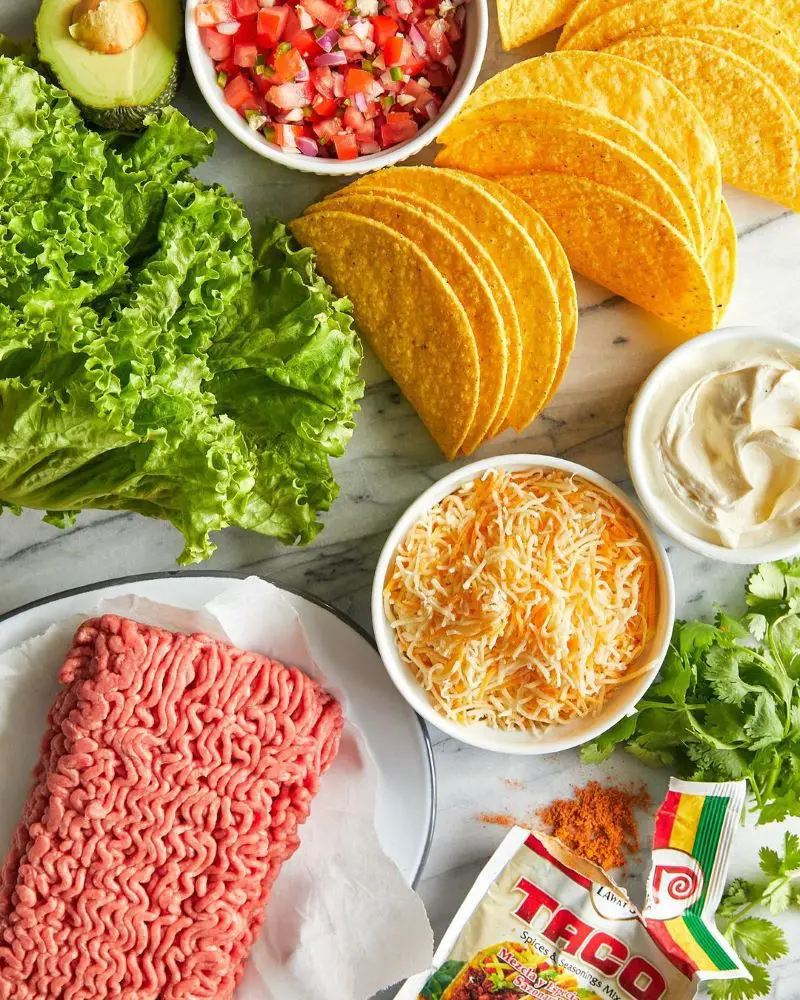
Just honest, straightforward ingredients from your pantry can create that authentic taco taste we all love. Here's what to grab:
Beef: For the meat, go for 85/15 ground beef - it's a wise choice. That bit of fat in there keeps it nice and juicy. Sure, you could go leaner, but trust in this one - that extra fat makes them taste so much better.
Vegetable Oil: Just a splash to get things going in your pan. If you don't have any, no worries! Olive oil works great too, or even a dab of butter will do the trick.
Tomato Paste: This little powerhouse adds deep, rich flavor and helps thicken your meat filling. It's like a flavor bomb that brings everything together.
Garlic and Onion: These two are your best friends in the kitchen. Fresh garlic and onion create that amazing base flavor that makes your kitchen smell like heaven. They add sweetness and depth that you just can't get any other way.
Spices: Here's where you can really make the tacos your own. Start with the basics - garlic powder, onion powder, cumin (gives that classic taco flavor), paprika, and oregano. Salt and pepper are non-negotiable - they wake up all the other flavors. Mix and match based on what you love.
Taco Shells: If you are short on time, grab some shells from the store - they come in both soft and crispy varieties. Kids typically love the crunchy ones, but in case you want to keep it old-school, opt for soft corn tortillas. If feeling bold, make your own shells with corn tortillas and a hot pan.
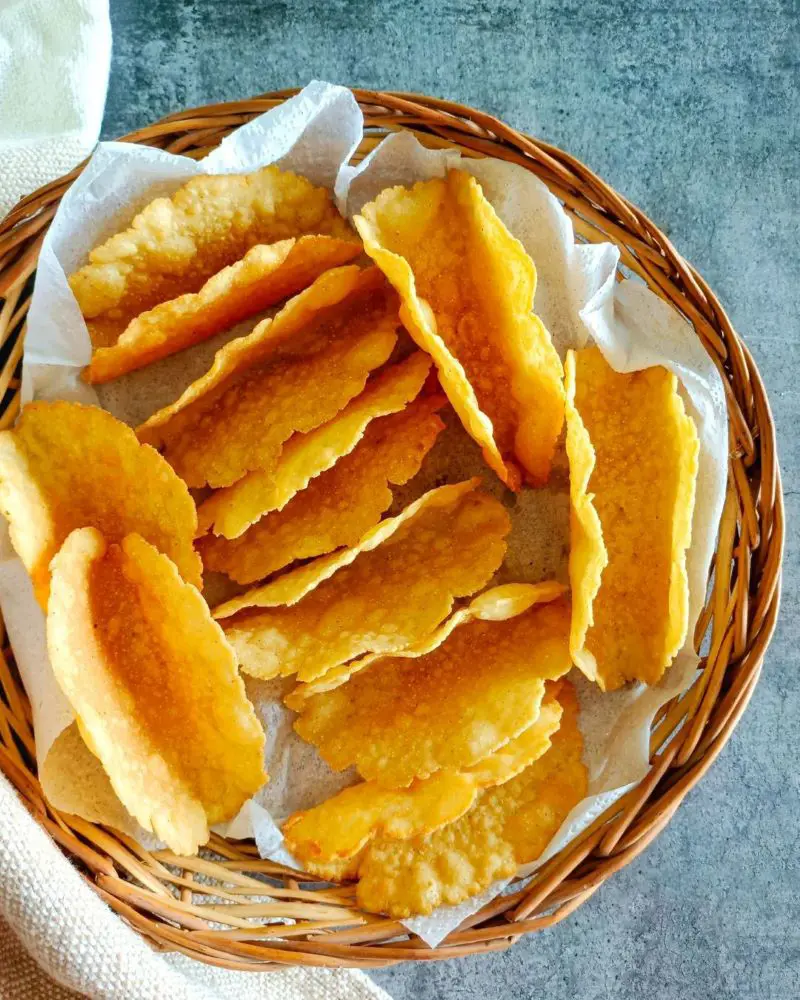
How To Make Homemade Taco Shells
Store-bought shells are entirely acceptable and offer great convenience for any meal. But in case you've some more time and want to experiment with something fun in the kitchen, making your own taco shells is surprisingly easy.
The results are incredibly crispy, fresh shells that'll make your tacos extra special.
Ingredients
Corn tortillas (6-inch ones work best)
Vegetable oil for frying
Kosher salt
Instructions
Step 1: Set Up Your Workstation
Before you start, grab some paper towels and put them on a plate - that's where your shells will cool off. Keep your tortillas, tongs, and salt close by. Trust me, having everything ready to go makes this way more fun and way less stressful.
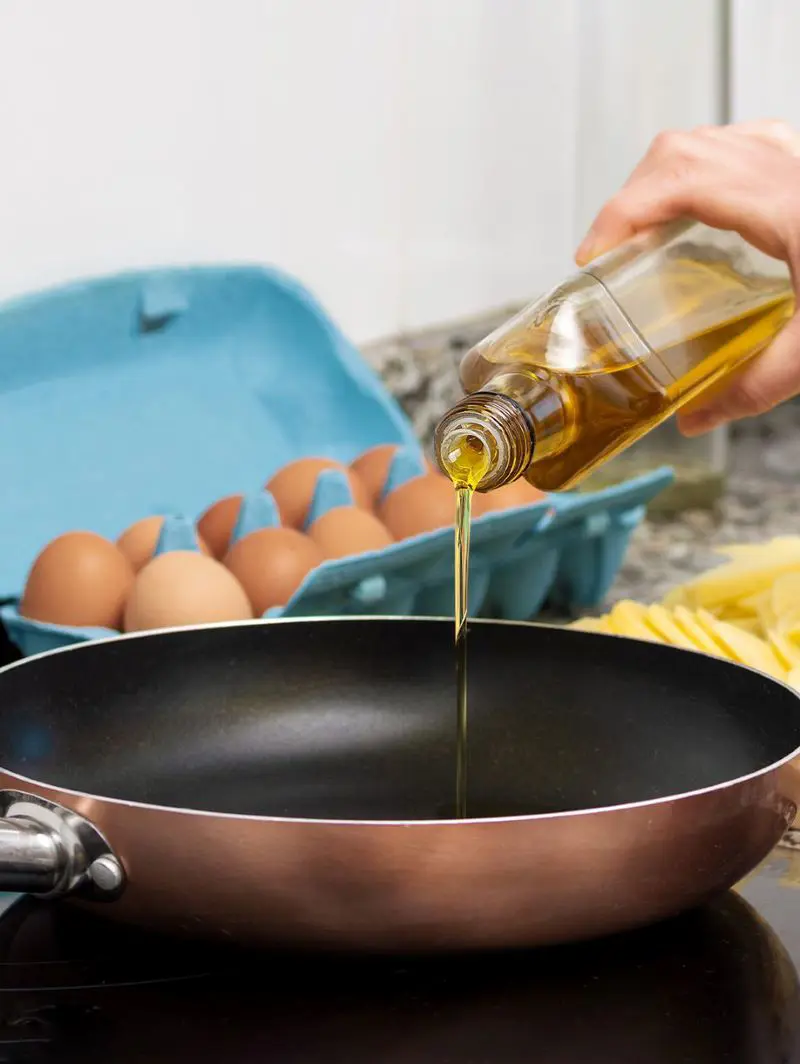
Step 2: Get the Oil Ready
Get your pan ready with about half an inch of oil. Heat it up on medium until it hits around 350°F.
If you don't have a thermometer, drop a tiny piece of tortilla in. It should sizzle nicely but not burn instantly.
Now this is where the magic happens! Dip a tortilla into the hot oil with your tongs carefully. Give it a few gentle taps. This encourages it to puff up like a little balloon. Let it sizzle for about 12-15 seconds until it starts turning golden.
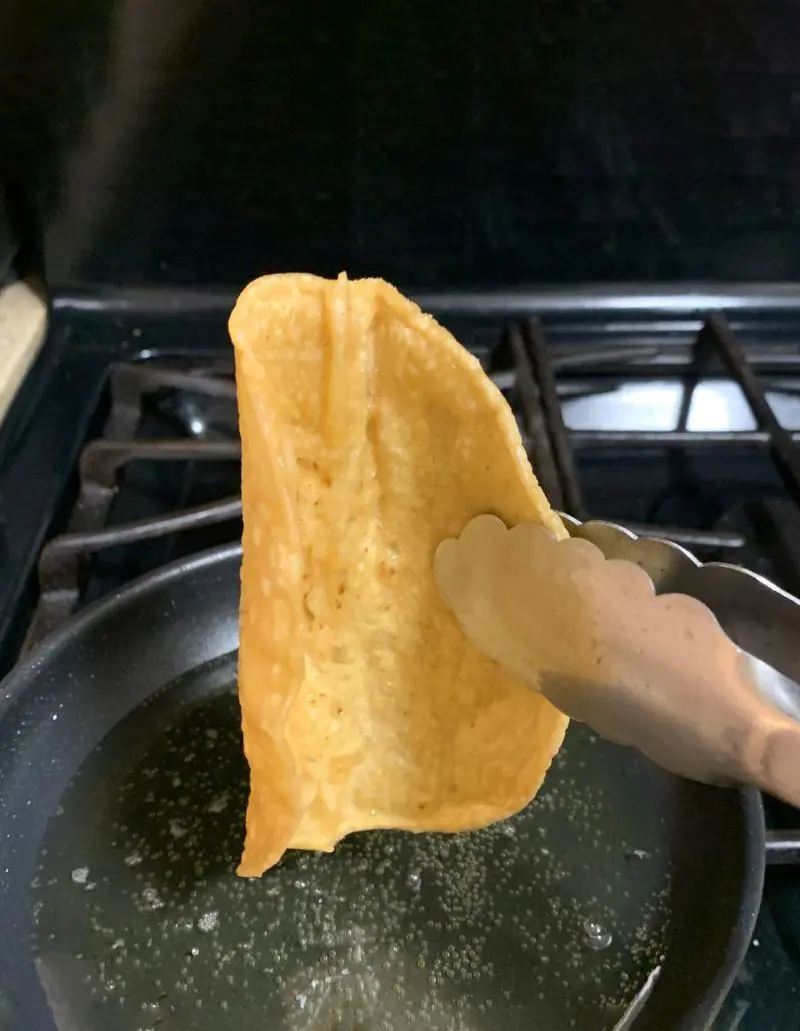
Step 4: Fold
Once your tortilla is starting to get crispy, carefully flip it over. Then comes the fun part - fold it in half to create that classic taco shape. Hold it in position with your tongs until it holds its shape on its own, about another 12-15 seconds.
Move your crispy shell to the paper towels and immediately sprinkle with a pinch of kosher salt. This is what makes them irresistible! Let them cool a bit before loading them up.
Once your shells are ready, it's time to prepare the main component - the savory filling. While there are lots of methods to fill a taco, seasoned ground beef is the traditional choice that by no means disappoints.
Stick to these instructions, and you’ll create taco meat so delicious, your taste buds will celebrate!
Ingredients
1 tablespoon oil
1 onion, finely chopped
2 garlic cloves, minced
1 pound beef, ground/mince
2 tablespoons tomato paste
2 teaspoons each cumin, paprika
1 teaspoon each onion powder, garlic powder, dried oregano
1/4 tsp cayenne pepper
1 tsp salt
1/4 tsp black pepper
1/4 cup water
Instructions
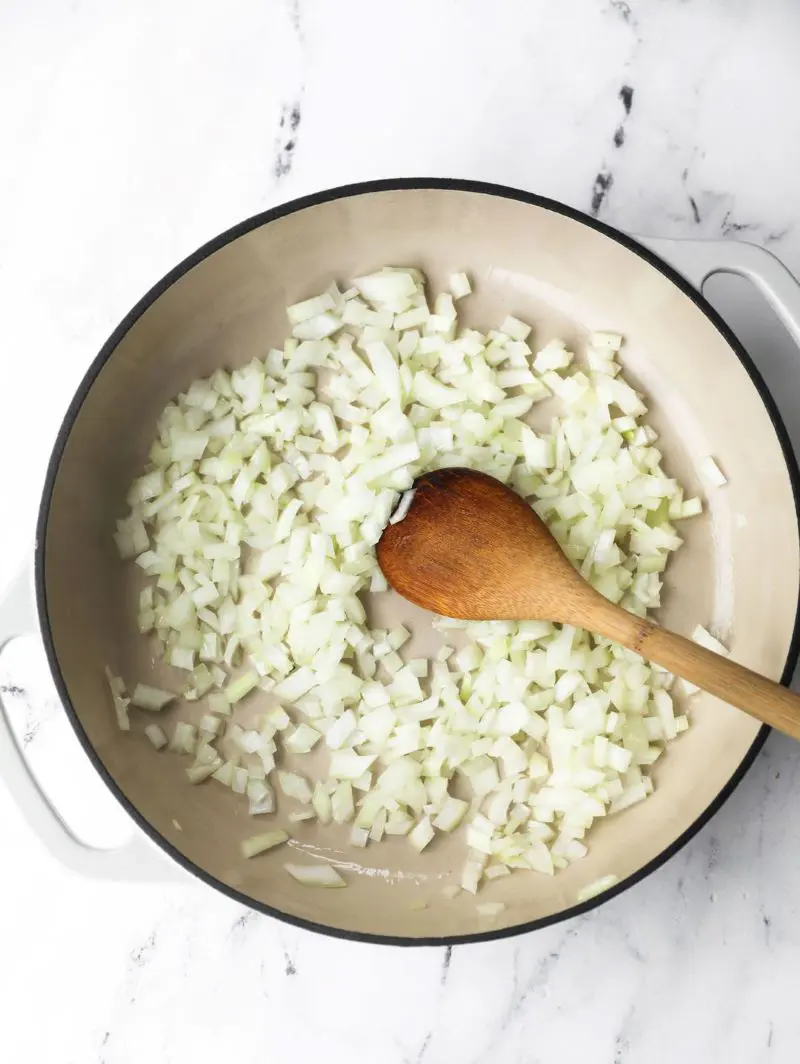
Step 1: Heat the Oil
Get your large skillet hot over medium heat and add the oil. Once it's shimmering (you'll see that pretty ripple effect), toss in your chopped onions. Let them cook until they're soft and translucent, about 4 minutes.
This is building your flavor base, so don't rush it! Then drop the garlic and let it cook for another minute until it's fragrant. Your kitchen should smell amazing by now!
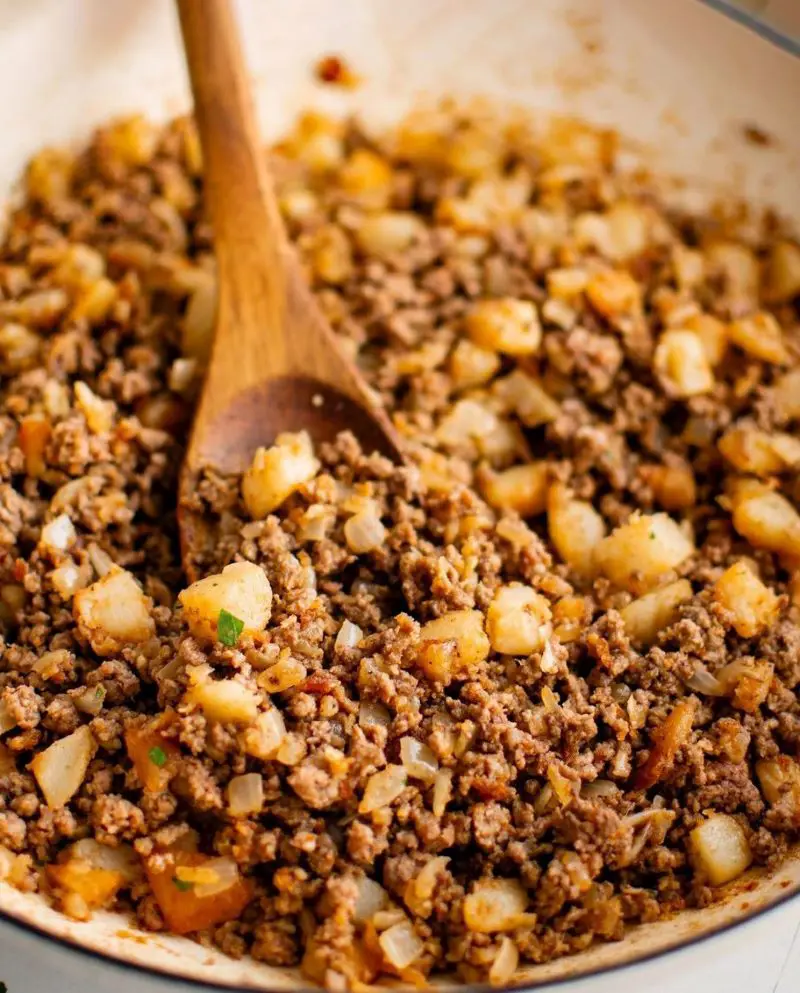
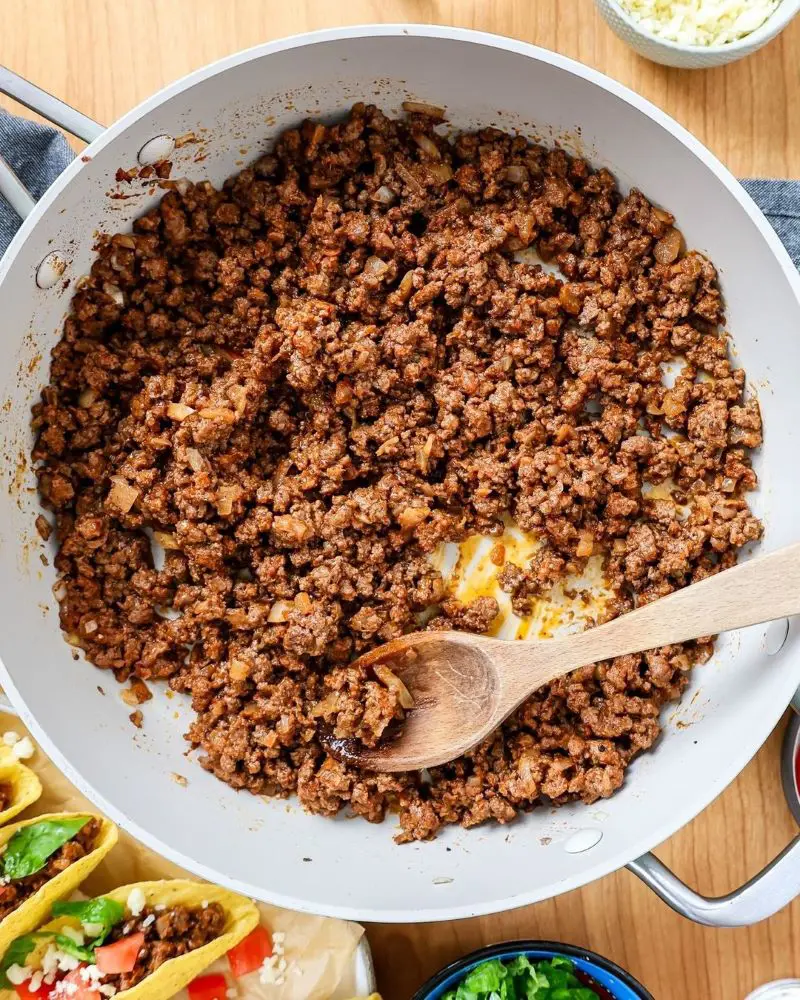
Now comes the main event - add your ground beef to the pan. Break it up with your spoon as it cooks. You want nice, even pieces - no big chunks! Cook ground beef for about 2 minutes until it starts changing from red to brown.
Sprinkle in all those wonderful spices: cumin, paprika, onion and garlic powder, oregano, and that pungent cayenne. Don't forget the must-have salt and pepper. Let these toast with the meat for about 2 minutes.
This really wakes up the spices and gets them working together.
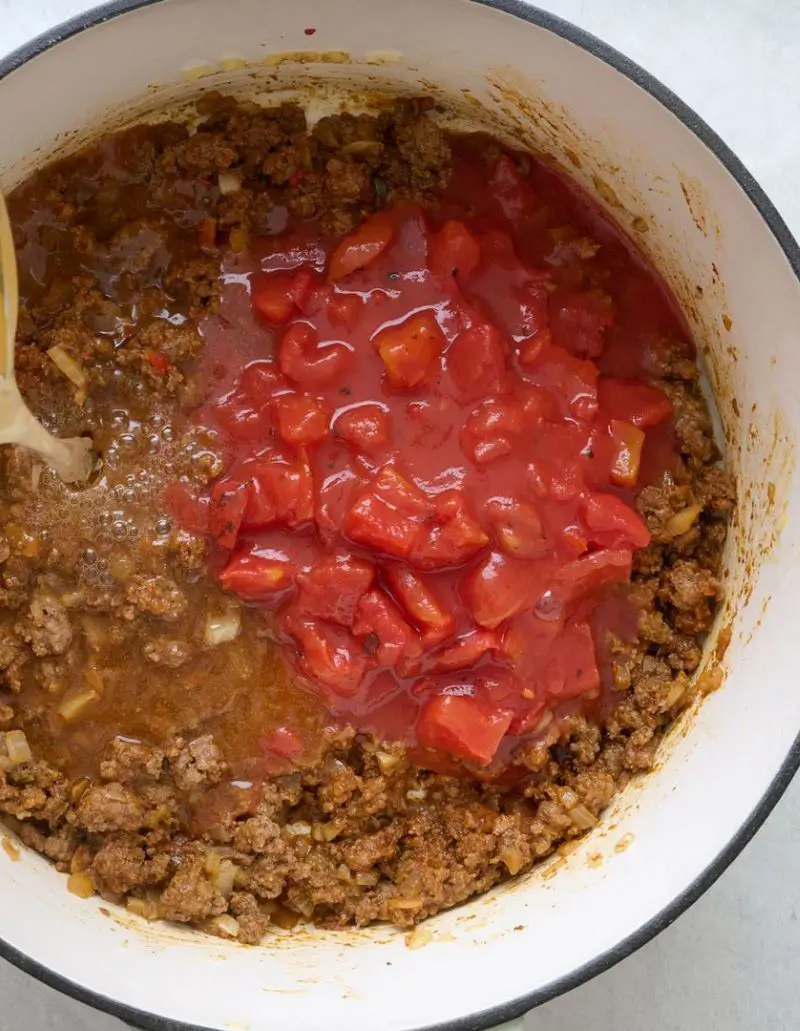
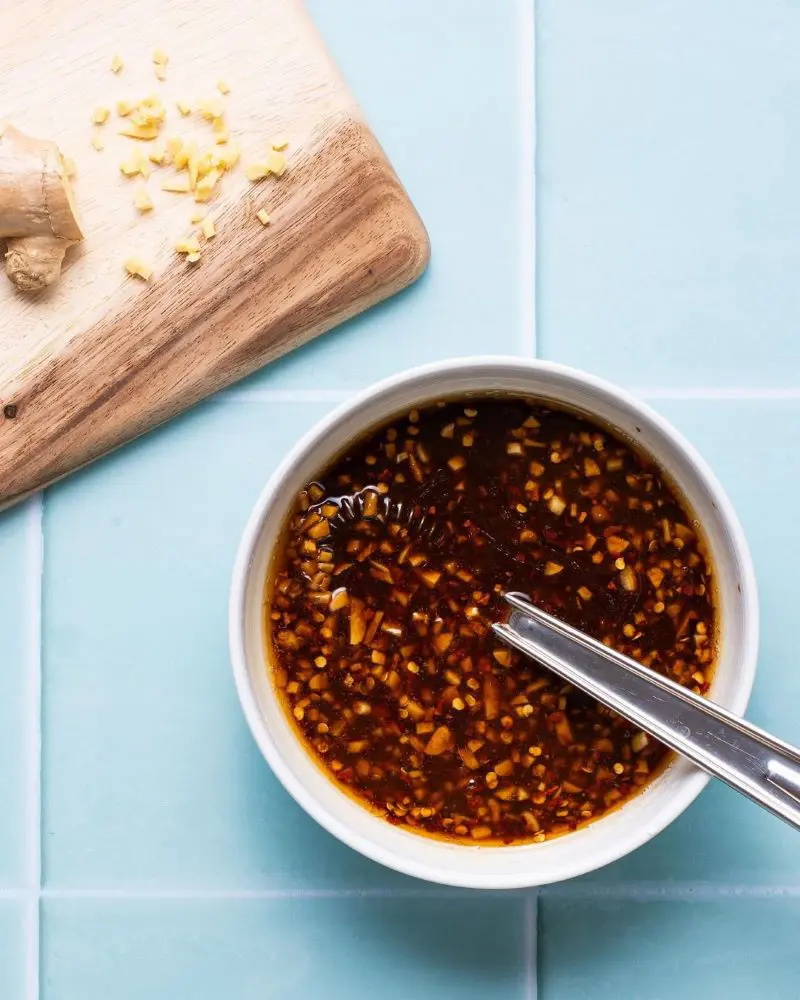
Step 4: Add Liquid
Add the tomato paste and water - this creates that perfect saucy texture we're looking for. Let everything simmer together, stirring occasionally, for about 10-15 minutes.
You're looking for the liquid to reduce but not completely disappear. We want juicy, not dry, meat. The mixture will thicken up beautifully, coating each bit of meat with flavor.
Give it a try and adjust the seasonings if needed. Maybe a pinch more salt, a dash more cayenne if you like it spicier. Give it your flavor! Once you're happy with the taste, you're ready to start building those amazing tacos!
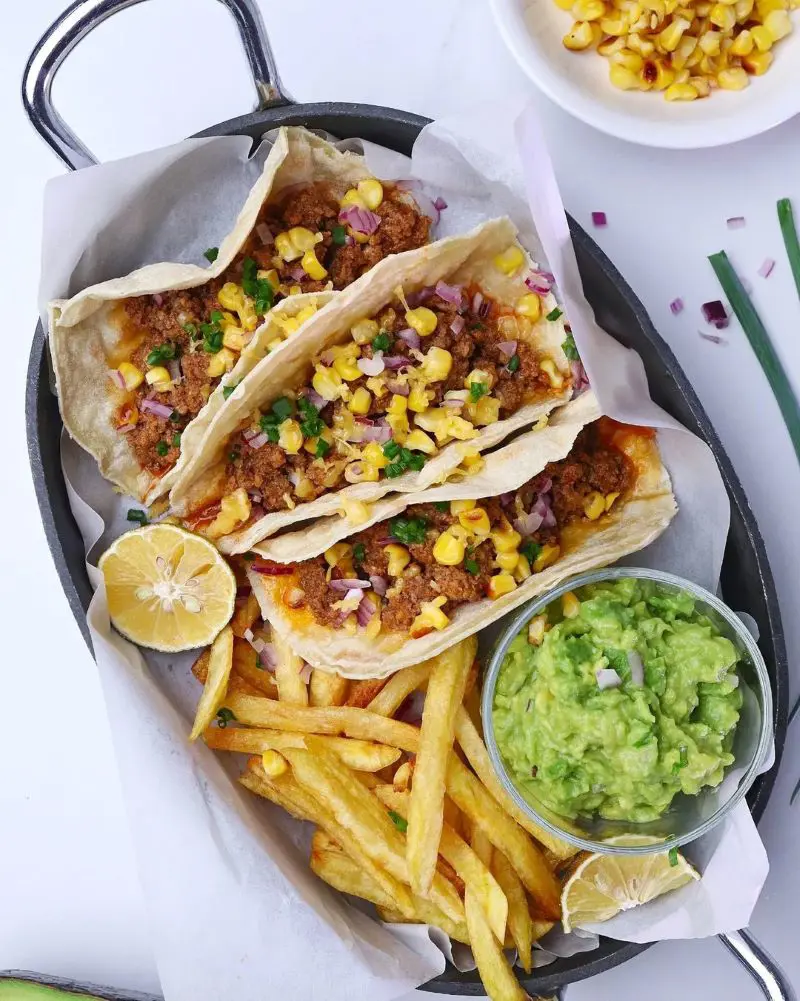
You're almost there! Your shells are hot and crispy, and that seasoned beef is ready to go. Now comes the final assembling time. This is where everyone gets to customize their tacos exactly how they like them.
Let's get these loaded up and get ready for some serious taco happiness!
Instructions
Step 1: Warm Those Shells
For both pre-made and store-bought shells, be sure to warm them up first. Simply place them in a low oven for a few minutes.
Warm shells make a huge difference - they're more flexible and bring out the flavors better.
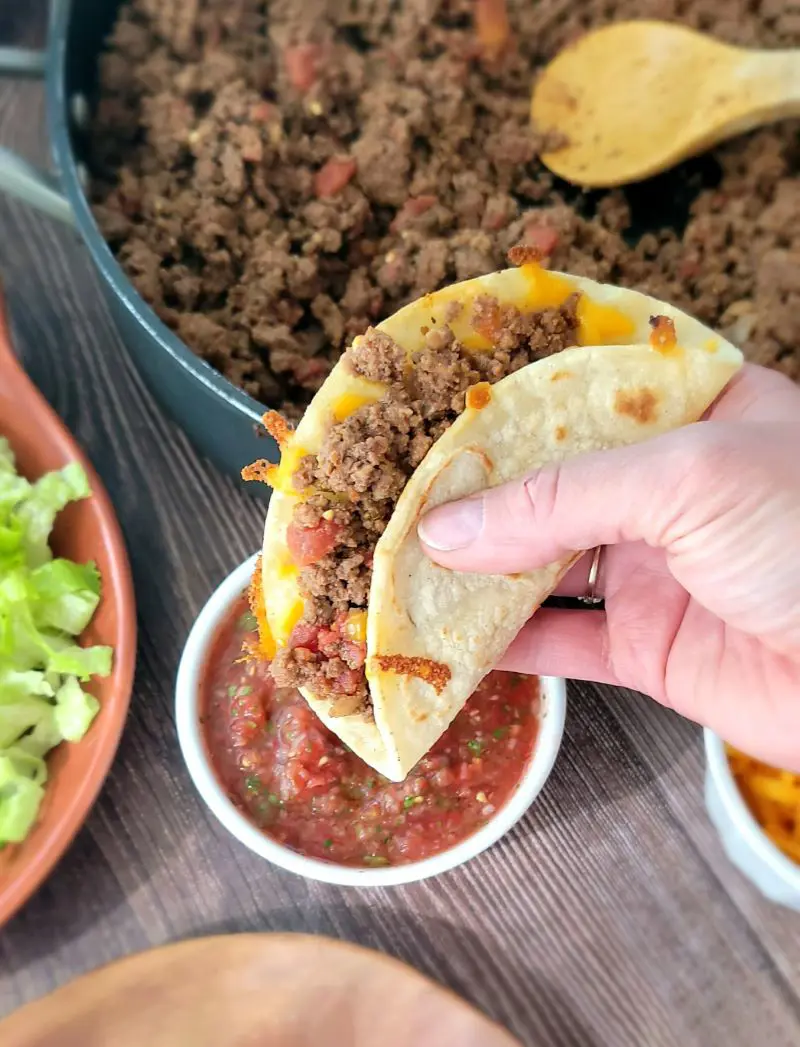
Step 2: Make Base Layer
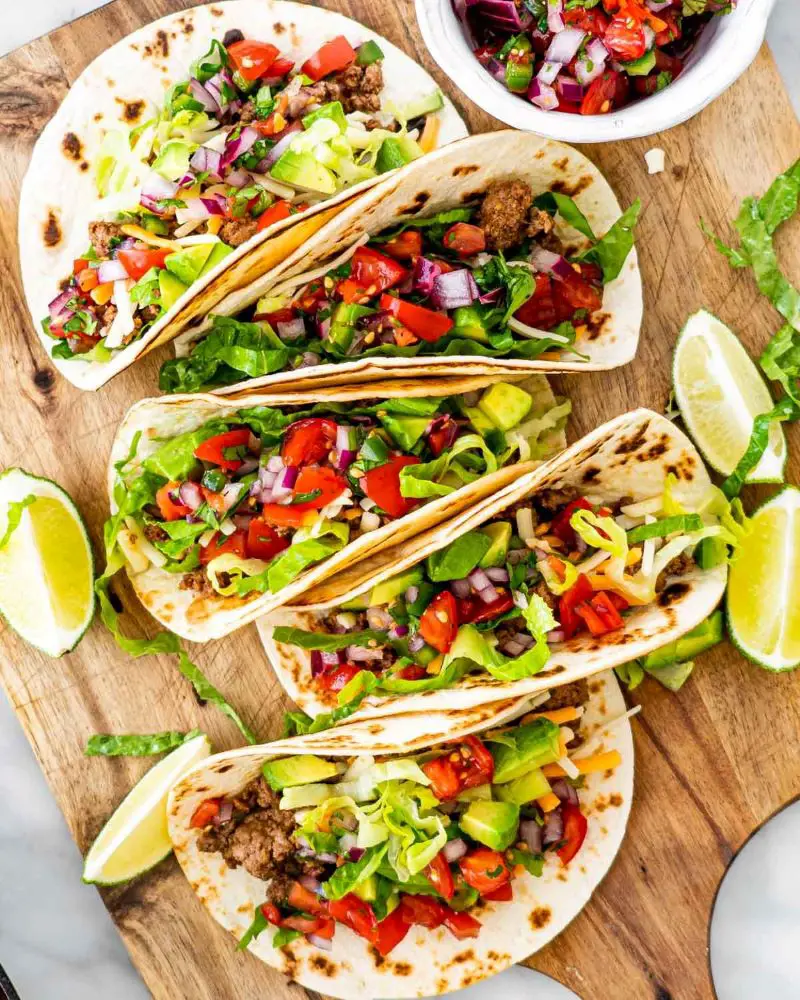
Lay your warm taco shell down and pile on a generous helping of that mouthwatering seasoned beef. Don't go crazy though - leave some room for the extra goodies! Just spread that meat nice and even on the bottom.
If you're using cheese (and who isn't?), add it right on top of the hot beef. The heat will help it get all melty and delicious. Shredded cheddar, Monterey Jack, or Mexian, any type of cheese blend work great here.
Step 4: Topping
Here's where you make it yours! Load it up with whatever you want - juicy tomatoes, fresh onions, some crunchy lettuce, or just a heap of sour cream. The combinations are unlimited.
There's no strict formula for topping your taco - it's entirely personal preference. Some prefer minimal toppings, while others enjoy loading them generously. Both approaches yield delicious results.
The beauty of tacos lies in their versatility regarding toppings. Whether preparing them from scratch or using a store-bought kit, you have endless options for customization.
This flexibility makes taco night especially enjoyable. Each person becomes their own chef. For gatherings, simply arrange various toppings and allow guests to craft their ideal combination.
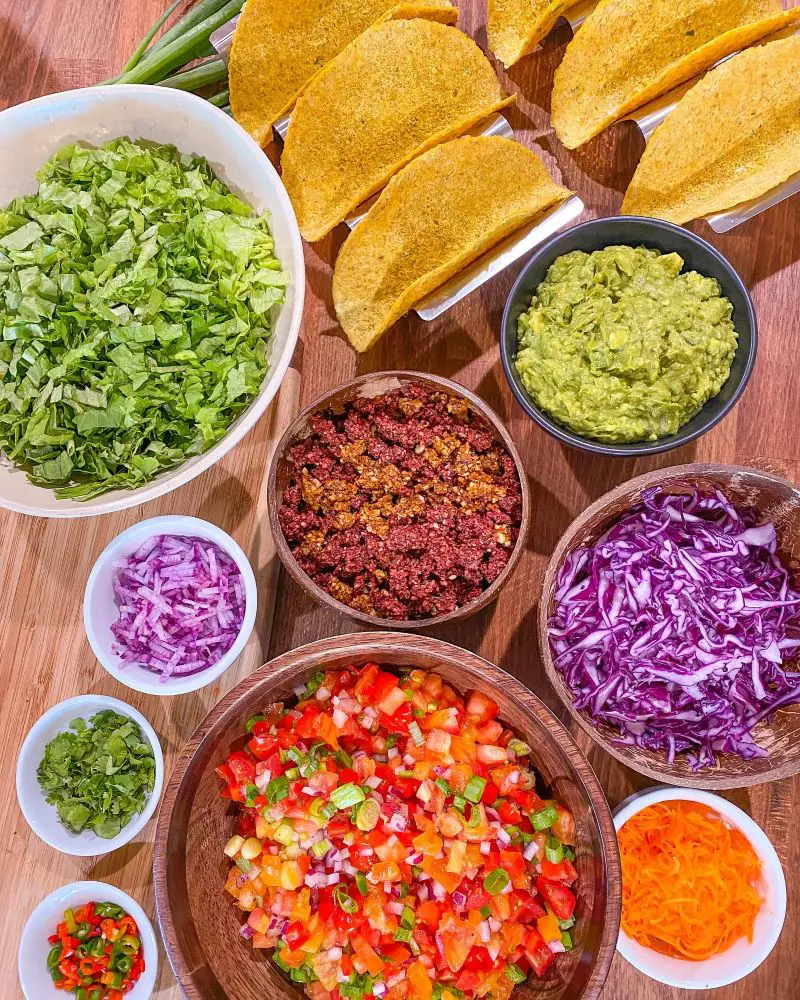
It's casual, fun, and guaranteed to make everyone happy. No rules here, just pile on what you love! Here are some tasty taco topping ideas to try:
Lettuce - Shredded iceberg or romaine for that essential crunch
Fresh Tomatoes - Diced small for easy eating
Onions - Raw diced for bite, or try caramelized onions for sweetness
Avocado - Sliced or mashed into guacamole. Makes everything better!
Cilantro - Fresh leaves for that classic taco flavor
Sour Cream - Cooling and creamy, balances spicy meat perfectly
Salsa - Red, green, or pico de gallo - pick your favorite!
Hot Sauce - From mild to wild, add as much kick as you like
Jalapenos - Fresh or pickled for heat lovers
Black Olives - Adds a salty bite
Radishes - Crisp and peppery, adds great crunch
Pickled Red Onions - Tangy and colorful
Corn - Fresh or grilled for sweet pops of flavor
Tips For The Best Beef Tacos Recipe
Watch That Moisture: Don't let your taco meat dry out! Keep an eye on your pan while adding the sauce and flavorings. You want it to thicken up just enough to stick to the meat. Think juicy, not soupy or dry. Once it starts to thicken, trust your instincts and pull it off the heat.
Warm Those Shells: Cold tortillas are prone to breaking and just don't taste as good. A quick hit of heat makes them soft and pliable. You've got options here - wrap them in slightly damp paper towels and microwave for 30 seconds, warm them in a low oven, or give them a quick toast on a dry skillet.
Layer Your Flavors: Start with sauteed onions before adding your meat. This simple step builds an exceptional flavor base that makes your tacos taste like they are from your favorite taco spot. Can't be bothered to cut onions? No worries - onion powder works great too!
Season As You Go: Don't dump all your taco seasonings in at once. Add some salt while cooking the onions, then more when you add the meat. This builds layers of flavor that make every bite taste amazing.
Keep It Moving: When cooking the beef, break it up with your spoon into small, even pieces. Nobody desires to bite right into a big chunk of meat that falls out of their taco!
The Cheese Trick: Add shredded cheese to your warm meat right after it comes off the heat. Let it sit for a minute - the residual heat melts the cheese perfectly without making it stringy or greasy. It creates this amazing creamy layer that holds everything together.
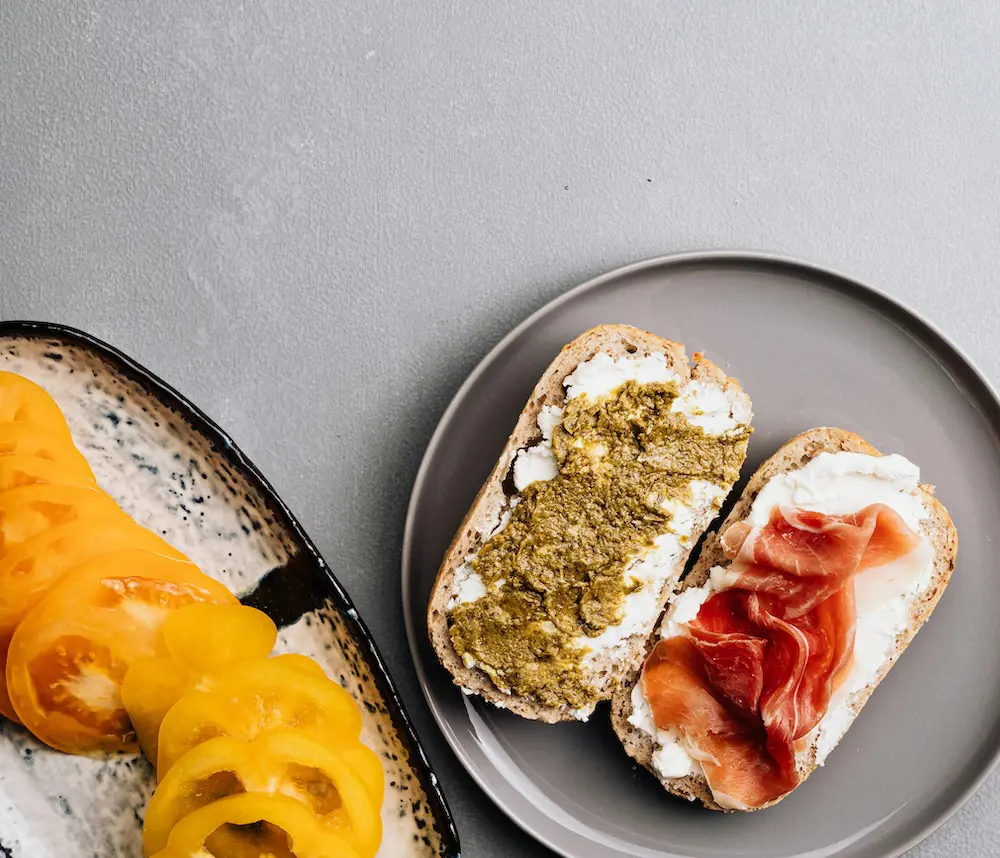
Sure, tacos are perfect on their own, but you do not need to stop there. The right side dishes can turn taco night right into an actual fiesta. Here are some ideal pairings that'll take your taco game to the ultimate level:
Mexican Rice: These tomato-flavored grains are all you need to soak up any juice that drips from your taco. It's perfect when you crave something filling but not too heavy on a hectic evening.
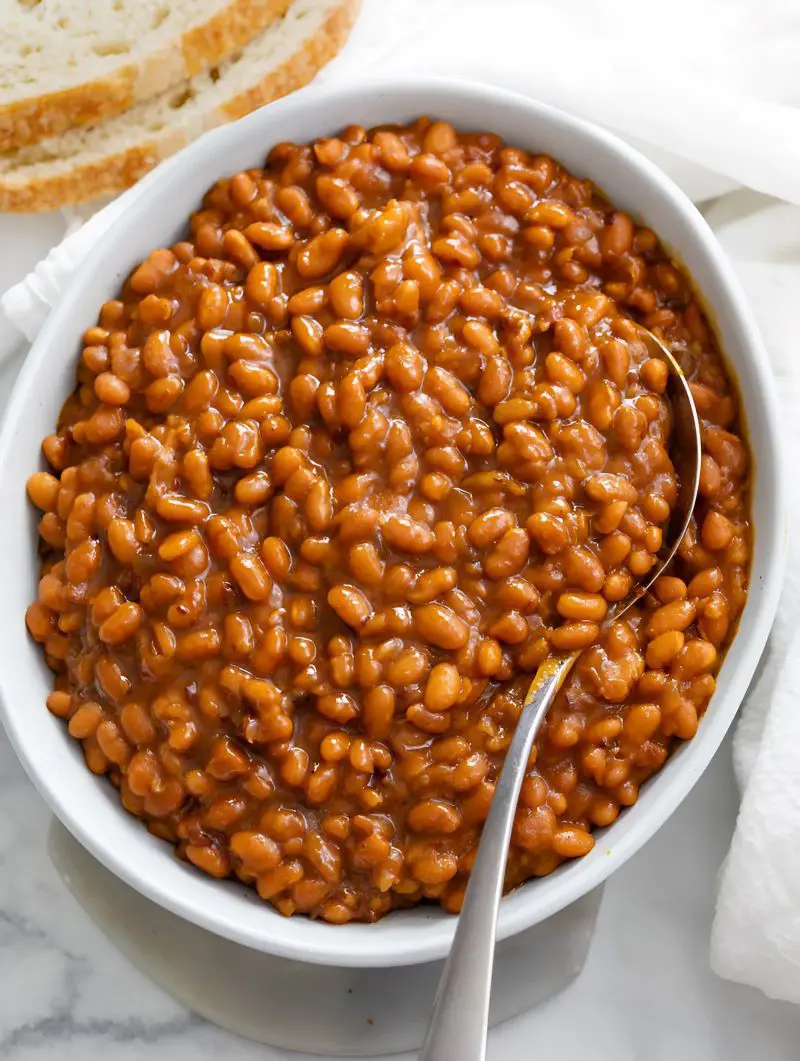
Black Beans: No matter if you pick whole or refried, they're sure to make a difference. Great for feeding a crowd on a budget, plus they add a rich, velvety element that makes everything better. Throw some cheese on top while they're hot.
Elote (Mexican Street Corn): This isn't your regular corn on the cob! We're talking corn grilled till it gets those nice char marks, slathered in mayo, sprinkled with chili powder, and covered in cotija cheese. Yes, it's messy, but it is so good! Perfect for eating outside on a nice day.
Fresh Green Salad: Sometimes you need something light and crisp to balance out those rich tacos. A simple salad with lime dressing keeps things fresh and adds a nice contrast.
Roasted Vegetables: When the weather turns cool, these are your best friends. Bell peppers, onions, and zucchini with a touch of char add warmth and depth to your taco spread.
Chips and Queso: Let's be real! Who doesn't love having something to munch on while building their tacos? Great for parties when people are mingling and chatting.
Grilled Pineapple: A sweet surprise that'll make your tacos pop! Grilling brings out the natural sugars and adds a slight smokiness. Perfect for summer cookouts - the hot-sweet combo is absolutely addictive.
Mexican Street Corn Salad: All the flavors of elote but easier to eat! This creamy, tangy salad is best for potlucks or when you want something a bit extra stylish than conventional sides. The blend of candy corn, creamy dressing, and zesty lime is genuinely irresistible.
If you’ve made too many tacos, no problem! This is actually good news! With proper storage, you can enjoy these tasty bites tomorrow or even next week.
Here's how to keep your taco components fresh and delicious for round two.
In the Fridge
Keep your components separate - this is key! Just put the cooked meat in a container with a good lid - it'll keep for 3-4 days. Keep your fresh stuff like lettuce, tomatoes, and cheese in separate containers though.
Save the shells in a zip-top bag at room temperature to prevent sogginess.
In the Freezer
Cooked taco meat freezes beautifully! Let the meat cool down completely, toss it in a freezer bag (squeeze out all the air you can), and it'll be good for up to three months. Pro tip: freeze in smaller portions for easy reheating.
Reheating
Refrigerated Meat: The microwave works fine. Just add a splash of water before heating to keep things juicy. Or warm it in a skillet over medium heat, stirring occasionally. Either option will have it ready in no time.
Reheating Frozen Meat: When it’s time to use, just let it thaw in the fridge overnight. Then heat it up just like refrigerated meat. If you forget to thaw, no worries - use the microwave's defrost setting first, then heat normally. Just remember to stir occasionally for even heating.
Author
Editor
Ashish Sharma
Ashish Sharma is a food writer with a deep love for stories that start in the kitchen. Whether he's exploring the comfort of home-cooked meals or the energy of a bustling street food stall, Ashish brings warmth, curiosity, and a personal touch to everything he writes.
He believes food is more than just what’s on the plate—it’s about people, memories, and culture. His work has appeared in various magazines and blogs, where he shares not just recipes, but the stories behind them.