There’s nothing fancy about a bowl of plain white rice, yet when it’s cooked perfectly, it can elevate any meal. Whether you’re serving it with curry, stir-fry, or grilled vegetables, fluffy rice makes everything taste better.
But as simple as it sounds, boiling rice on the stove can be frustrating. One batch turns out mushy, the next one undercooked, and sometimes the water just evaporates too soon. The truth is, cooking rice on the stove isn’t hard at all. You just need the right ratio of water, the right heat, and a little patience.
This step-by-step guide will show you exactly how to boil rice on the stove the right way, along with tips to fix common mistakes and make your rice perfect every time.
Step 1: Choose the Right Type of Rice
Not all rice is the same, and each type needs a slightly different cooking time and amount of water.
Long-grain white rice like basmati or jasmine gives you light, fluffy grains that don’t stick together.
Short-grain white rice is softer and a little sticky, good for dishes like sushi or risotto.
Brown rice has a chewy texture and nutty flavor, but it takes longer to cook.
Wild rice has a firmer texture and an earthy taste.
If you’re new to cooking rice, start with long-grain white rice. It’s quick, forgiving, and always reliable.
Step 2: Rinse the Rice
This is one of the most important steps people often skip. Rinsing rice removes the excess starch that makes it gummy.
Place your rice in a bowl and cover it with cold water. Swirl it gently with your hand, then pour off the cloudy water. Do this two or three times until the water runs clear.
If you’re using basmati or jasmine rice, let it soak for 10 to 15 minutes after rinsing. That helps the grains expand evenly while cooking.
Step 3: Measure the Water
The right water ratio makes all the difference. For white rice, use one cup of rice and one and three-quarter cups of water. For brown rice, use one cup of rice and two and a half cups of water.
It’s better to measure carefully than to guess. Too much water and you’ll end up with soggy rice. Too little and it will stay hard in the center.
Step 4: Add Salt and Flavor
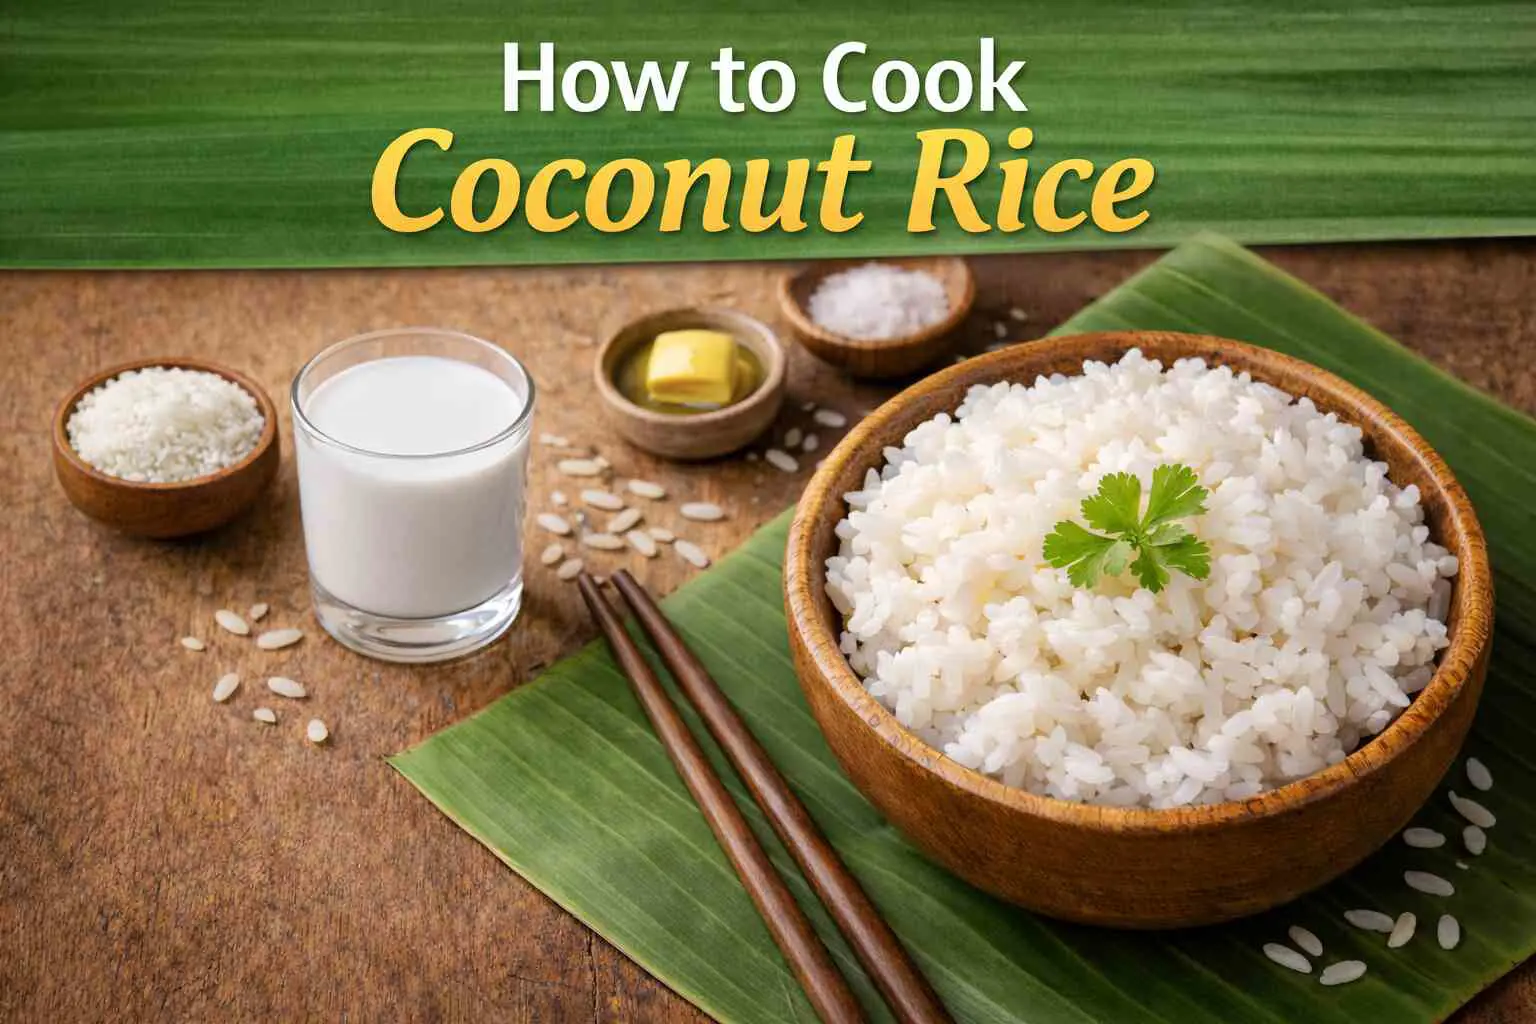
Rice tastes better with a little seasoning. Add about half a teaspoon of salt for each cup of rice. You can also add a bit of butter or olive oil for richness.
If you want to give your rice extra flavor, try adding a bay leaf, a clove of garlic, or even cooking it in vegetable or chicken broth instead of plain water.
Step 5: Bring It to a Boil
Pour the water and rice into a medium-sized pot. Place it over medium-high heat and bring it to a rolling boil.
Once the water starts bubbling, stir the rice once to make sure it isn’t sticking to the bottom, then reduce the heat to low and cover the pot with a tight-fitting lid.
This is the most crucial moment. The lid traps steam, which is what actually cooks the rice and makes it tender.
Step 6: Let It Simmer
Cooking time depends on the type of rice. For white rice, simmer for about 12 to 15 minutes. For brown rice, it usually takes 35 to 45 minutes.
During this time, avoid opening the lid or stirring. Each time you lift the lid, steam escapes, and that can cause uneven cooking.
You can check the rice by listening. When the gentle bubbling sound stops, it’s usually done.
Step 7: Rest and Fluff
When the cooking time is up, turn off the heat and let the rice sit covered for 10 minutes. This resting period allows any remaining moisture to be absorbed evenly.
After that, remove the lid and fluff the rice gently with a fork. Don’t use a spoon because it can crush the grains.
This final step gives you soft, separate, and beautifully cooked rice.
Step 8: Serve and Store
Your rice is now ready to serve. Enjoy it as a side with curries, stir-fries, grilled meats, or vegetables. You can even turn it into fried rice the next day.
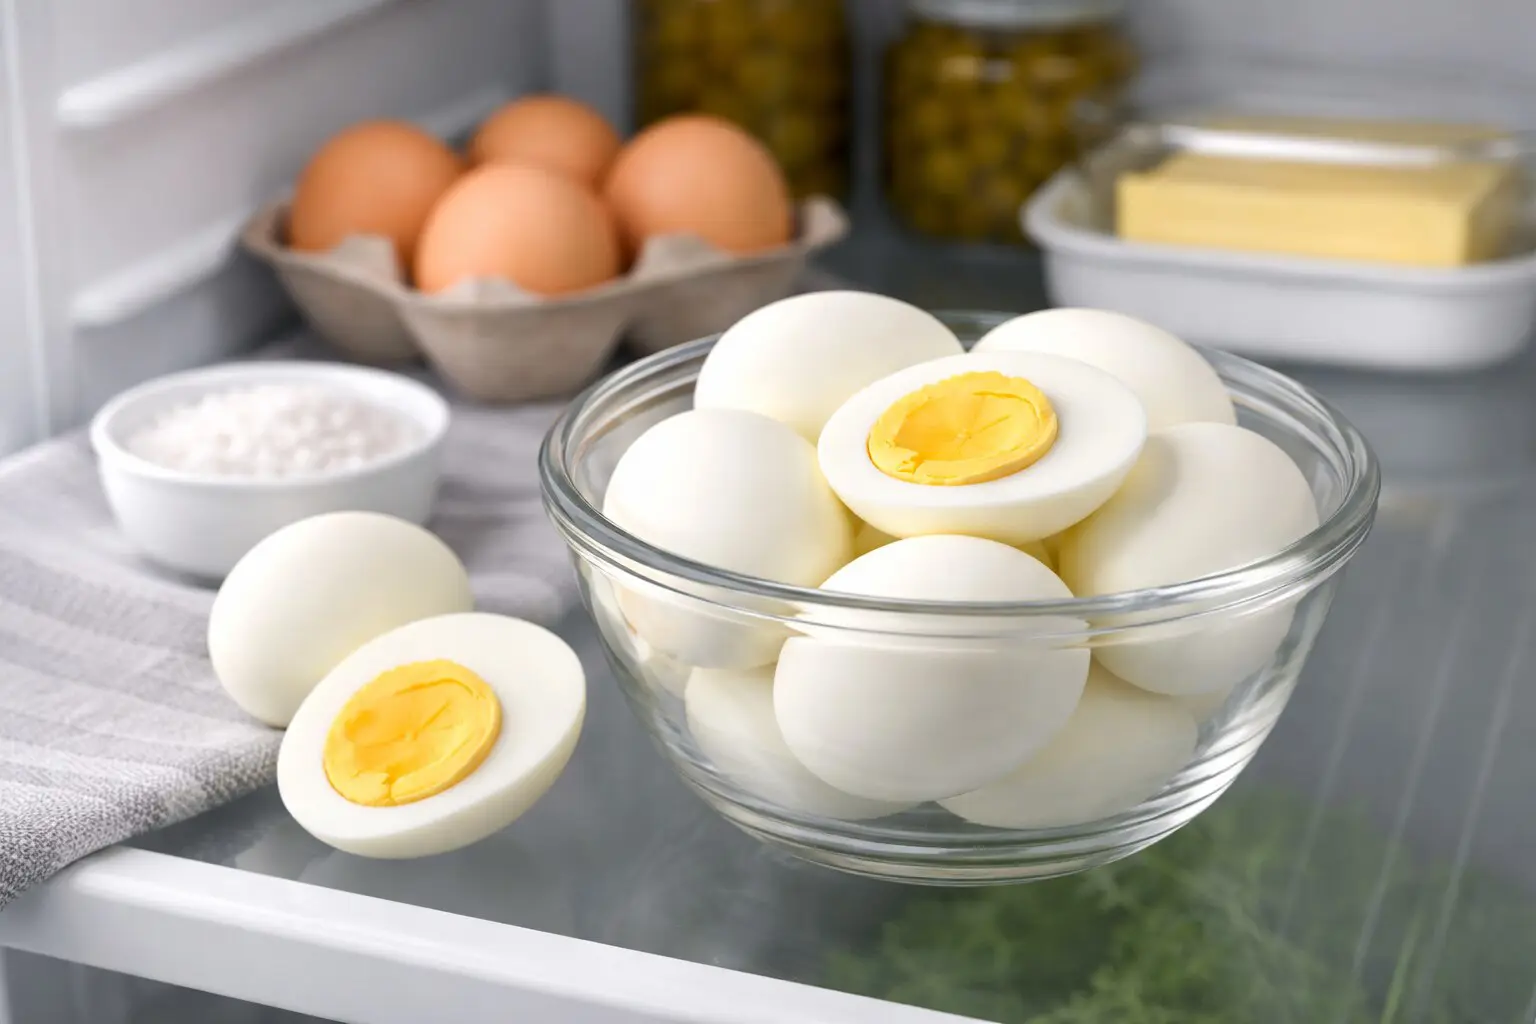
If you have leftovers, let the rice cool completely before storing it. Keep it in an airtight container in the refrigerator for up to four days. You can also freeze it for about a month. To reheat, sprinkle a bit of water on top and microwave it covered to bring back the moisture.
Common Mistakes and How to Fix Them
Even experienced cooks run into rice troubles sometimes. Here’s how to fix the most common issues:
Rice is undercooked: Add a few tablespoons of hot water, cover again, and cook on low for another five minutes.
Rice is too soft or mushy: Leave the lid off and let it cook on low heat for a few minutes so the extra moisture can evaporate.
Rice sticks to the pot: You may have used too high heat or not enough water. Next time, lower the heat earlier and use a heavier pot for even heat distribution.
Rice burns on the bottom: That’s a sign of high heat. Keep your flame low once it starts simmering.
Simple Variation: The Water-Boil Method
If you’re completely new to cooking rice, this method is nearly foolproof. It works like cooking pasta.
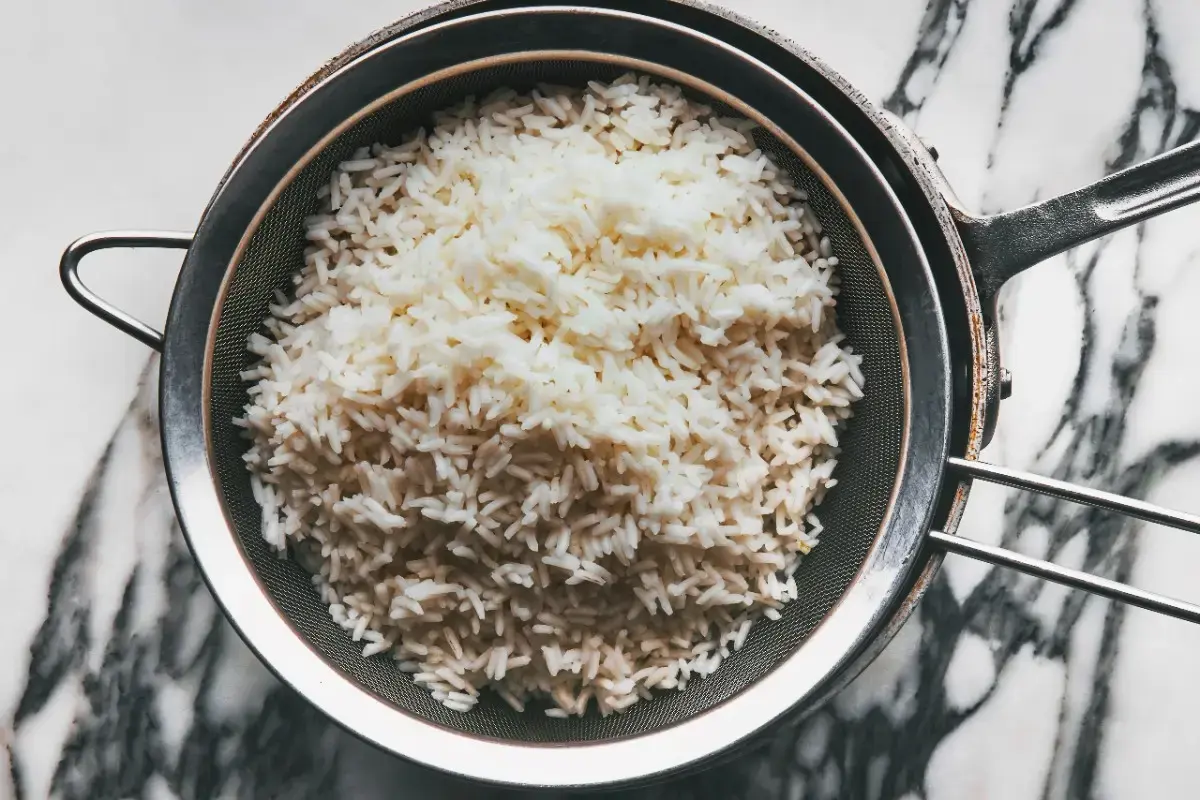
Bring a large pot of water to a boil. Add your rinsed rice and cook uncovered until it’s tender. This takes about 10 to 12 minutes for white rice and 25 to 30 minutes for brown rice. When it’s done, drain it through a fine mesh strainer, then let it sit for five minutes before serving.
It may not be traditional, but it’s easy and works well when you don’t want to measure water ratios.
Final Thoughts
Cooking rice on the stove might seem simple, but doing it right takes a bit of care. Once you get the hang of it, you’ll realize it’s one of the easiest and most rewarding kitchen skills to master.
All you really need are three things: the right amount of water, steady heat, and patience. From there, you can make rice that’s fluffy, flavorful, and perfect every single time.
So the next time you’re thinking of reaching for a pre-cooked packet or microwave pouch, take a few extra minutes and do it on the stove. You’ll taste the difference, and you’ll never go back.
Author
Uttam Thapaliya
Uttam Thapaliya is an accomplished Sous Chef at Hilton Hotel Kathmandu, bringing extensive culinary expertise from his diverse experience in prestigious international hotels. Prior to his current role, Uttam served as Sous Chef at Hyatt Centric Soalteemode Kathmandu and held the position of Junior Sous Chef at Jumeirah Emirates Towers. His earlier career also includes working as Chef de Partie at Jumeirah at Saadiyat Island Resort, where he honed his skills and contributed to world-class dining experiences.
With a passion for culinary excellence and a strong foundation in high-end hospitality, Uttam continues to make a significant impact in the culinary world. His dedication to the craft and attention to detail have made him a respected leader in the kitchen.