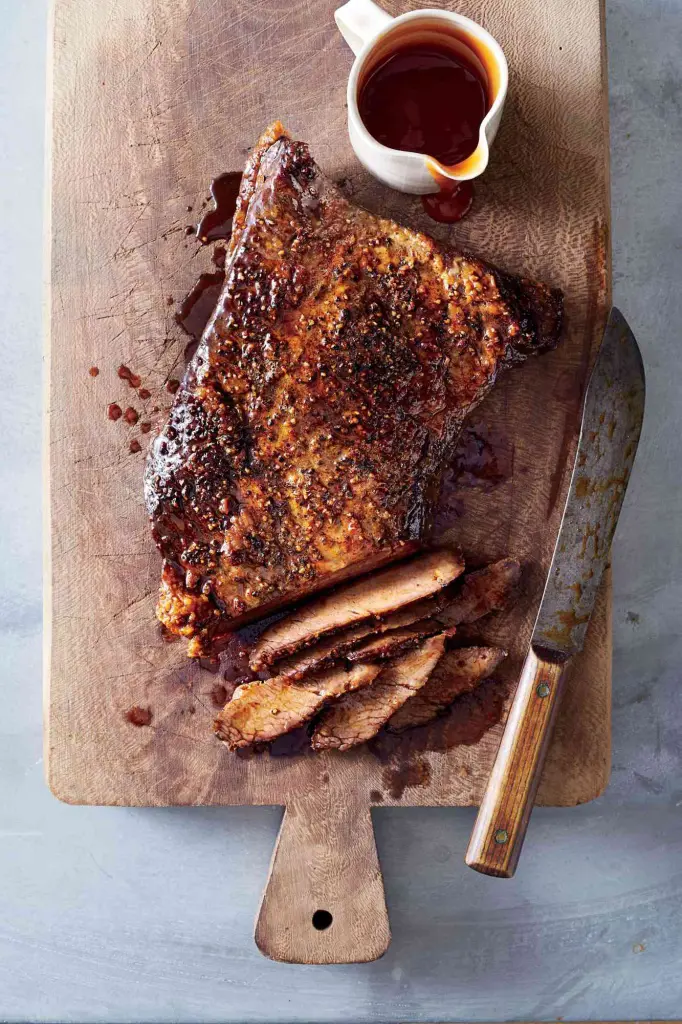
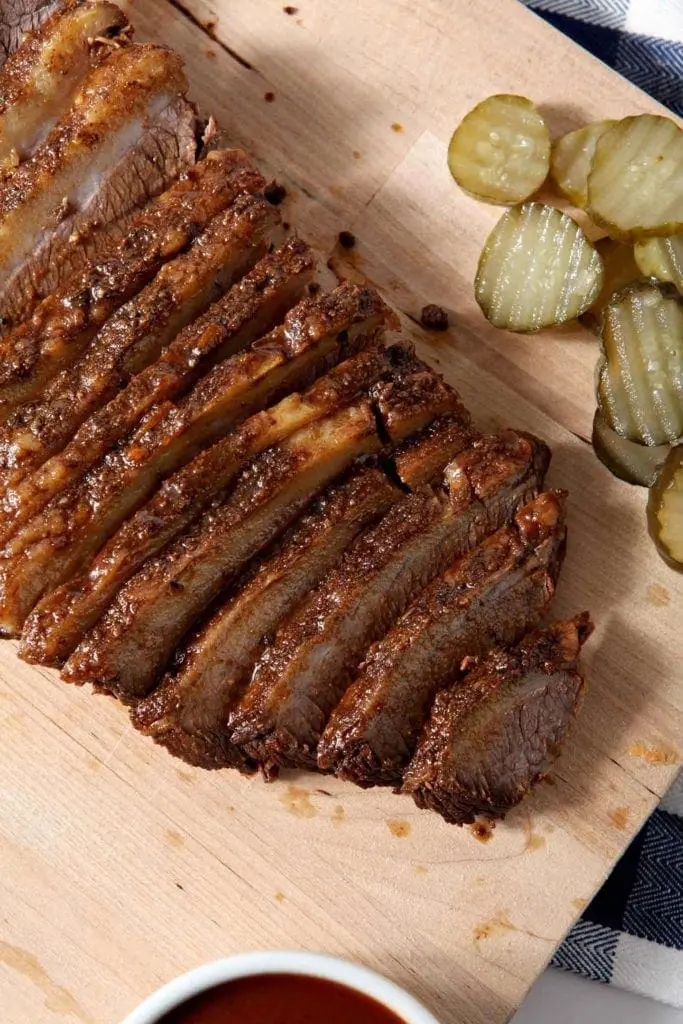
If you're looking for a goof-proof beef brisket recipe, you've found it! Learning how to cook a brisket in the oven results in a crispy fat cap and tender, juicy meat.
With a few simple steps, you'll create an impressive centerpiece for special occasions. Pair it with your favorite side dishes for an unforgettable meal that's sure to impress your guests and satisfy even the most discerning palates.
Ingredients Needed
This simple yet delicious beef brisket how to prepare recipe requires just a few key ingredients to create a mouthwatering dish that's full of flavor and nostalgia.
The combination of BBQ sauce, liquid smoke, and carefully selected spices results in a tender, juicy brisket that's perfect for special occasions or family gatherings.
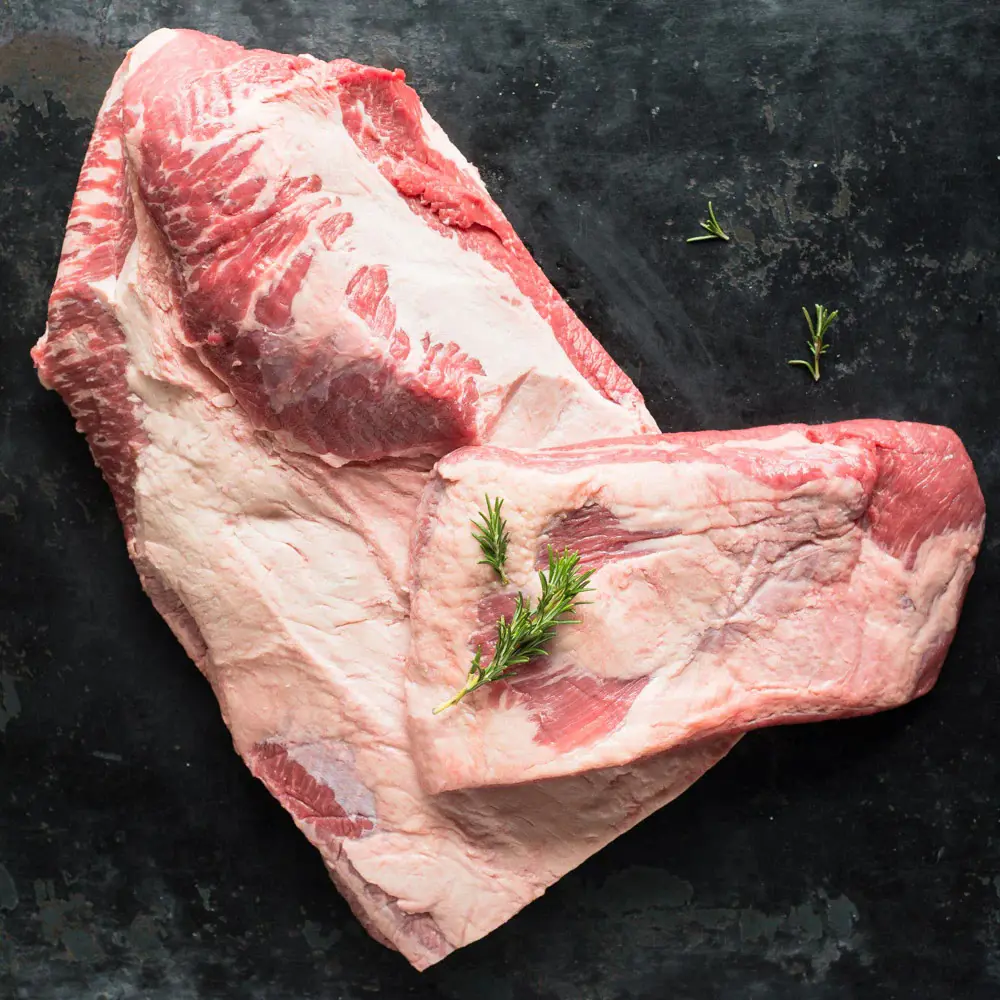
A 6-pound point cut is ideal for this recipe. This smaller, thicker piece of brisket boasts more marbling, which means it has a higher fat content interspersed throughout the meat.
This extra fat contributes to a more tender and flavorful final product. When preparing the brisket, it's important to trim the fat cap down to about ½ inch thickness.
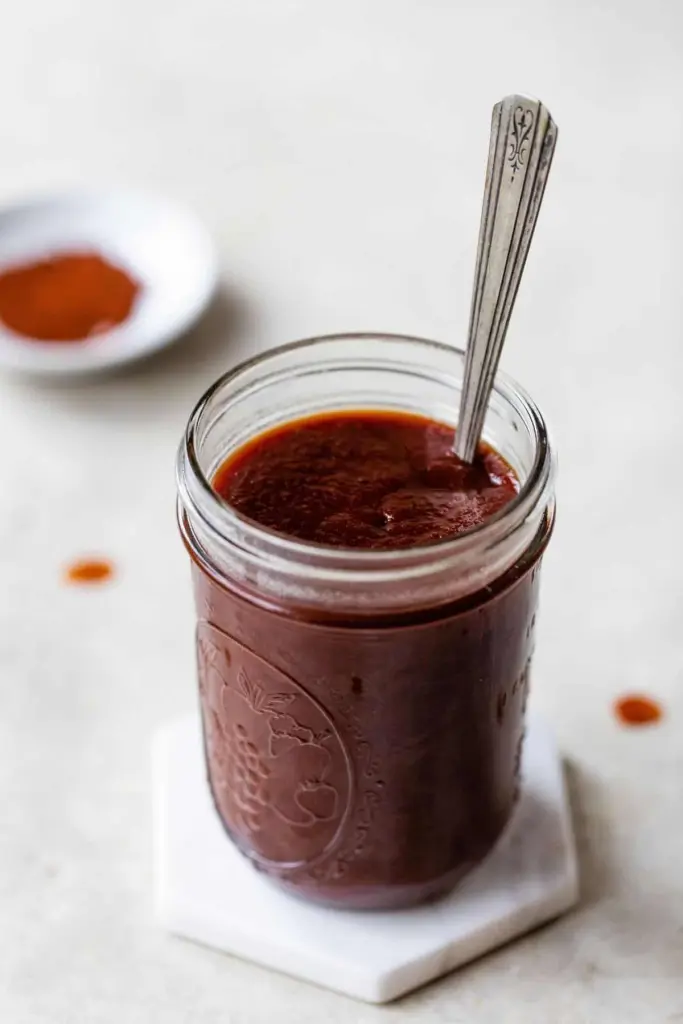
The choice of barbecue sauce can significantly impact the final flavor of your brisket. You have the flexibility to use your favorite store-bought sauce or experiment with a homemade recipe.
If you prefer store-bought, Sweet Baby Ray's is a popular and reliable option that complements beef brisket well. The sauce not only adds a rich, tangy flavor to the meat but also helps create a delicious outer crust during cooking.
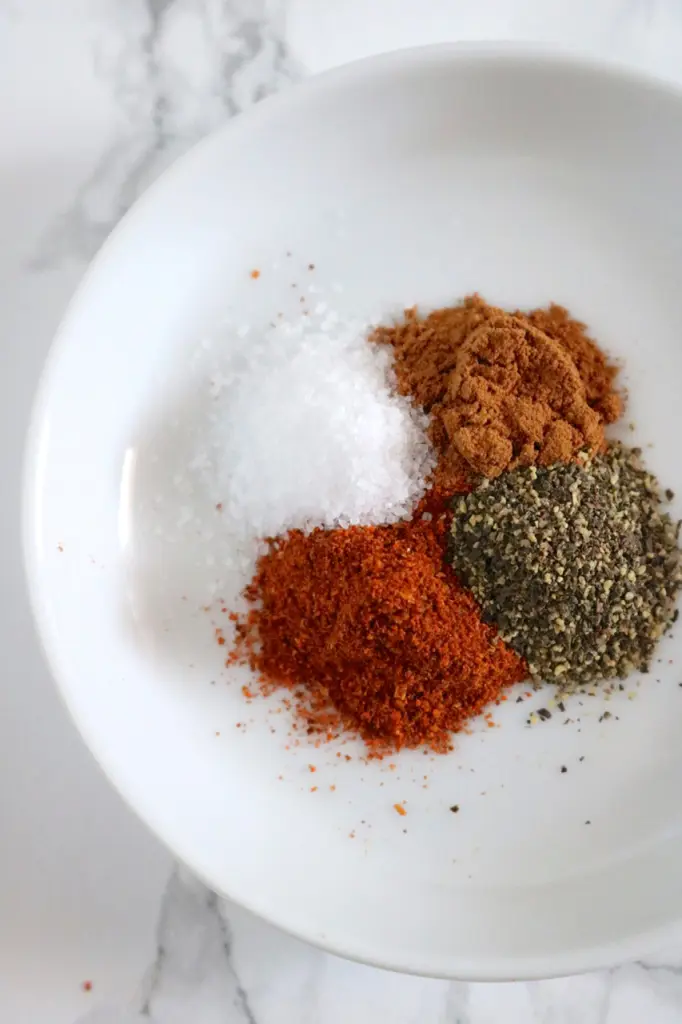
A well-balanced blend of spices is crucial for enhancing the natural flavors of the beef. The recommended mix includes garlic powder, onion powder, celery powder, ground nutmeg, and salt & pepper.
Each of these spices brings its own unique contribution to the flavor profile: garlic and onion powders add savory depth, celery powder provides a subtle earthy note, nutmeg offers a warm, slightly sweet complexity, while salt and pepper are essential for basic seasoning.
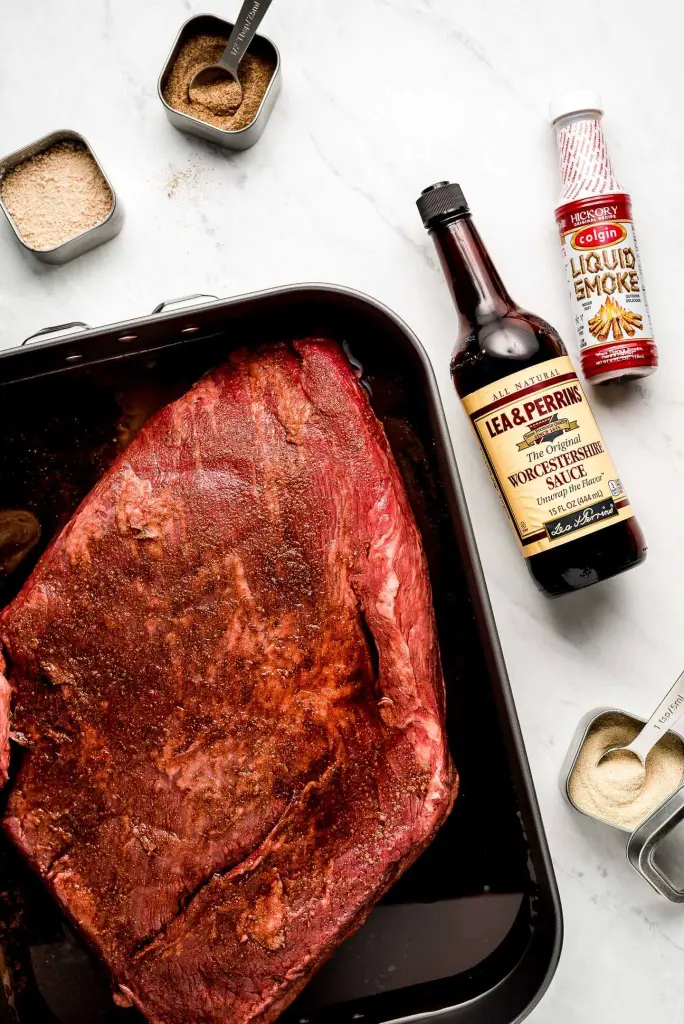
Liquid Smoke
This concentrated liquid ingredient is key to achieving that authentic smoky flavor without using a traditional smoker. Liquid smoke is essentially condensed smoke from burning wood, captured and bottled.
It's typically found in the condiments or BBQ sauce section of most grocery stores. Adding liquid smoke to your recipe imparts a deep, smoky taste that mimics the flavor achieved through hours of smoking.
Water
While it might seem like a simple ingredient, water plays a crucial role in this oven-baked brisket recipe. By filling the roasting pan with water, you create a moist cooking environment in the oven.
As the water heats up, it turns into steam, which helps keep the brisket moist and tender throughout the long, slow cooking process.
How To Cook Brisket In The Oven
Ingredients
6 pounds beef brisket point cut with a half inch fat cap
1 tablespoon kosher salt
2 tablespoons garlic powder
2 tablespoons celery powder
2 tablespoons freshly ground black pepper
2 tablespoons onion powder
8 ounces BBQ sauce
1 teaspoon ground nutmeg
2.5 ounces liquid smoke
2 cups water
How To Prepare Brisket In The Oven
Here are the step-by-step instructions on how do you cook a brisket in the oven:
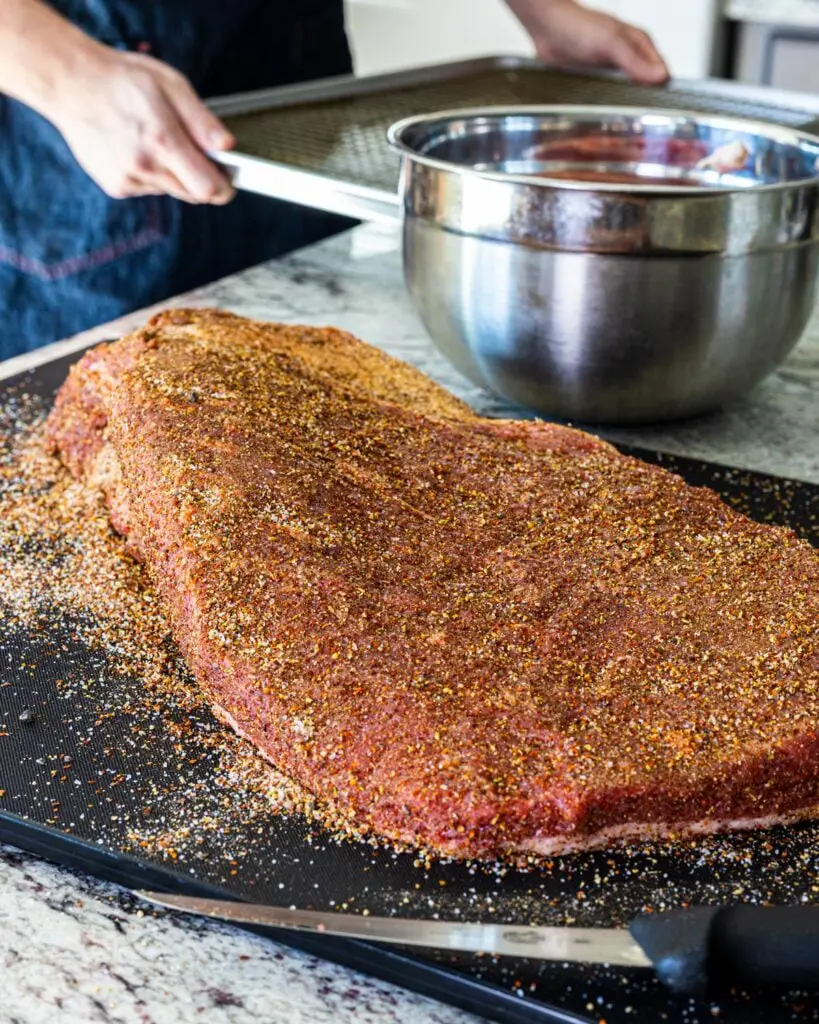
1. Seasoning the Brisket
Place the prepared brisket in the foil-lined pan. Combine all the dry seasonings (salt, pepper, garlic powder, celery powder, onion powder, and nutmeg) in a small bowl. Mix thoroughly to ensure even distribution of flavors. Sprinkle this seasoning mix generously over all sides of the brisket, using your hands to gently pat it into the meat. This ensures the spices adhere well and penetrate the meat for maximum flavor.
In a medium bowl, combine the BBQ sauce and liquid smoke. Whisk these together until they're well blended. This mixture will create a flavorful, smoky coating for the brisket. Pour this sauce evenly over the entire surface of the seasoned brisket, making sure to coat all sides.
3. Adding Moisture
Carefully pour 2 cups of water into the pan around the brisket, being careful not to wash off the seasoning or sauce from the meat. This water will create steam during cooking, helping to keep the brisket moist and tender.
4. Marinating
Cover the pan tightly with foil, ensuring there are no gaps where air can escape. Place the covered brisket in the refrigerator for 8-24 hours. This marinating time allows the flavors to penetrate deep into the meat, enhancing its taste and tenderness.
About 30 minutes before you plan to start cooking, remove the brisket from the refrigerator. This allows the meat to come closer to room temperature, promoting more even cooking. During this time, preheat your oven to 275°F and adjust your oven rack to the middle position.
6. Cooking Process
Place the foil-covered pan in the preheated oven. Cook for approximately 5 hours. The low and slow cooking method allows the tough connective tissues in the brisket to break down gradually, resulting in tender, flavorful meat.
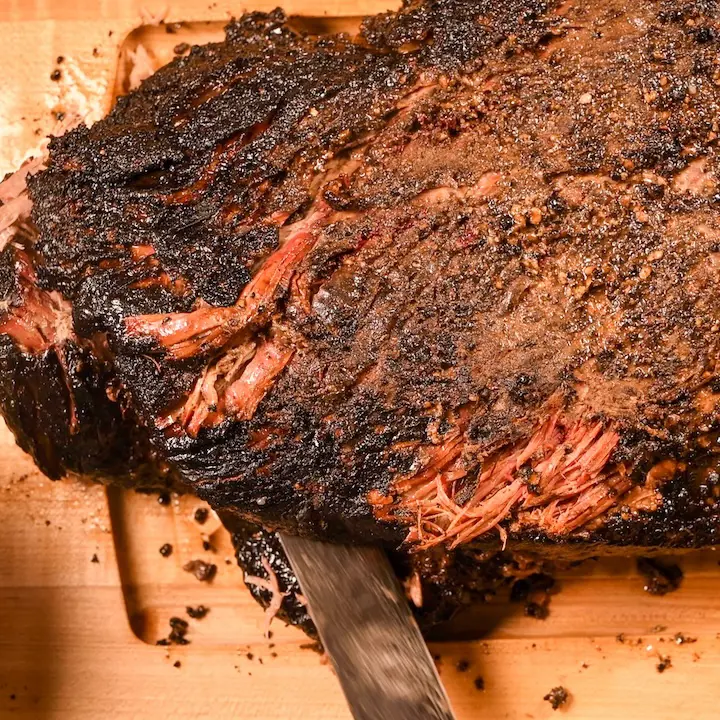
7. Checking for Doneness
After 5 hours, carefully remove the pan from the oven and open the foil (be cautious of hot steam). Insert a meat thermometer into the thickest part of the brisket. The ideal internal temperature is 200°F. At this temperature, the brisket should be tender enough that you can easily lift its center with tongs without it breaking.
If the brisket hasn't reached 200°F, re-cover it with foil and return it to the oven. Check the temperature every 30 minutes until it reaches the desired 200°F. Patience is key here – the exact cooking time can vary depending on the specific cut of meat and your oven.
9. Resting the Meat
Once the brisket reaches 200°F, transfer it to a cooling rack. Carefully open the foil to allow steam to escape. Let the brisket rest for at least 30 minutes. This resting period is crucial as it allows the juices to redistribute throughout the meat, ensuring a moist and flavorful result.
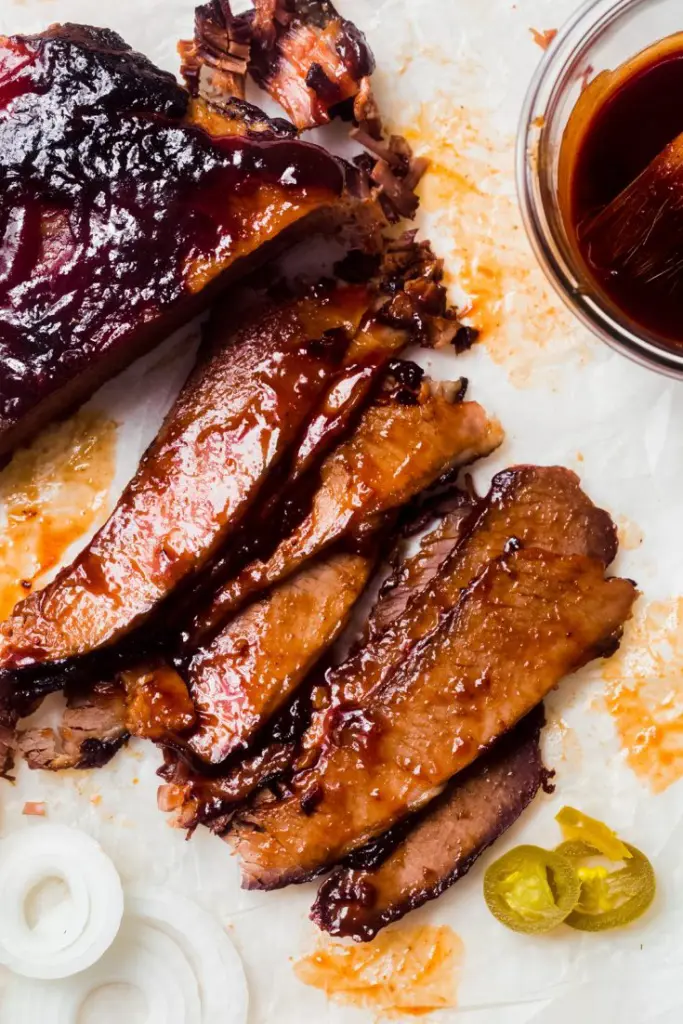
10. Slicing and Serving
After resting, transfer the brisket to a cutting board. Discard the cooking liquid from the pan. Slice the brisket against the grain into thin pieces. This cross-grain slicing helps ensure tender, easy-to-chew meat.
If you're preparing the brisket a day in advance, let it cool completely after the resting period. Wrap it tightly in foil and refrigerate overnight. The next day, slice the cold brisket – it's easier to get clean, thin slices when the meat is cold. Reheat the slices gently before serving.
12. Final Touches
Serve your beautifully cooked brisket with additional homemade or store-bought BBQ sauce on the side. This allows guests to adjust the sauce level to their preference.
The cooking time for brisket in the oven varies significantly based on several key factors. Understanding these elements is crucial for achieving the perfect, tender result:
Size of the Brisket: The weight of your brisket is a primary determinant of cooking time. Larger cuts naturally require more time to cook through.
Starting Temperature: A brisket straight from the refrigerator will take longer to cook than one that has been allowed to come to room temperature before baking.
Oven Temperature: The temperature at which you set your oven plays a significant role in determining cooking time and final texture.
Cooking Methods and Times:
1. Low and Slow Method (250°F):
For a smaller brisket (around 3 pounds), expect a cooking time of 3 to 4 hours.
This method allows for more even cooking and helps retain moisture.
Temperature checking: Begin checking after 2 hours, then every 30 to 45 minutes. As the brisket nears completion, check more frequently.
2. Higher Temperature Method (300°F):
Many popular recipes recommend cooking at 300°F with the brisket double-wrapped in foil.
A general guideline for this method is to allow 1 hour of cooking time per pound of meat.
The foil wrapping helps to trap moisture and can result in a more tender brisket.
Tips for Perfect Results:
Use a meat thermometer to ensure the brisket reaches the desired internal temperature (usually around 190-205°F for tender brisket).
Allow the brisket to rest for 15-30 minutes after cooking to redistribute juices.
Consider factors like desired doneness and your oven's individual characteristics when planning cooking time.
Additional Tips For Perfect Oven-Baked Brisket
1. Serving as a Saucy BBQ Brisket:
Allow the brisket to rest for 30 minutes after cooking. This crucial step helps the meat retain its juices when sliced.
Heat the sauce in the oven (around 200°F) or on the stovetop over low heat.
Spread the warmed sauce evenly across the bottom of the dish.
Slice the rested brisket against the grain into thin pieces.
Arrange the sliced brisket in the prepared baking dish, allowing it to absorb some of the sauce.
Serve directly from the baking dish, ensuring each portion includes both meat and sauce.
2. The Secret to Tender, Juicy Brisket:
Cook at a low temperature (250°F) for an extended period.
Resist the urge to increase the oven temperature, even if it seems to be taking a long time.
Low and slow cooking allows the tough connective tissues to break down gradually, resulting in a tender, melt-in-your-mouth texture.
3. Dry Rub Considerations:
While some prefer cooking brisket without a dry rub, using one significantly enhances the flavor profile.
A typical dry rub might include salt, pepper, paprika, garlic powder, and other spices.
For those monitoring sodium intake: Reduce the amount of salt in your dry rub recipe.
Consider using herbs and spices that add flavor without sodium, such as smoked paprika, cumin, or dried herbs.
Serve with a low-sodium BBQ sauce to add moisture and flavor without excess salt.
To store leftover brisket, first allow it to cool completely. Then, wrap the cooled meat in a sheet of parchment paper, followed by a layer of aluminum foil. This double-wrapping method helps preserve moisture and protect the brisket from absorbing other flavors in the refrigerator.
Store the wrapped brisket in the refrigerator, where it will keep well for 3 to 5 days. When you're ready to enjoy your leftover brisket, reheating it in the oven is the best method to retain its quality. Start by preheating your oven to 350°F (175°C). While the oven is heating, slice the cold brisket and wrap the slices in foil packets.
These packets can be placed directly on the oven rack or on a baking sheet. Heat the foil-wrapped brisket for about 15 to 20 minutes, adjusting the time based on the thickness and quantity of slices.
This gentle reheating process helps prevent the meat from drying out and ensures that your leftover brisket is just as delicious as when it was freshly cooked. Remember to check that the brisket is heated through before serving.
What To Serve With Baked Brisket
A perfectly roasted brisket deserves equally delicious side dishes to complement its rich, savory flavors. Here are some excellent options to round out your meal:
1. German-Style Potato Salad with Caramelized Onions
This warm potato salad offers a tangy contrast to the rich brisket. The caramelized onions add a sweet depth, while a vinegar-based dressing cuts through the meat's fattiness. The lack of mayonnaise makes it a lighter alternative to traditional potato salad.
2. Pea Salad with Bacon
Fresh, crisp peas combine with salty bacon for a refreshing side. The sweetness of the peas and the smoky flavor of bacon pair wonderfully with brisket. This salad adds a pop of color and a variety of textures to your plate.
3. Roasted Brussels Sprouts with Garlic and Lemon
Roasting brings out the natural sweetness of Brussels sprouts, while garlic and lemon add depth and brightness. The slight bitterness of the sprouts complements the richness of the brisket, and their crispy edges provide a nice textural contrast.
4. Mayo-Free Macaroni Salad
A lighter take on the classic, this mayo-free version uses a vinaigrette base for a fresher taste. It's a great way to add some carbs to the meal without overwhelming the brisket's flavor. The acidity in the dressing helps cut through the richness of the meat.
5. Smashed Sweet Potatoes with Garlic Butter and Honey
These offer a perfect balance of sweet and savory. The natural sweetness of the potatoes, enhanced by honey, pairs beautifully with the savory brisket. The garlic butter adds richness, while the crispy edges from smashing provide a delightful texture.
Author
Editor
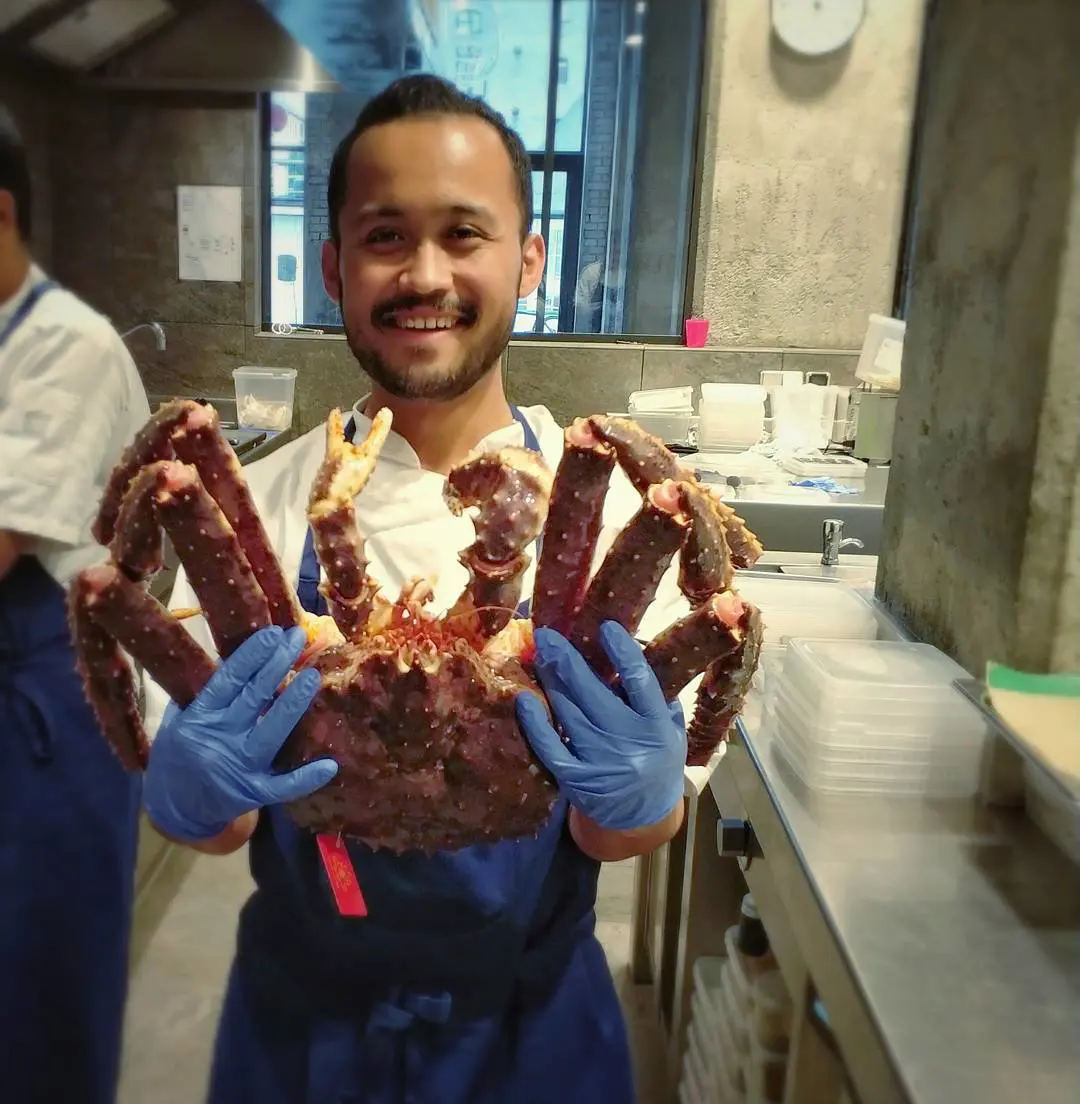
Aseesh Joshi
Aseesh Joshi is a Nepali globe-trotter based in Melbourne, Australia, with a rich culinary background spanning across the world. Currently serving as the Sous Chef at Laura Restaurant, Aseesh brings his expertise in international cuisine to create exceptional dining experiences. Previously, he held the role of Head Chef at Aamanns.dk and Junior Sous Chef at 108cph, where he honed his skills and refined his culinary artistry.
Aseesh's journey through the culinary world reflects his dedication to excellence and innovation. His travels and experiences continue to inspire his cooking, and he shares his culinary adventures with his growing community on social media.