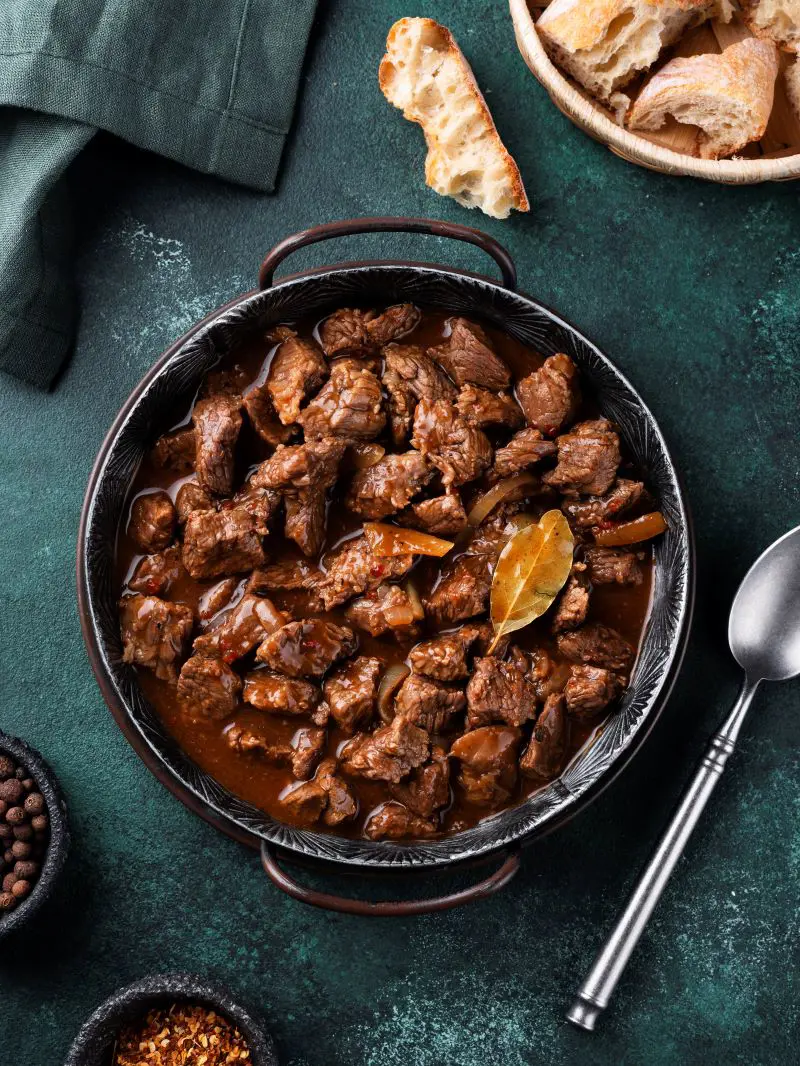
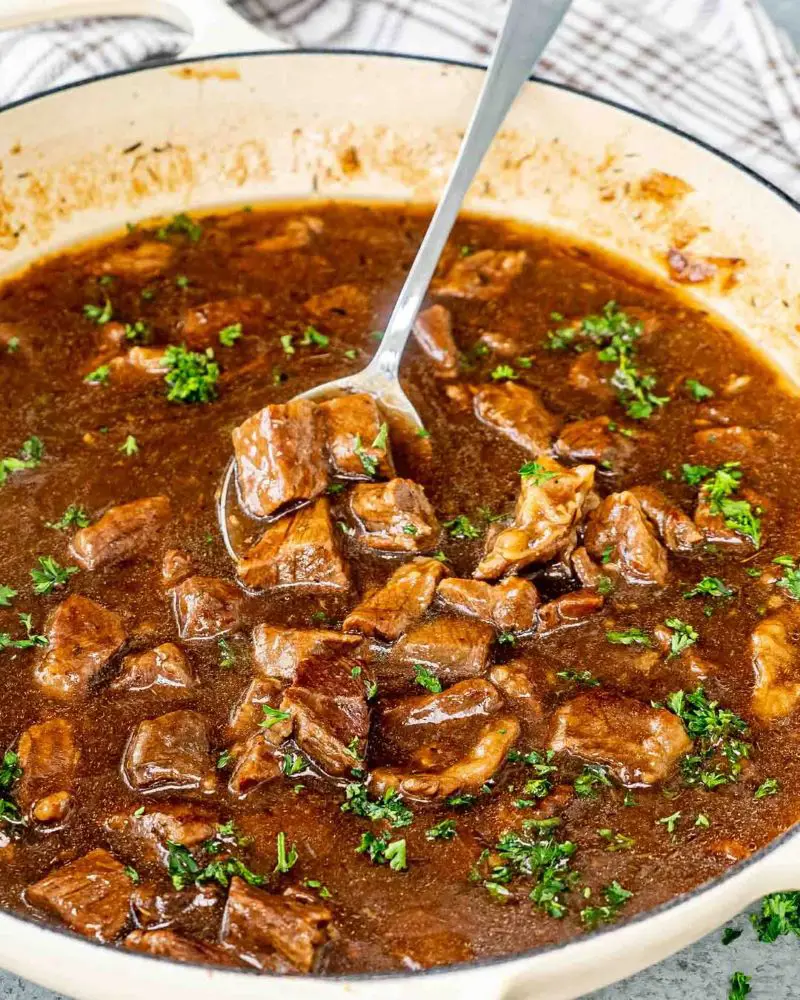
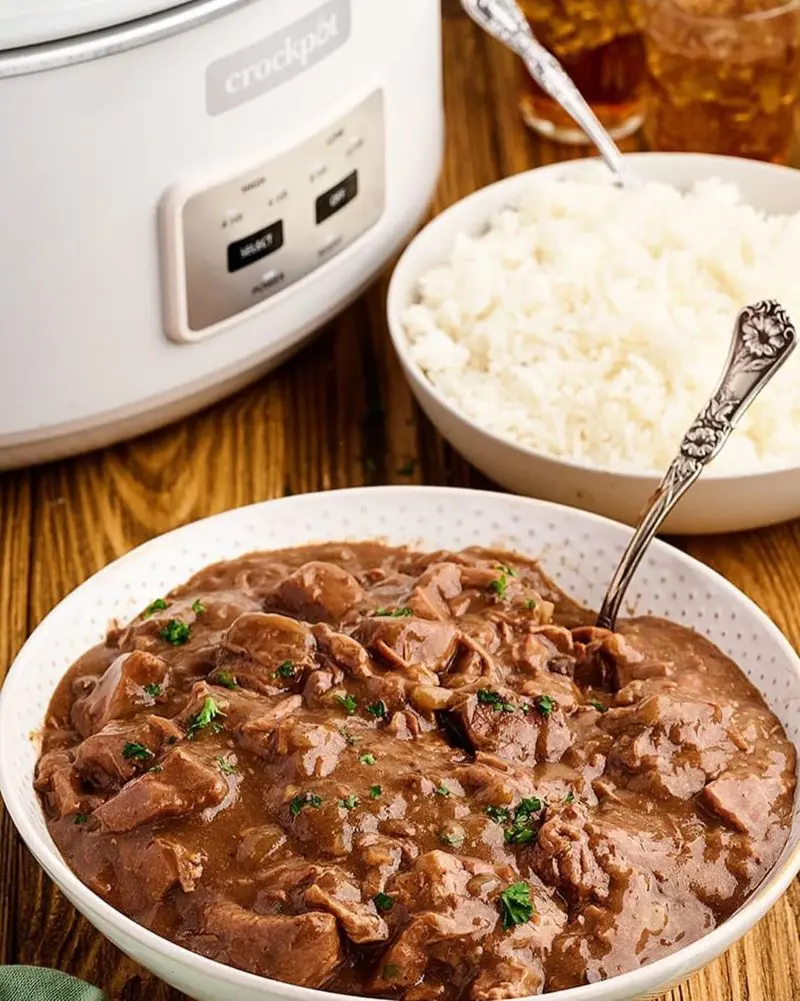
With the arrival of fall, the craving for cozy, braised dinners kicks in. And what could be better than tender beef tips in rich gravy - a perfect choice for slow braising? They’re also ideal for holidays and family gatherings.
This dish is so hearty and delicious that you’ll come back for it again and again. Got leftovers? Lucky you! They taste even better the next day. So, why wait? Try this recipe and make some for tonight!
What You'll Need To Make Beef Tips
Now that you are prepared to make beef tips for a fulfilling meal, you should recognize that using the right elements makes all the difference. But don't worry - no fancy items are required, and it won’t strain your budget.
Chuck Roast: Beef tips typically refer to sirloin tips. But this cut can be hard to find and more expensive than other cuts. For the meatiest, tender beef tips, go for boneless beef chuck. It is readily available and budget-friendly. You can also substitute it for beef stew meat if desired.
Vegetable Oil: This is to sear the beef and gives it a wonderful brown crust. For a slightly different flavor, opt for olive or canola oil for a neutral taste.
Aromatics: Use onion and garlic to create the foundation of the gravy. Onion adds herbal sweetness and savory flavor, while garlic brings a bold and fragrant flavor.
Butter: Use the unsalted version to make the roux for the gravy, because it provides a rich and creamy texture to the dish. When sautéing onion and garlic, butter helps caramelize them beautifully.
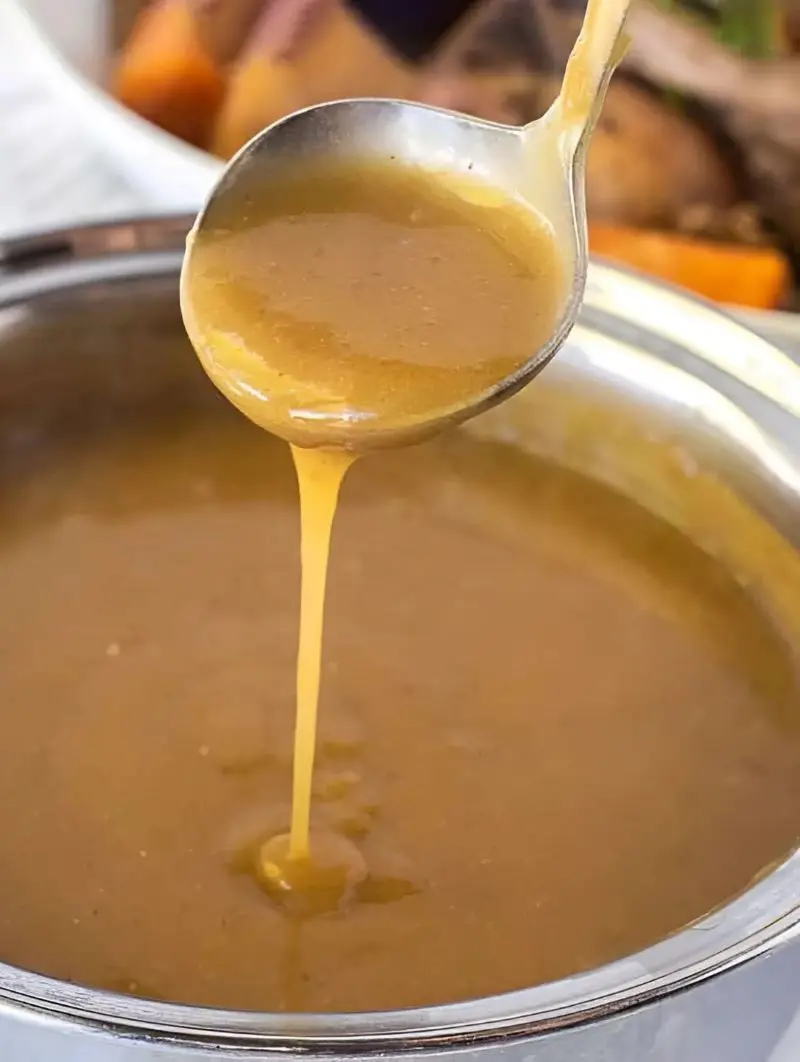
Flour: Cooking all-purpose flour in butter until it starts to brown and coats the bottom of the pot is an exceptional way to prevent lumpy gravy. This method creates a roux, which thickens the gravy and offers it a smooth consistency.
Beef Broth: If possible, choose low-sodium broth. If your outlet does not have it and you only find regular ones, reduce the salt by 1/4 teaspoon and regulate the seasoning to your liking at the end. Also, you can make your own beef broth at home.
Salt and Pepper: These are the dynamic duo of flavors. Don't add too much at first - you could always add more later.
Herbs: This is to infuse freshness and that signature herby aroma. Use fresh or dried herbs - or both; the selection is yours. Include thyme, rosemary, or parsley, depending on what you want.
Soy Sauce: It gives a lovely dark color to the dish. Choose the low-sodium version; if it is not available, the normal one is okay.
How To Make Tender Beef Tips: Easy Steps
Ingredients
1 medium yellow onion
3 cloves garlic
2 1/2 to 3 pounds beef chuck roast, boneless
2 tablespoons vegetable oil
1/4 cup all-purpose flour
2 tablespoons unsalted butter
3 cups beef broth, low-sodium
1 tablespoon Worcestershire sauce
1 tablespoon soy sauce, low-sodium
1 1/2 teaspoons kosher salt
1 teaspoon freshly ground black pepper
2 teaspoons dried thyme
2 sprigs fresh parsley (optional)
Instructions
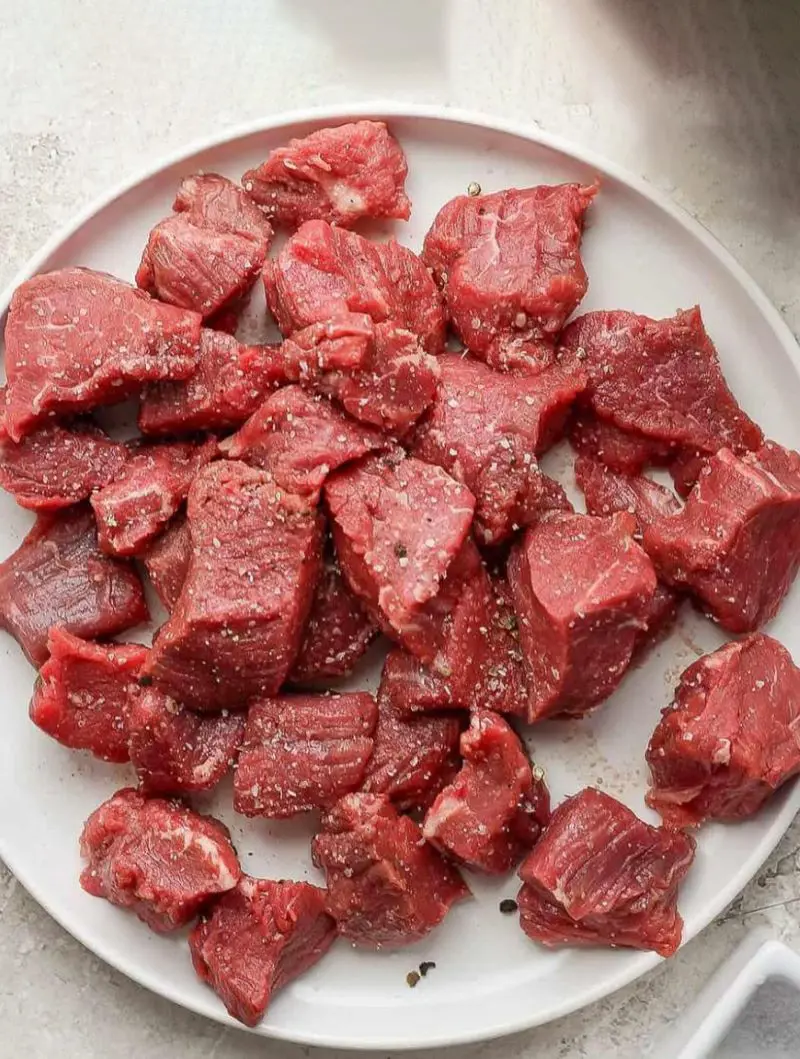
Step 1: Season Your Beef
First, grab your chuck roast and trim off any big pieces of fat. Chop it into really good, bite-sized pieces (anywhere from 1 to 1 ½ inch). After that, you need to combine thyme, salt and pepper in a bowl then season your beef pieces with it.
Make sure each piece gets a good coating – this is where the flavor starts! In the meantime, finely cut the onion and mince the garlic cloves.
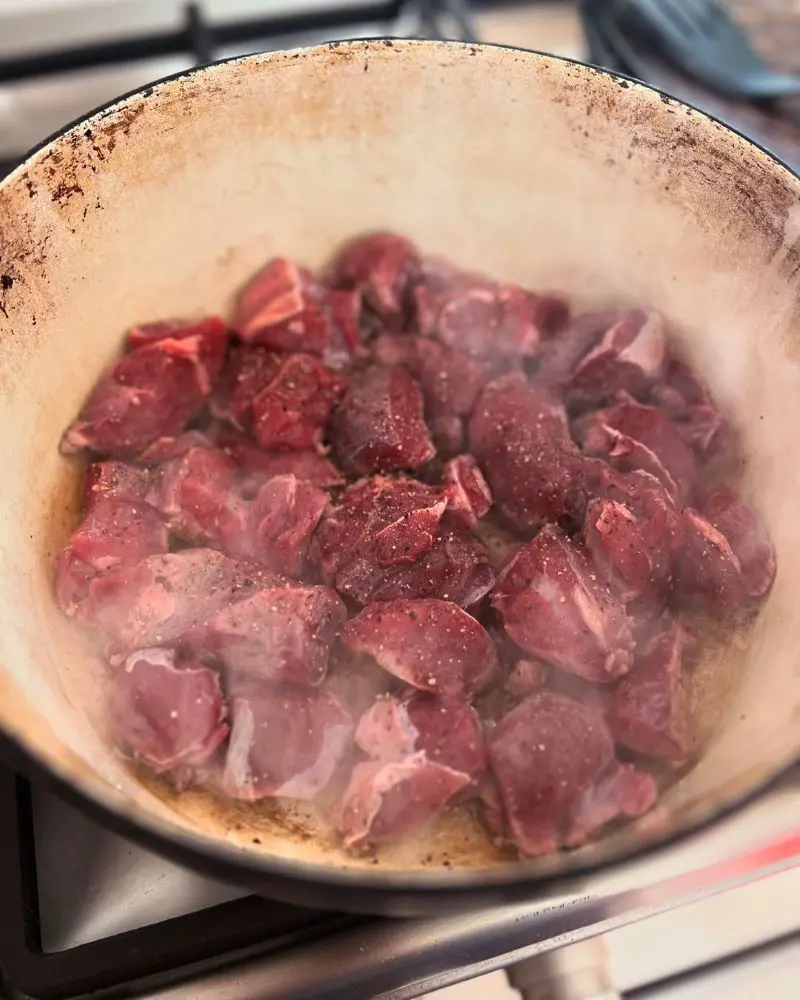
Heat up your Dutch oven with some oil until it's nice and hot. Working in two batches (don't crowd the pan!), brown your beef pieces until they get a nice golden crust. This takes about 2-3 minutes per side.
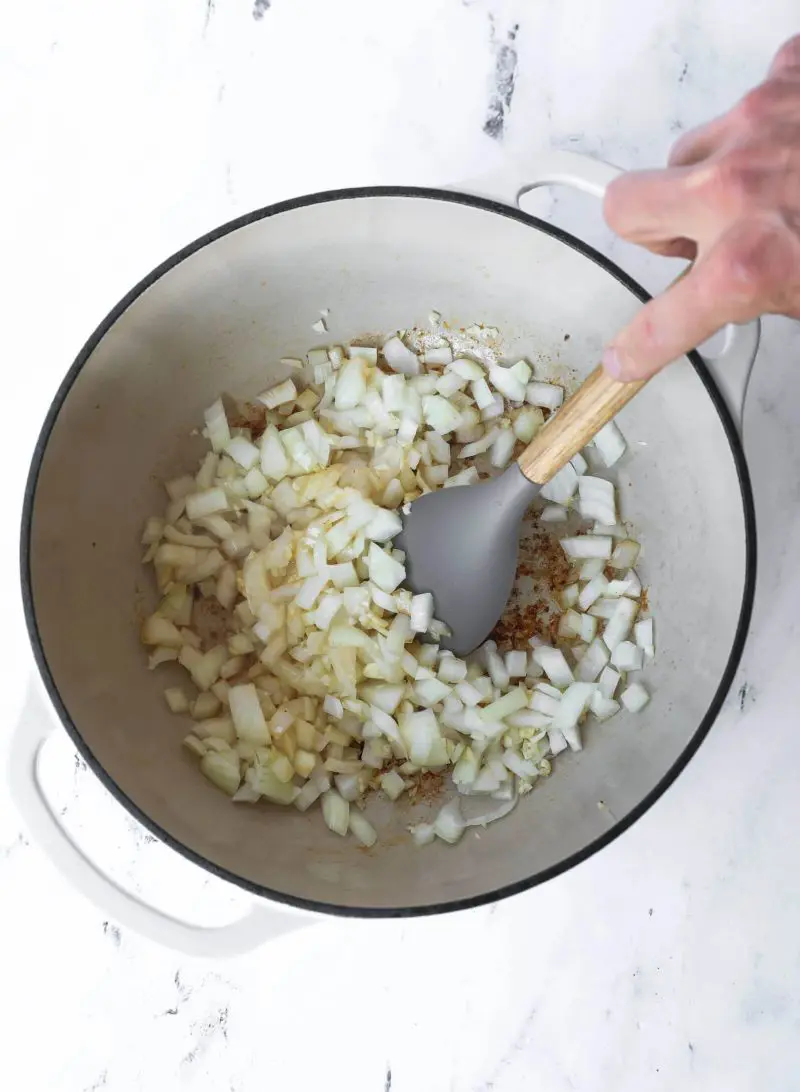
Drop your butter into the same pot and toss in those diced onions. Let them simmer until they are tender and turning lightly brown, scraping up all those tasty brown bits from the bottom.
When the onions are done, caramelize your minced garlic until you can see the rich warm smell coming out of it.
Sprinkle flour over your onion mixture and stir it around. Let it cook for about a minute – this gets rid of that raw flour taste. Now pour in your beef broth, soy sauce, and Worcestershire sauce.
Keep whisking until everything's smooth with no lumpy flour bits.
Put your beef again in the pot with any juices that collected on the plate. As soon as it starts to bubble, reduce the heat to a gentle boil. Place the lid on the pot, let it simmer for an hour stirring momentarily.
Step 6: Final Cook (45-60 mins)
Take the lid off and allow it keep simmering. This is the stage wherein the beef gets super soft and the sauce turns thick and rich. You'll realize it's done when you can cut the pieces with a fork without a problem.
Step 7: Serve
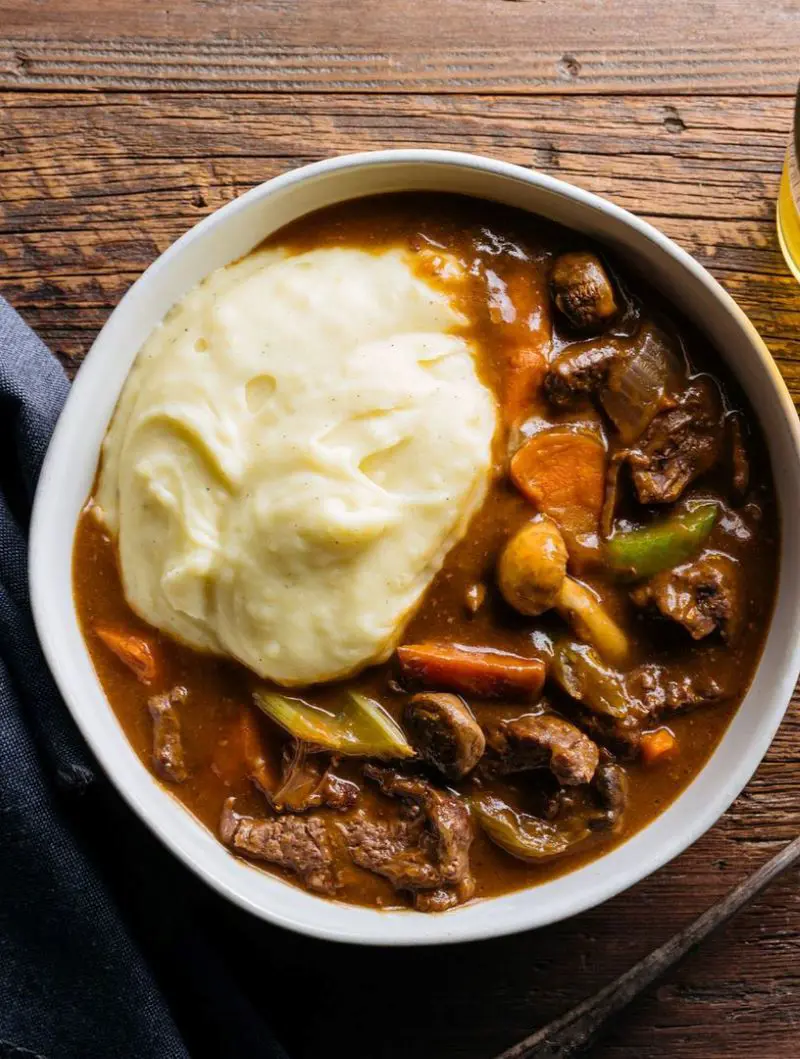
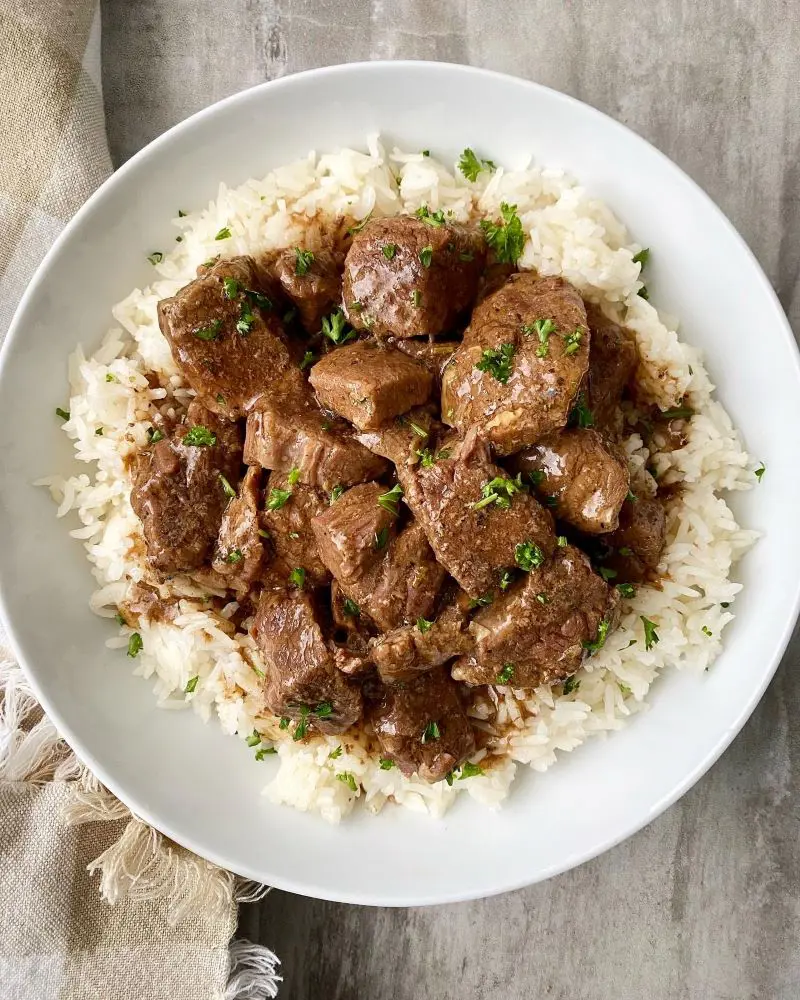
Spoon your beef tips and gravy over mashed potatoes, rice, or egg noodles. For that extra flavor, garnish with chopped fresh parsley on top.
Don't rush the browning step – it adds tons of flavor
Keep the heat low during the long simmer
If the gravy gets too thick, add a splash of beef broth
Taste before serving and add more salt if needed
Your beef tips should be fork-tender with a rich, savory gravy that's perfect for soaking into whatever you serve it over.
Other Ways To Make Beef Tips
At times, we feel inspired to get creative and experiment with something new. So why not try preparing these beef cuts using different methods?
Although the stovetop is convenient and accessible, you can cook this dish in an oven or a crockpot. Both techniques are incredibly easy and give you gentle, flavorful meat.
The oven method is great when you want a hands-off approach but don't want to wait all day. It usually takes about 2-3 hours at 325°F. The dry heat of the oven creates a nice, rich gravy as it cooks.
For oven cooking: Follow the seasoning and browning steps from the stovetop method above. After you've made the gravy base, cover your Dutch oven with a good-fitting lid and pop it in a preheated 325°F oven.
Let it cook for about 2 hours, then check the meat. If it's not fork-tender yet, give it another 30 minutes. Take the lid off for the last 20-30 minutes if you want a thicker gravy.
This is perfect for busy days when you need dinner ready when you get home. The low, slow cooking makes the beef fall apart tender, and your place will scent super all day.
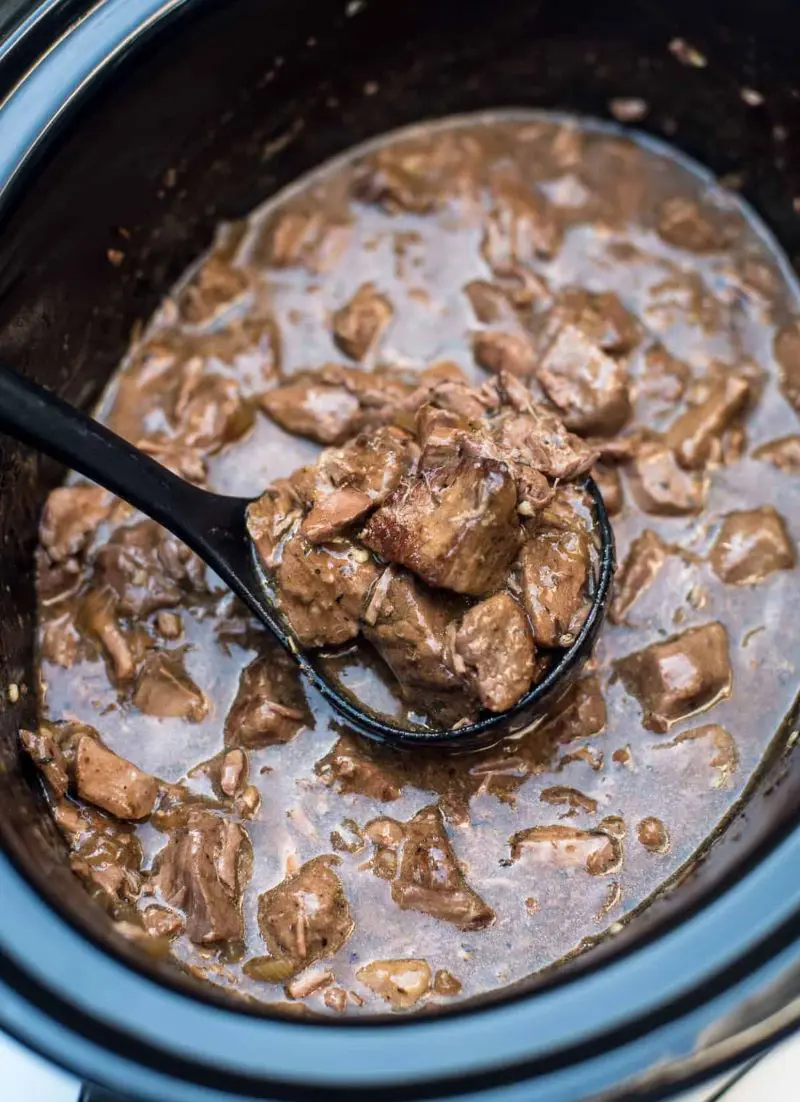
For crockpot cooking: Start with the seasoning and browning steps from above (yes, browning is well worth the extra few minutes!). Put your browned meat in the crockpot.
Prepare the gravy base on your pan as above then pour it over the meat in your crock pot. Cover and cook on LOW for 7-8 hours or HIGH for 3-4 hours. The meat needs to be super gentle while completed.
If the gravy's too thin at the end, just mix 1 tablespoon cornstarch with a bit cold water and stir it in.
Note: Don't peek too often – keeping the heat steady is key. Both methods work great if you need to make this dish ahead.
How Long To Cook Beef Tips
Cooking beef tips is easy once you know the basic times:
Stovetop:
Quick searing: 5-7 minutes
With sauce: about 25-30 minutes
Slow simmer: 45-60 minutes
Oven (at 325°F):
Basic cooking: 30 minutes
For tender meat with sauce: 2-3 hours
Crock Pot:
Low setting: 6-8 hours
High setting: 3-4 hours
Quick cook on high then low: 1 hour on high + 4-5 hours on low
These are only general guidelines. Several things have an effect on your cooking time, and it is good to know them. The size of your meat pieces makes a big difference – larger chunks need extra time to cook through.
Think of it like this: in case you cut your meat into one-inch portions, it will cook much faster than two-inch portions. Cold meat instantly from your refrigerator will take longer to cook than meat at room temperature.
That's why leaving your meat out for 30 minutes earlier than cooking helps.
The type of meat matters too – naturally tender cuts of beef cook faster, while tougher cuts need a greater time to become tender. When you add liquid to your pot, you are looking at longer cooking times, but you may get more soft meat in return.
Even your pot makes a difference – heavy pots heat more evenly but hold warmth longer, while lightweight pans might need extra time to get the job accomplished.
Remember to let your meat relax for 5-10 mins after cooking. The best way to know it's done? Try cutting a piece – when it's tender enough to cut easily, its ready to eat!
Tips For Making The Best Beef Tips
Select high-quality, lean beef; it does not need to be extravagant, but it should be fresh and contain minimal fat.
Don't throw all the meat in at once! Work in small batches. Give each piece some breathing room in the pot.
Try mixing chicken and beef broth. It brings extra flavor. Keep the color nice and rich by using more beef than chicken broth.
Let those tips hang out in the oven until they're super tender. They should practically melt in your mouth when done.
Keep an eye on the liquid level while cooking. If it's getting low, just splash in a bit more beef broth. You want the meat mostly covered.
Season your meat about 30 minutes before cooking. This gives the seasonings time to really stick to the meat. Pro move: sprinkle a little garlic powder in there too.
When your beef tips are done cooking, give them a 10-minute break. This lets all the juices settle back into the meat.
Love that meaty taste? Drop in some sliced mushrooms while your onions cook. They bring an amazing earthy flavor that makes the gravy even better. Both regular white mushrooms or brown cremini ones work great.
Potatoes
Talk about comfort food! Adding potatoes turns your beef tips into a complete meal. Cut them into bite-sized chunks so they cook evenly with the meat. Or grab those small baby potatoes - they look cute and cook up perfectly tender.
They soak up all the tasty meat juices and make everything extra filling. Plus, they help stretch the meal when you're feeding a crowd!
Herbs
Start with thyme - it's a classic that never fails. When you're feeling adventurous, try some fresh rosemary or pop in a couple of bay leaves. They each bring their own special flavor to the party.
Marinades
Pour in some soy sauce, balsamic vinegar, or Worcestershire sauce before cooking. These liquids really punch up the flavor and make the meat extra tender. Just a splash does wonders!
Wine
Don't worry - the alcohol cooks off, leaving behind amazing flavor! A splash of red wine in your gravy creates this rich, complex taste that makes everything more interesting.
It doesn't have to be fancy - just use what you'd drink. The wine helps deglaze the pan too, getting all those tasty browned bits into your sauce. Start with about half a cup and let it simmer down.
Tofu
Here's a clever plant-based meat substitute! Grab extra-firm tofu, press out the water, and cut it into chunks. The key is letting it sit in your marinade before cooking - tofu loves soaking up flavors.
When you cook it, it gets a nice golden outside while staying tender inside. The texture is different from beef, sure, but it's delicious in its own right and works great with all these same flavors.
Mix and match these add-ins based on what you love. Maybe start with mushrooms and herbs, then next time try potatoes with wine. There's no wrong way - it's all about making something you'll love to eat!
Mashed Potatoes: The soft beef is best served atop a smooth and buttery bed of mashed potatoes. Make them more creamy with milk and butter, and don't forget to add a touch of salt and pepper. The potatoes will absorb all that scrumptious gravy!
Egg Noodles: Wide egg noodles are best for catching all of the gravy from your beef tips. They're soft, slightly chewy, and just the right accompaniment for that rich meaty flavor.
Steamed Rice: A pile of fluffy white rice is splendid at soaking up all those meat juices. It's easy but does the job perfectly. Brown rice works too in case you want something a bit heartier.
Roasted Carrots: Peel and chop some carrots, drizzle them with olive oil and a little salt, and bake till caramelized. The bright orange shade goes nicely with the red meat color and sweetness complements the beef.
Sauteed Mushrooms: Since beef tips frequently include mushrooms within the gravy, why not add even more? Just cook them in butter until they are golden brown. They add an extra punch of flavor that is notable with the meat.
Beans with Garlic: Fresh green beans cooked till they are just crisp, then tossed with a bit butter and garlic. They upload a nice crunch and exceptional taste to balance out the rich red meat.
Simple Garden Salad: Sometimes you just want something easy and light. Toss together some crisp lettuce, tomatoes, and cucumbers along with your favorite dressing. It is a great way to incorporate a few crunch and freshness into the meal.
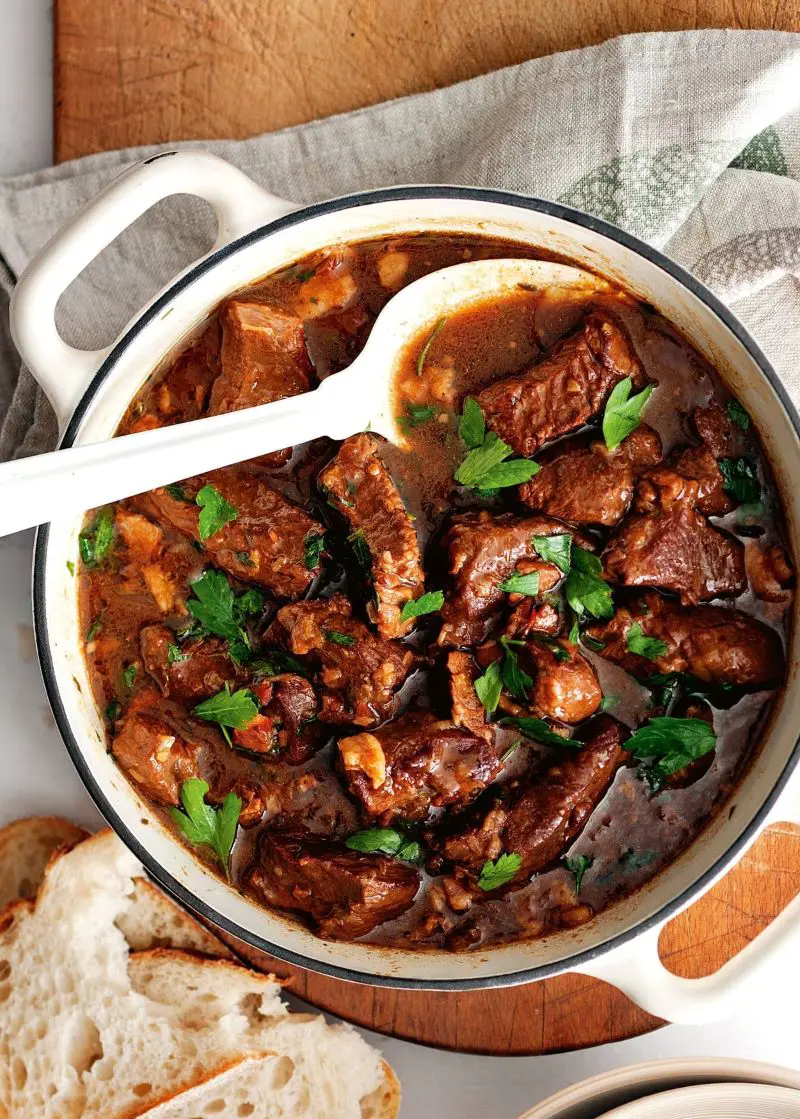
Crusty French Bread: Get some nice bread to soak up every last drop of that gravy. It's even better if you warm it up first - nothing beats tearing into warm, crusty bread!
How To Store Beef Tips
In the Fridge
Let your beef tips cool down first - don't rush to store them hot! Once they're at room temp, grab a container with a tight lid. The key is making sure that yummy gravy is covering your meat - this keeps everything nice and juicy.
When they are in the fridge, they will keep for about 3 to 4 days. Just check them before consuming - if something appears or smells off, better to play it secure and toss them out.
In the Freezer
Want to save them longer? The freezer comes to the rescue! Let them cool completely, then put them in a freezer-safe container. Leave a little room at the top - the gravy might expand when it freezes.
They'll keep well for 2-3 months in there. When you're ready to eat them, just move them to the fridge the night before to thaw out slowly.
Reheating
Skip the microwave if you can - it might make the meat tough. Instead, pour everything into a pan and warm it up slowly on the stove. Keep stirring now and then so everything heats up evenly.
If the gravy's gotten too thick, no worries! Just add a splash of beef broth or even water to thin it out.
Author
Editor
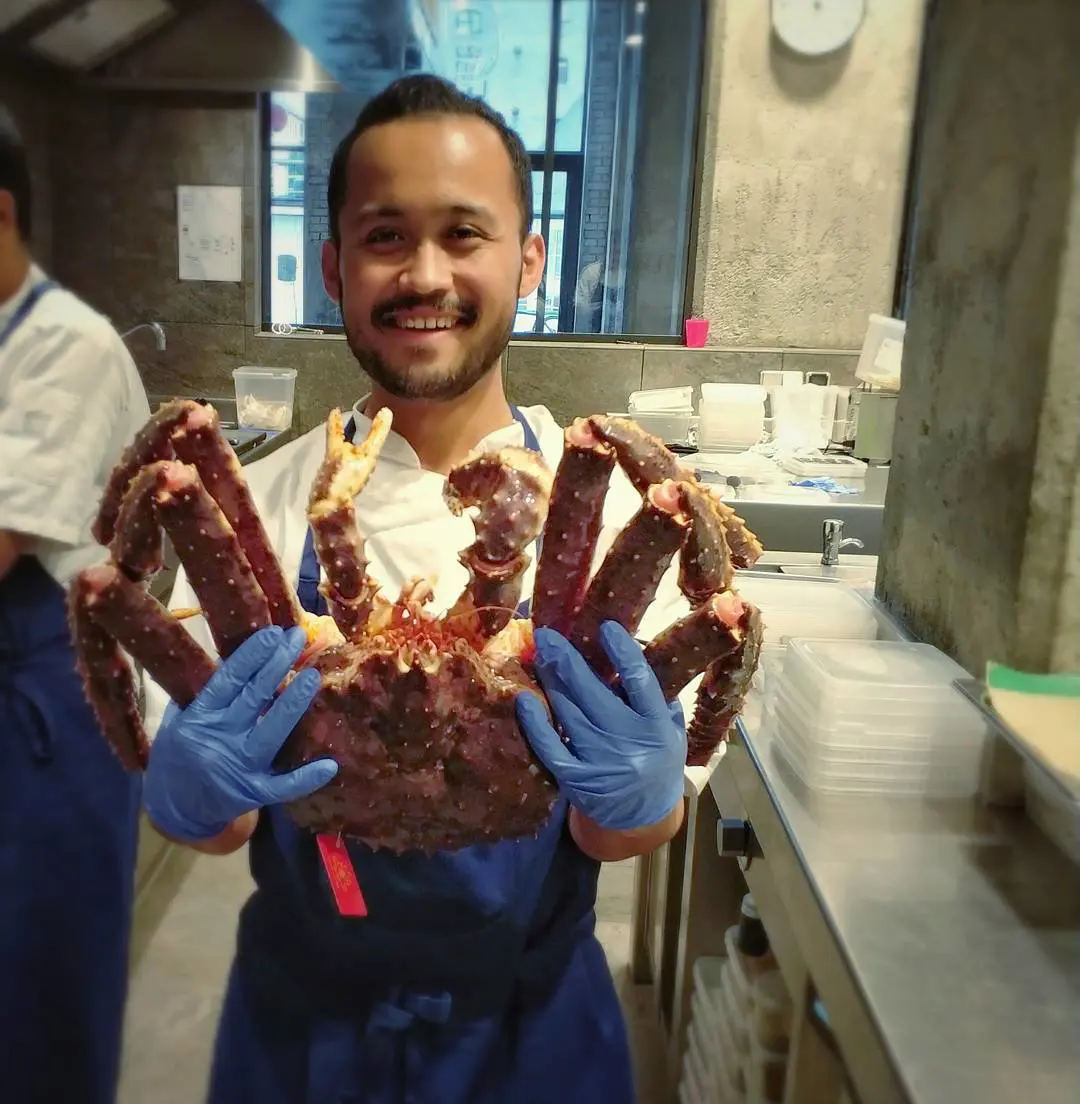
Aseesh Joshi
Aseesh Joshi is a Nepali globe-trotter based in Melbourne, Australia, with a rich culinary background spanning across the world. Currently serving as the Sous Chef at Laura Restaurant, Aseesh brings his expertise in international cuisine to create exceptional dining experiences. Previously, he held the role of Head Chef at Aamanns.dk and Junior Sous Chef at 108cph, where he honed his skills and refined his culinary artistry.
Aseesh's journey through the culinary world reflects his dedication to excellence and innovation. His travels and experiences continue to inspire his cooking, and he shares his culinary adventures with his growing community on social media.