The average steak lover gravitates toward the classics - sirloin or ribeye. These steakhouse favorites never disappoint, but the price tags can shock any meat-loving wallet.
An affordable chuck steak can transform into something just as mouthwatering as those pricey cuts. The magic lies in proper cooking methods and a few insider tricks. Smart home cooks know that budget-friendly cuts deserve more attention.
What You'll Need To Cook Chuck Steak
Chuck steak preparation celebrates simplicity. You do not want an extended list of fancy elements - simply basic pantry staples that work collectively to transform this economical cut into a memorable meal.
Every component serves a purpose in creating tenderness and developing rich flavors.
Chuck Steak: Look for bright red meat with good marbling, approximately 1-1.5 inches thick. Avoid pieces with excessive external fat or those that appear dull or gray. Quality chuck displays fine white fat streaks throughout, ensuring juiciness during cooking.
Olive Oil: Serves as your base marinade ingredient. It helps carry flavors into the meat and prevents it from sticking to your cooking surface. Regular olive oil works better.
Vinegar: Acts as a natural tenderizer by breaking down difficult muscle fibers. Balsamic or red wine vinegar proves the most effective. You need a small quantity - too much can make the beef smooth.
Brown Sugar: Helps create a caramelized crust and balances the acidic vinegar. It also adds subtle sweetness and helps with meat browning. Go for dark brown sugar as it has higher molasses content.
Garlic: Fresh minced garlic adds essential savory flavor. Crush or mince it finely to release more flavor compounds.
Italian Seasoning: Usually combines basil, oregano, thyme and rosemary. These herbs add aromatic depth to your steak. Don't have one? Use any combination of these dried herbs.
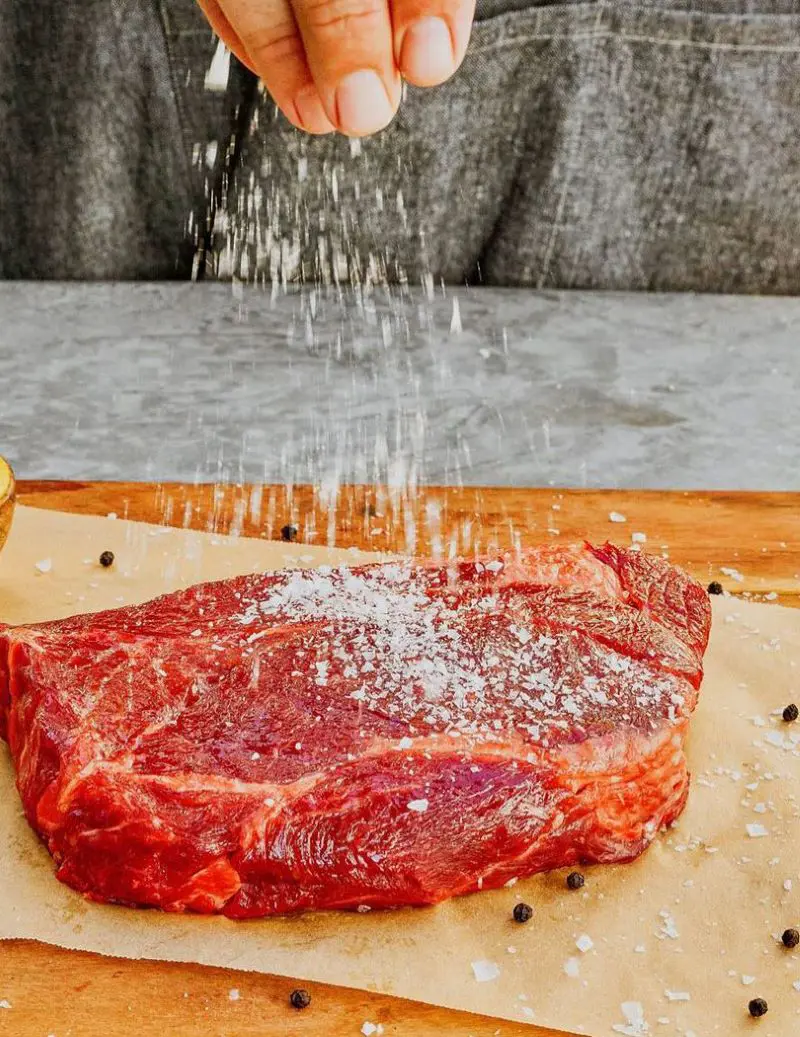
Salt and Pepper: These are crucial for bringing out the meat's natural flavors. Salt aids tenderizing while maintaining moisture.
Red Pepper Flakes: Provides balanced heat complementing other seasonings. It's wise to start with less as you can always add more if desired.
Compound Butter: Herb and garlic-infused soft butter melts luxuriously over hot steak. Though optional, this final touch elevates the entire dish.
How To Season A Chuck Steak
You have two reliable ways to prepare your chuck steak. Both methods work well - your choice depends mainly on how much time you have.
Remember, chuck steak is clearly tougher than different other cuts, so the right preparation makes a big difference for your very last result.
How To Cook Chuck Steak In The Oven
Ingredients
2 chuck steaks (about 1-1.5 inches thick)
3 tablespoons olive oil
2 tablespoons balsamic vinegar
1 tablespoon brown sugar
4 cloves garlic, minced
1 tablespoon Italian seasoning
2 teaspoons kosher salt
1 teaspoon black pepper
1/2 teaspoon red pepper flakes
Compound butter (optional):
4 tablespoons softened butter
2 cloves minced garlic
1 tablespoon fresh parsley, chopped
Instructions
Step 1: Marination
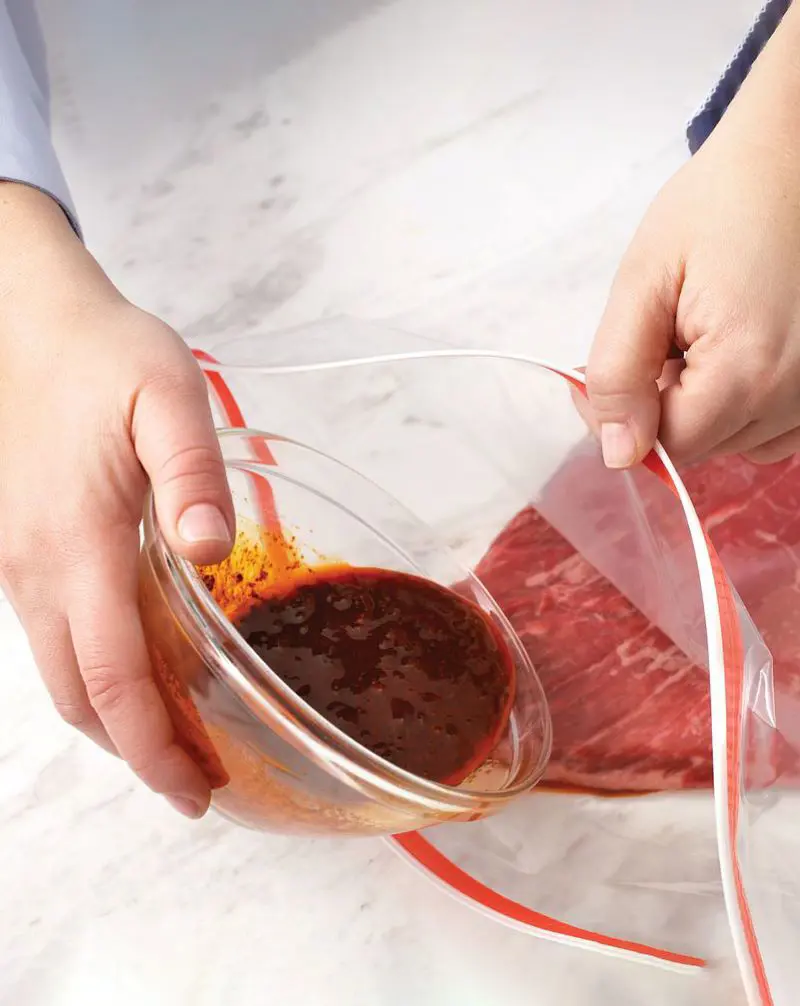
In a bowl, put all the marinade ingredients. Include only half of the salt. Beat together until sugar dissolves.
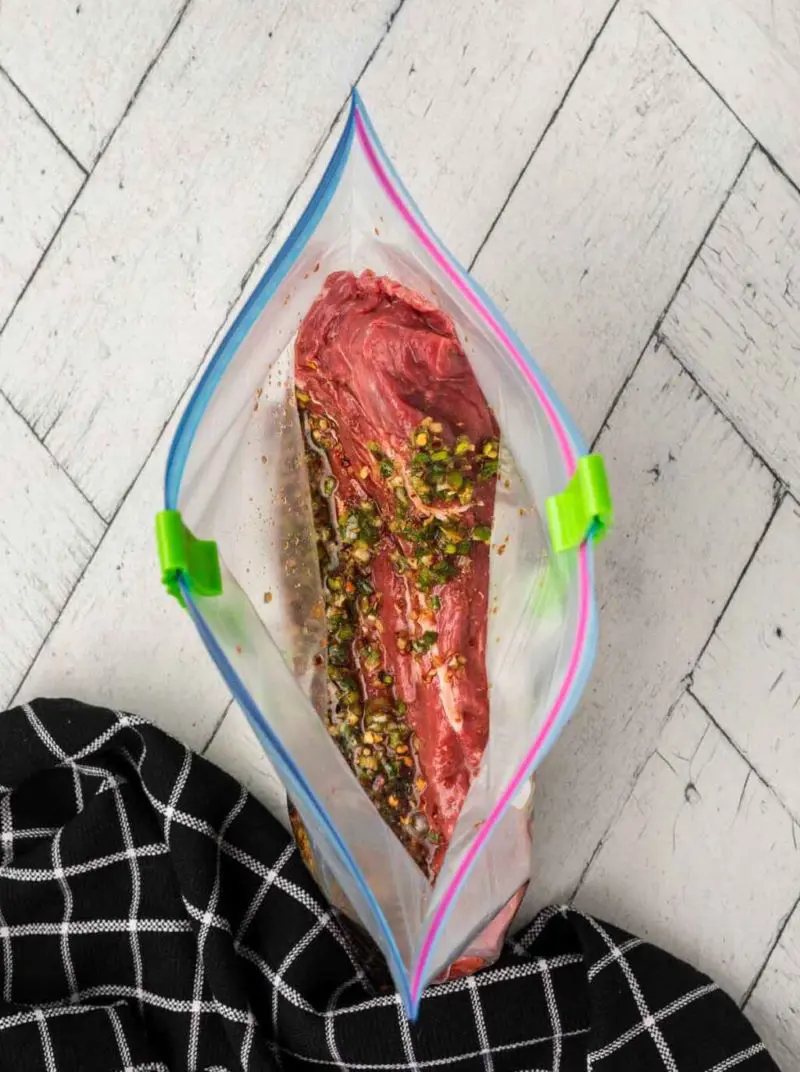
Put your steaks in a ziplock bag then pour in the marinade. Be certain it covers every part of the red meat.
Seal the bag tightly. Keep it in the fridge for a minimum of 2 hours. Leave it for the night if you want more flavor. Just remember to flip the bag occasionally so all sides get equal marinade time.
Bring the steaks out of the refrigerator 30 minutes before you decide to cook them. Take them out of the marinade then dry them nicely. It is very crucial in the process of achieving that perfect sear. Then spread the remaining salt on both sides.
Let the oven get nice and hot at 400°F. Next, put a cast iron skillet or any oven-safe pan inside the appliance as it heats up.
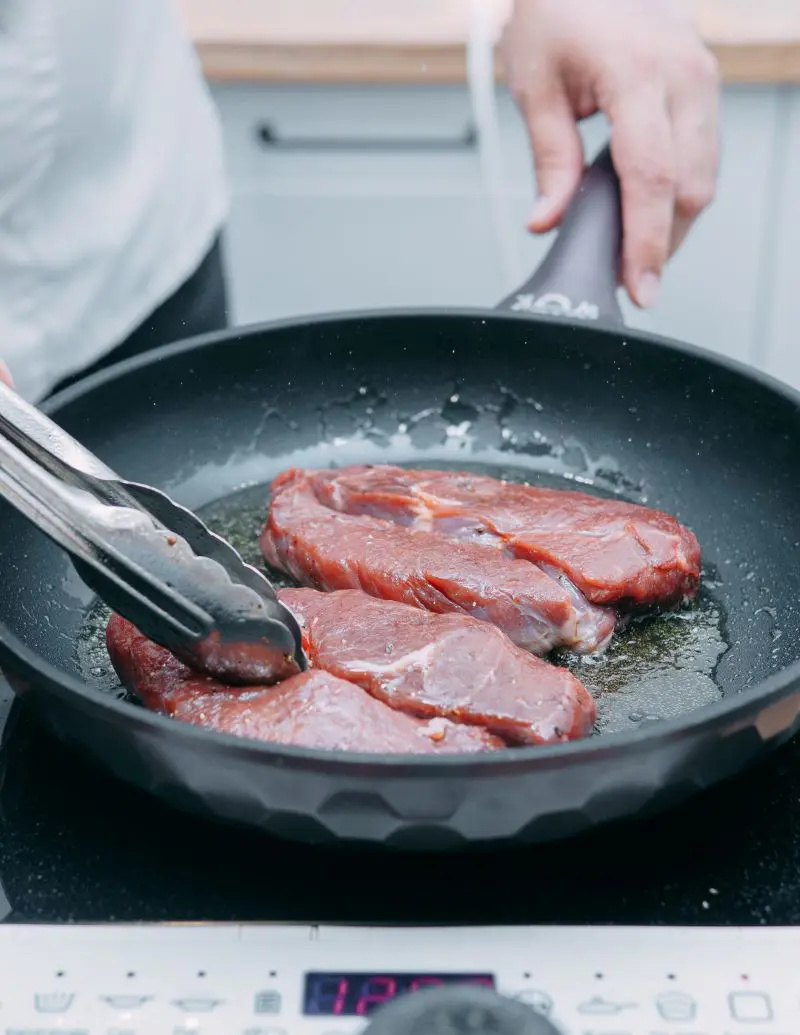
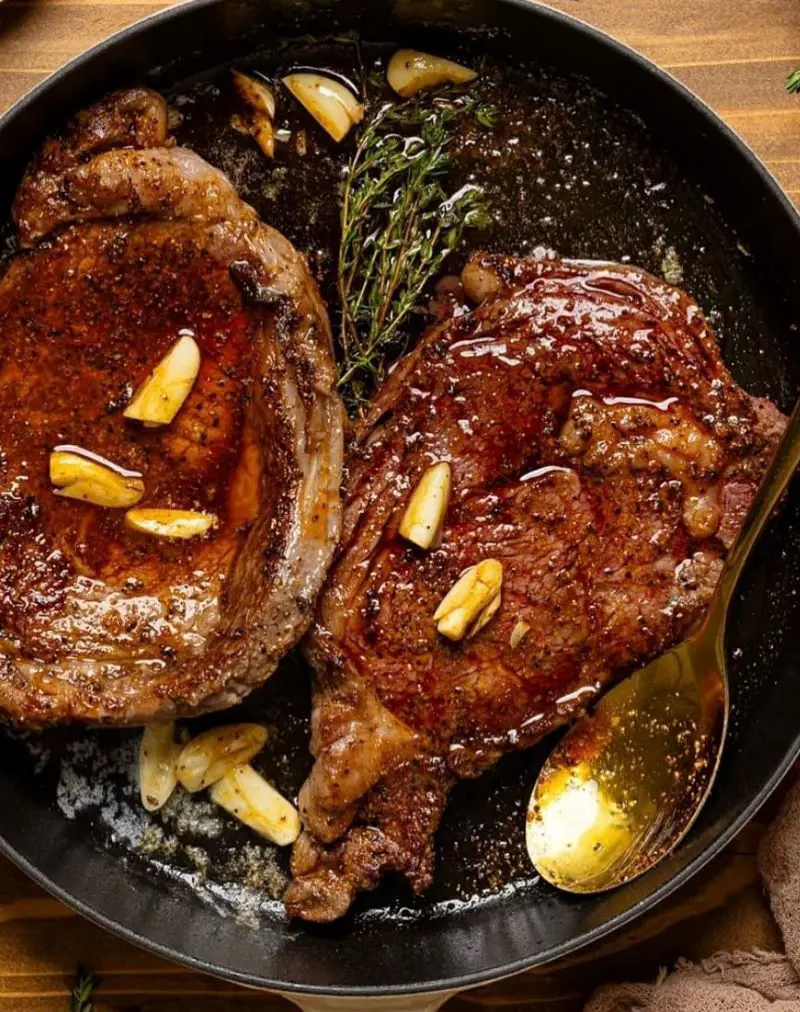
Step 3: Searing
Once your pan is hot, carefully transfer it from the oven to the high heat on the stovetop. Add a tablespoon of olive oil to the pan. When the oil begins to slightly melt, place your steaks into the pan.
Let them sear for 3-4 minutes on each side till they develop a rich, brown crust. Don't move them around - simply let them sit and sear.
After both sides are seared, switch the entire pan with the steaks into your preheated oven. For medium-rare, cook for approximately 8-10 mins, or until a meat thermometer reads 135°F.
Add or subtract 2 minutes for your desired doneness. Remember, the temperature will rise another 5 degrees while resting.
Step 5: The Important Rest
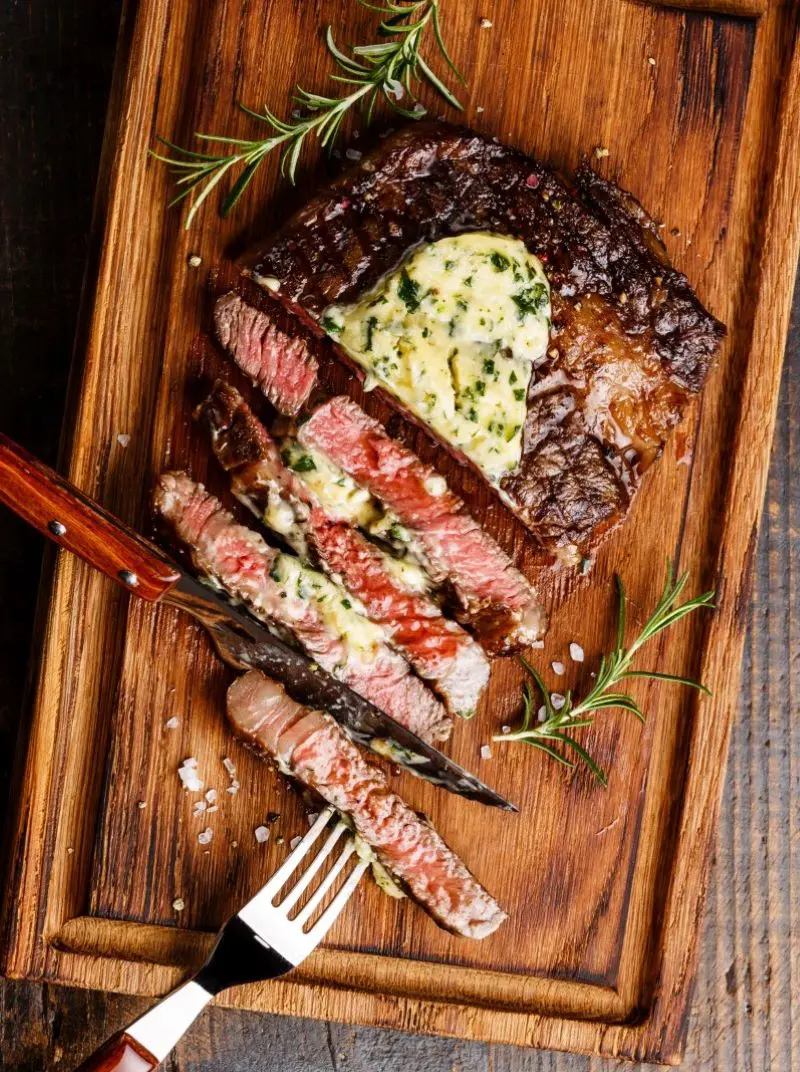
Once done, remove the steaks from the oven and shift them to a cutting board. Top the steaks with a tablespoon of compound butter (if using). Cover them loosely with foil and let them relax for 10 mins.
This step is non-negotiable - this way the juices redistribute throughout the beef, making sure every bite is juicy.
Step 6: Slice and Serve
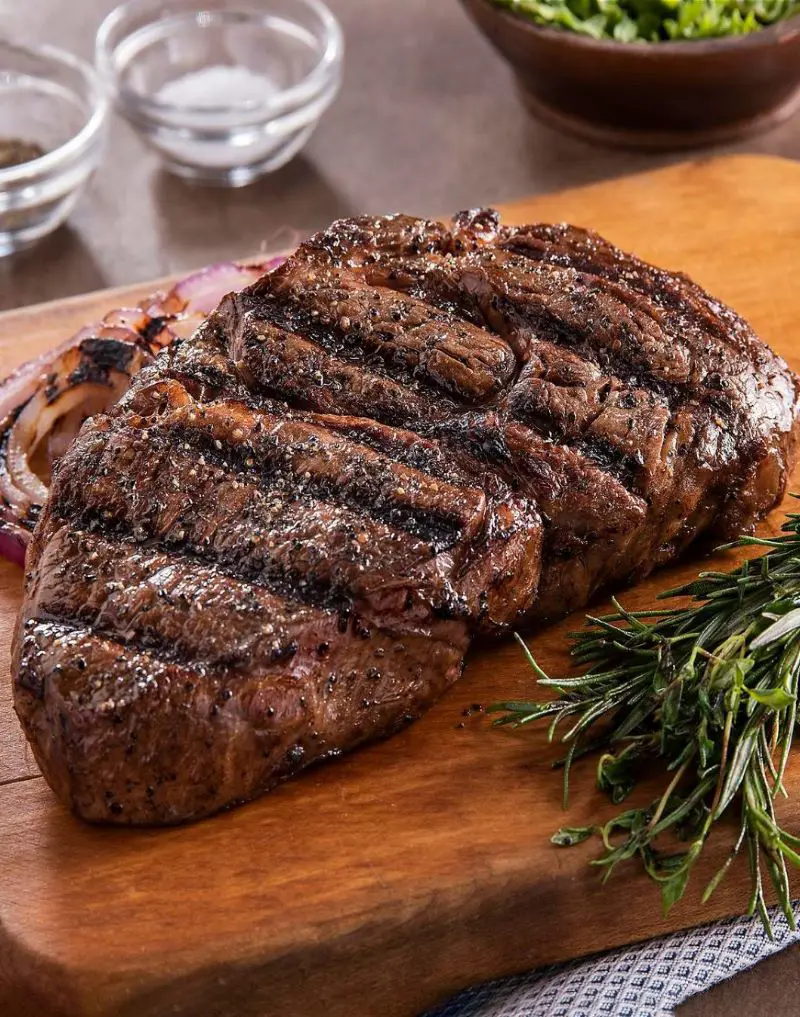
After resting, slice the steaks against the grain. This makes each bite more tender. It is recommended it should be served hot. Do you see any juices left in the pan? Simply pour it over the meat.
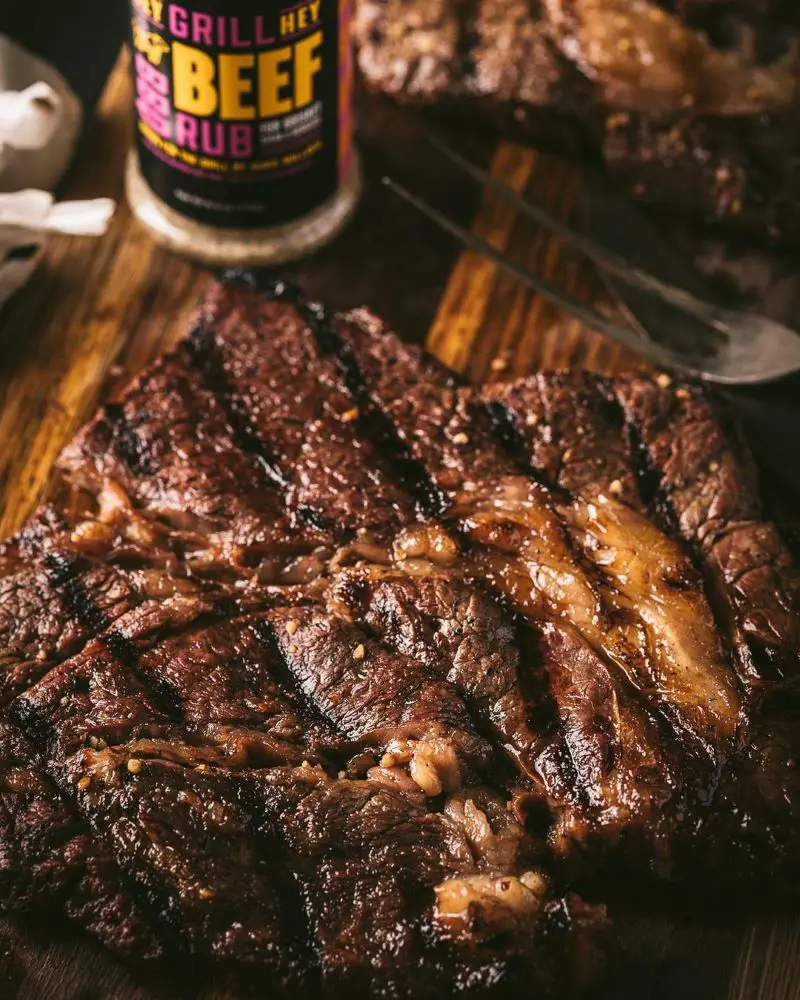
Craving that smoky flavor in this cut of meat? Try grilling! You can use the same marinade and seasonings as the stove-to-oven approach.
The key to success lies in managing your grill's heat zones and timing. Once you grasp these basics, you'll get juicy, flavorful outcomes on every occasion.
Instructions
Step 1: Initial Prep
Follow the same preparation and marinade instructions as the oven method above. Let your steak marinate for at least 2 hours, but overnight works even better. Remember to bring the meat to room temperature before grilling.
Step 2: Set Up Your Grill
Create two heat zones in your grill - one for direct (high) and one for indirect heat (medium-low). For a gas grill, set one side to excessive and the opposite to low. For charcoal, pile most coals on one side.
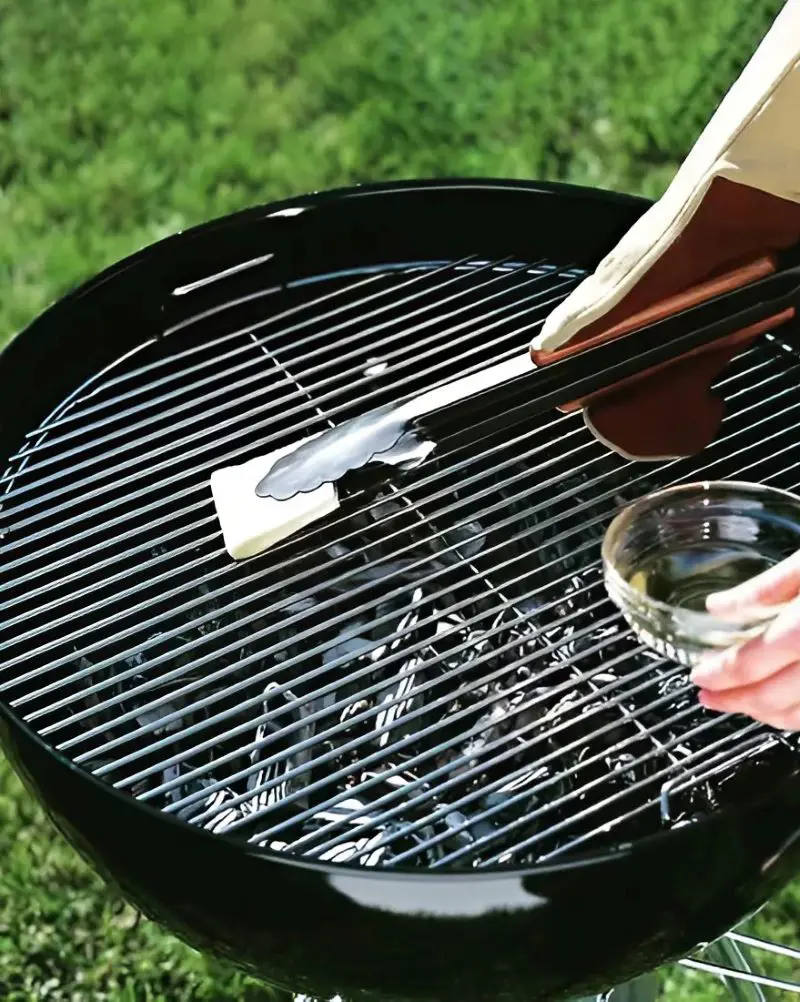
Let the grill heat up for 15-20 minutes. Clean and oil your grates well.
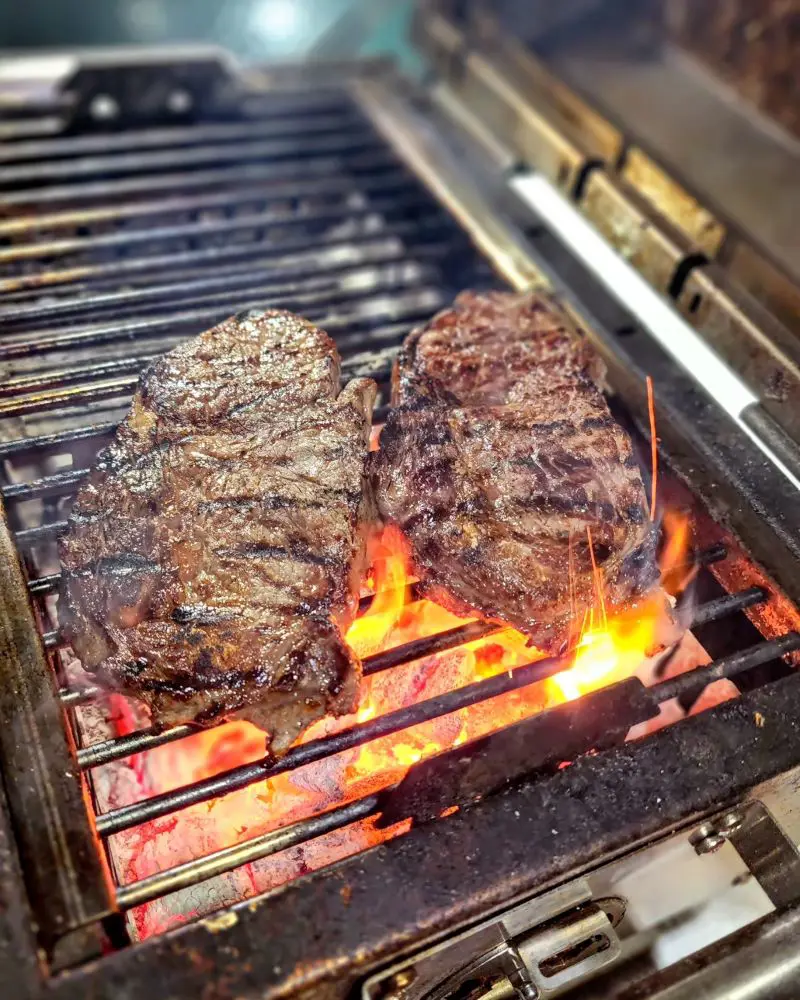
For this step, you need your marinated steaks. Place them in the direct heat zone. Keep your grill uncovered and sear for 3-4 minutes on each side. Watch for flare-ups from dripping fat.
You want to see nice grill marks and a brown crust forming.
Move your steaks to the indirect heat zone. Close the grill lid and let them cook until they reach your desired doneness. This usually takes 7 to 11 minutes, depending on how well done you want your steak.
Step 5: Check Doneness
Use a reliable meat thermometer to check the internal temperature. Insert it into the thickest part of the steak. Remember that the temperature will rise about 5 degrees during resting.
Step 6: Rest and Serve
Remove steaks from the grill and place them on a cutting board. Top each with a dollop of compound butter. Cover loosely with foil and let rest for 10 minutes. This lets the juices redistribute throughout the meat.
Cut the steaks in opposition to the grain into strips. The slices must be slightly thicker than the pencil width. Serve immediately while hot, letting the melted compound butter sauce each slice.
Pro Grilling Tips:
Keep the lid closed during indirect cooking
Use tongs instead of a fork to avoid piercing the meat
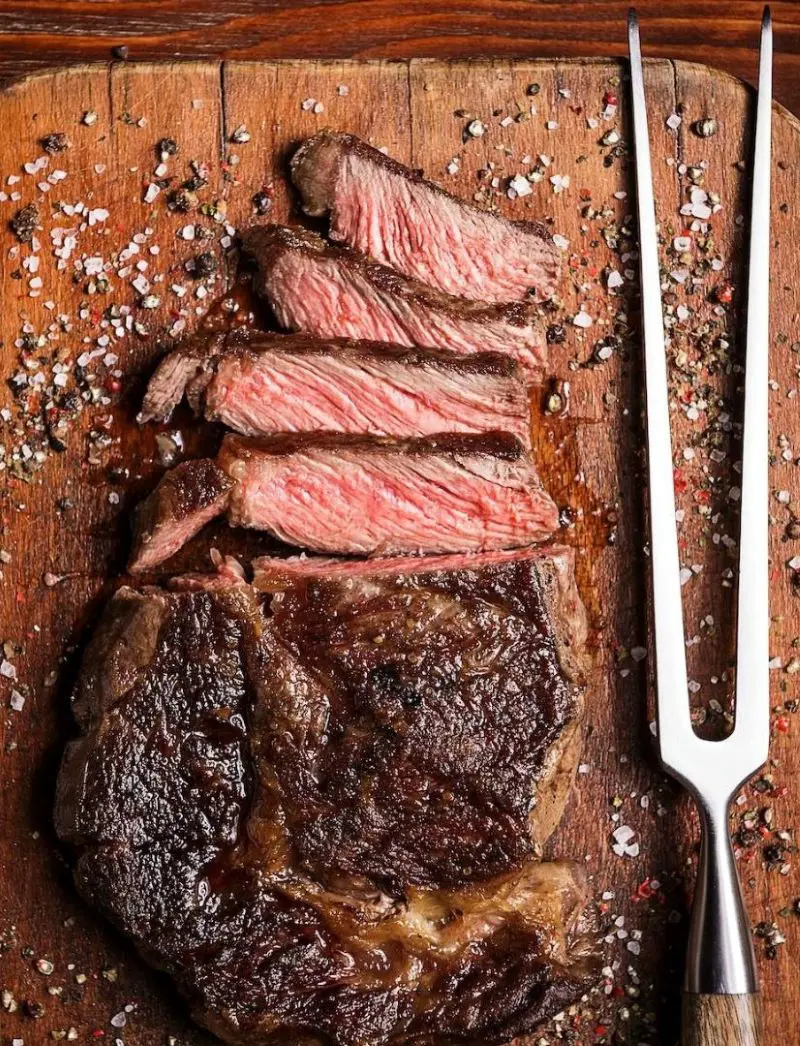
Properly cutting your chuck steak can make the difference between hard, chewy meat and gentle, fun bites.
Since chuck steak has distinct muscle fibers and a few connective tissues, slicing against the grain breaks up these difficult fibers into shorter pieces. This easy technique makes each chunk simpler to chew and more exciting to devour.
Cutting Process:
Let It Rest: After cooking, place the steak on a chopping board and let it sit for 10 minutes. This crucial step keeps the flavorful juices locked within the meat, rather than spilling out with an early cut.
Find the Grain: Examine the surface of the steak to locate the muscle fibers. These lines run in a consistent direction across the meat - some cuts show this pattern clearly while others require closer inspection.
Position Your Knife: Hold a sharp knife perpendicular to the muscle fibers, ensuring you'll cut across the grain rather than along it. This technique guarantees tender slices.
Make the Cuts: Begin at one end of the steak and slice steadily through the meat, creating uniform strips approximately 1/2 inch in thickness. Use smooth, firm downward motions - don't saw back and forth. Hold the meat steady with a carving fork as you cut.
Serve: Arrange the slices on a warm plate. You can fan them out to show off the doneness of your steak. Pour any juices that are collected during resting over the sliced meat for extra flavor.
Essential Tips:
A sharp knife is crucial
Keep your cutting board steady
Cut portions you can eat in one or two bites
Keep your cuts even for the best presentation and eating experience
These are general guidelines. A steak's cooking time varies based on multiple factors. Thickness plays a crucial role - expect a 1-inch cut to cook much quicker than a 1.5-inch piece.
Starting temperature matters too. A steak straight from the fridge needs more time than one at room temperature.
Your cooking equipment plays a role as well. Every oven heats slightly differently, and gas grills often cook differently than charcoal ones. Even your pan choice matters - cast iron holds heat better than regular pans, which affects searing time.
Time alone won't guarantee perfect results. For reliable cooking, insert a meat thermometer into the thickest section, away from fat or bone. This method reveals the exact internal temperature.
Keep in mind that during the resting phase, the temperature typically climbs another 5-10 degrees. Factor this rise when checking for desired doneness.
Steak Doneness Temperature Chart:
Rare: 125°F (bright red center)
Medium-Rare: 135°F (warm red center)
Medium: 145°F (warm pink center)
Medium-Well: 150°F (slightly pink center)
Well Done: 160°F (no pink)
For chuck steak, aiming for medium-rare to medium usually gives the best results.
Tips For The Best Beef Chuck Steak
Season Generously: Don't be shy with salt and pepper. Chuck steak needs good seasoning to bring out its flavor. Apply seasonings nicely across both sides, firmly pressing spices into the meat surface for better adhesion.
High Temp: Proper searing requires intense heat, regardless of using a pan or grill. Getting the cooking surface extremely hot before adding the meat creates an excellent crust while maintaining interior juiciness. You should hear a strong sizzle when the meat hits the cooking surface.
Don't Move It Too Much: Let your steak cook undisturbed for the recommended time. Moving it around prevents proper browning. Flip it only once during searing - patience is key here.
Watch The Thickness: Thicker steaks (1-1.5 inches) work better for chuck cuts. They're less likely to overcook and stay juicier. If your steak is thinner, reduce cooking time accordingly.
Consider Marinating: Chuck steak benefits from marinating for at least 2 hours or overnight. This helps tenderize the meat and add extra flavor. Just don't marinate for more than 24 hours - the meat can become mushy.
Keep Your Tools Ready: Have everything you need before starting - tongs for handling the meat, thermometer for checking temperature, timer for tracking cooking time, and a sharp knife for cutting. Being organized makes cooking easier and more enjoyable.
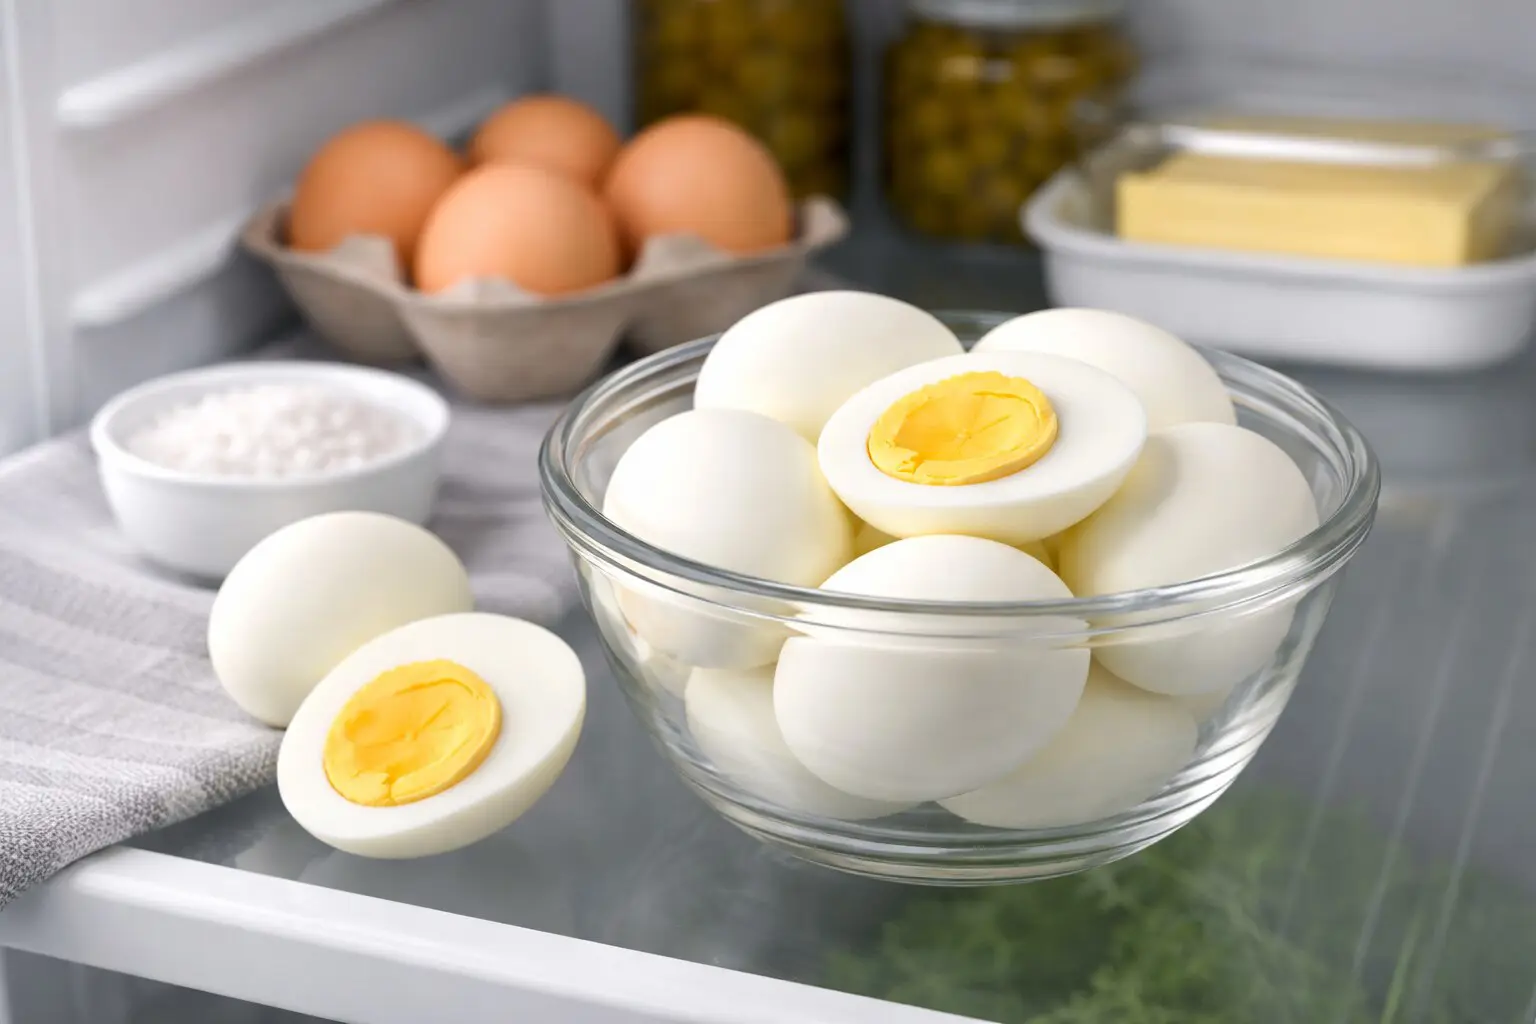
Allow steaks to reach room temperature naturally, with a strict 2-hour maximum time limit. Seal completely using plastic wrap, aluminum foil, or an airtight storage container.
Store in the refrigerator's coldest section, typically located at the back. They remain safe to eat for 3-4 days.
In the Freezer
The freezer offers extended preservation options. Double-wrap each cut individually - first with plastic wrap, followed by aluminum foil or sealed freezer bags.
Remove all air pockets thoroughly to combat freezer burn formation. Properly wrapped steaks maintain quality for 3 months in the freezer. Always mark packages with the freeze date!
For safe defrosting the steak, transfer frozen steaks to the refrigerator overnight before cooking.
Reheating
Achieving moist, tender steak requires patience and gentle warming. Start by letting steaks sit at room temperature for 30 minutes.
Place in a cooking pan, add a small amount of beef stock or water, cover completely, and warm over medium-low heat. This method preserves natural meat juices.
Alternative approach: Wrap steaks in foil packets and warm in a 250°F oven for approximately 20 minutes. Note: While reheated steak differs from fresh-cooked, these techniques maximize moisture retention and flavor preservation.
Homestyle chuck steaks deserve thoughtful side dish pairings that enhance the dining experience. Traditional combinations bring out the natural flavors of the meat. Consider these time-tested accompaniments:
1. Garlic Mashed Potatoes
Smooth, buttery mashed potatoes are a classic steakhouse pairing for good reason. Their creamy texture creates the perfect base for your juicy steak. The potatoes soak up the flavorful meat juices, making every bite better than the last.
Serve the steak right on top of a generous scoop of potatoes, letting the juices mix together naturally.
2. Farm-Fresh Root Vegetables
Local carrots, parsnips, and garden sweet potatoes create a rustic medley on the plate. Slow roasting brings out natural sugars that complement beef perfectly.
Traditional plating calls for arranging vegetables in a casual circle around the meat, showcasing caramelized edges. The contrast between fork-tender steak and garden-crisp vegetables delights dinner guests.
3. Grilled Corn on the Cob
Sweet, charred corn adds a summer flair to your steak dinner. Serve the corn alongside your steak, maybe with a pat of herb butter that can melt over both. The bright yellow color also makes your plate more appealing.
4. Twice-Baked Potatoes
These impressive spuds combine the best of mashed potatoes with a crispy skin exterior. The creamy, cheese-filled inside works like a built-in side dish, while the skin adds texture.
Place one next to your steak, letting the potato's filling mix with the meat juices. It's like having two comfort foods that work perfectly together.
Author
Editor
Naveen Maharjan
Naveen Maharjan is the Head Chef at Porterhouse Hospitality Group, bringing years of culinary expertise and a passion for fine dining. With a diverse background in renowned establishments, Naveen has previously served as Chef de Partie and Commis Chef at Hyatt Regency Kathmandu, and as a Pizza Maker/Cook at Fire And Ice Pizzeria in Kathmandu. Additionally, Naveen has honed skills at the Radisson Hotel, where he worked in various culinary capacities.
A graduate of Silver Mountain School of Hotel Management, where he studied Culinary Arts and Hospitality Management, and SMSH:DICA, Naveen has built a strong foundation in the culinary arts, which continues to shape his creative approach to cooking.
Now based in Tamworth, New South Wales, Naveen combines his rich experiences with a commitment to delivering high-quality dishes, making him a respected figure in the hospitality industry.