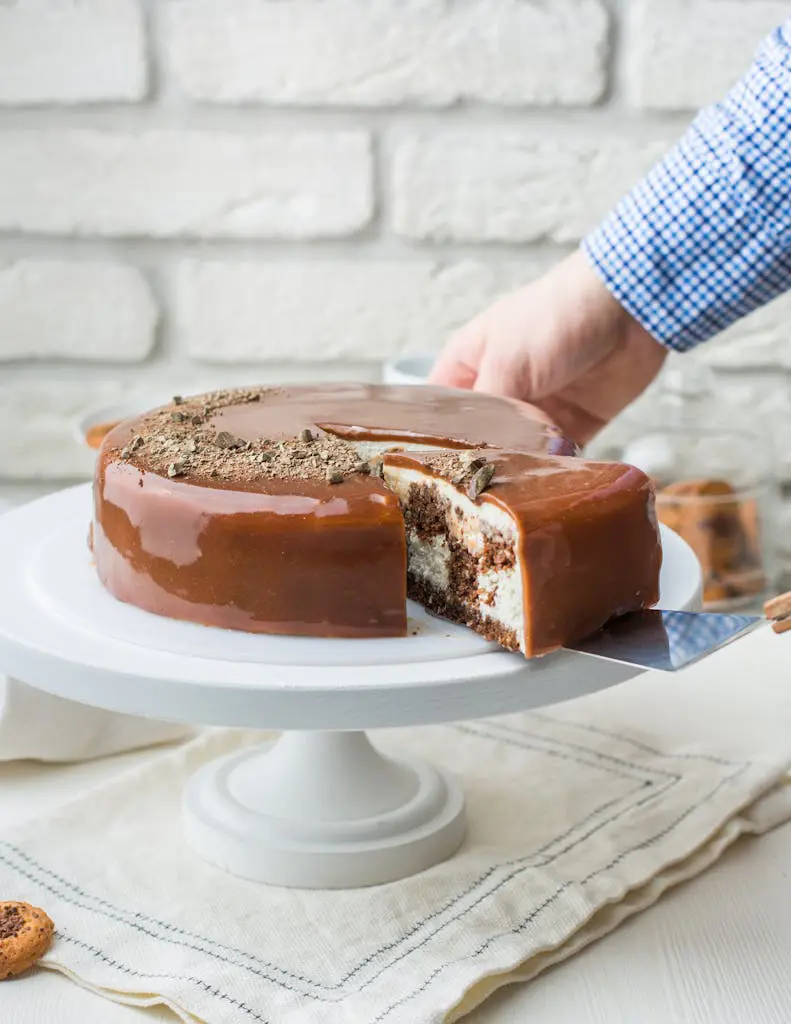
Having cake in your freezer is like having a happiness backup plan - you're always ready for dessert! I mean, who can resist a slice of cake? It makes everything better, from birthdays to random Tuesday nights. Here's a cool trick: you don't have to rush to bake right before an event.
You can get ahead by making and freezing your cake layers up to 2 months early. Want to do even more? Go ahead and decorate the whole cake - it'll stay perfect in your freezer for 3 months! Let me show you how to freeze cakes so they remain fresh and delicious.
Can You Freeze Cake?
Yes, you can absolutely freeze cake! Your freezer is your personal bakery vault, ready for everything from basic cake layers to beautifully decorated masterpieces.
From cake layers to sheet cakes and bundt cakes, loaves, and even frosted cakes and cupcakes-take them all: they freeze beautifully. A well-wrapped cake will stay fresh in your freezer for many weeks or months.
Some cakes even taste better after freezing and thawing! Just make sure to wrap your cake properly to protect it from freezer smells. When you serve it, no one will ever guess it wasn't freshly baked.
It lets you have delicious cake ready when you need it. Perfect for surprise visitors or when you're craving something sweet!
Best Cakes To Freeze
Most types of cakes freeze really well once they have completely cooled down. In fact, dense and flavorful cakes, such as banana, chocolate, carrot, and pumpkin cakes, are even better once frozen and thawed!
You may have probably noticed that their flavors get richer, and they stay perfectly moist. Just make sure you wrap them in double layers before you store them in the freezer.
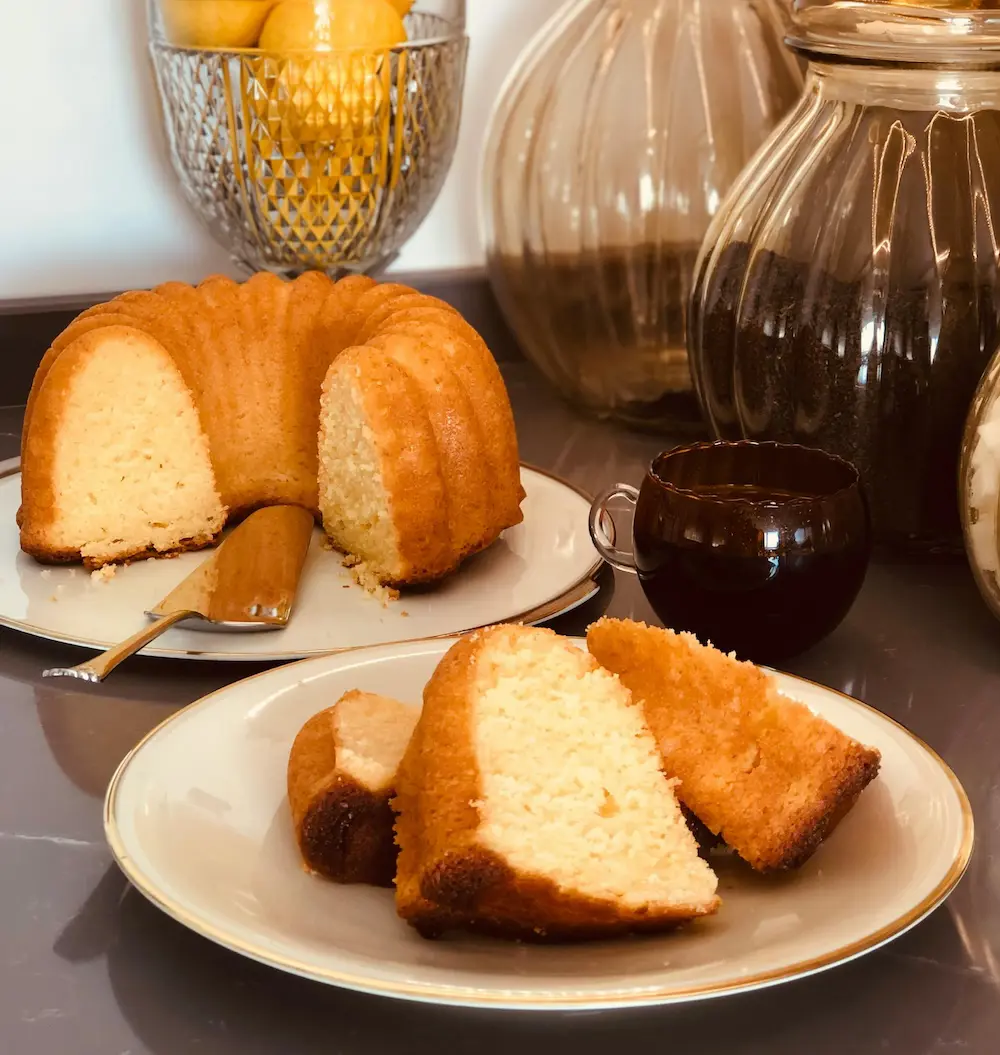
Other desserts that freeze well are bundt cakes and pound cakes. Just cool it on your counter, then wrap it tightly and pop into the freezer. When you want them, thaw and enjoy.
On the other hand, some cakes really do not like a freezer: Angel food cake, vertical cake, and pavlova freeze terribly. These kinds of delicate cakes possess special, magical textures when they are fresh; these special textures get lost in the freezer. It is best to eat them fresh.
How To Freeze Unfrosted Cake
Love having cake ready for surprise moments? Whether you're planning ahead for a special event or just want a cake on standby for unexpected guests, freezing unfrosted cakes is your secret weapon!
This method works well for everything from simple pound cakes to fancy layer cakes. Here's your step-by-step guide to freezing cake before icing success:
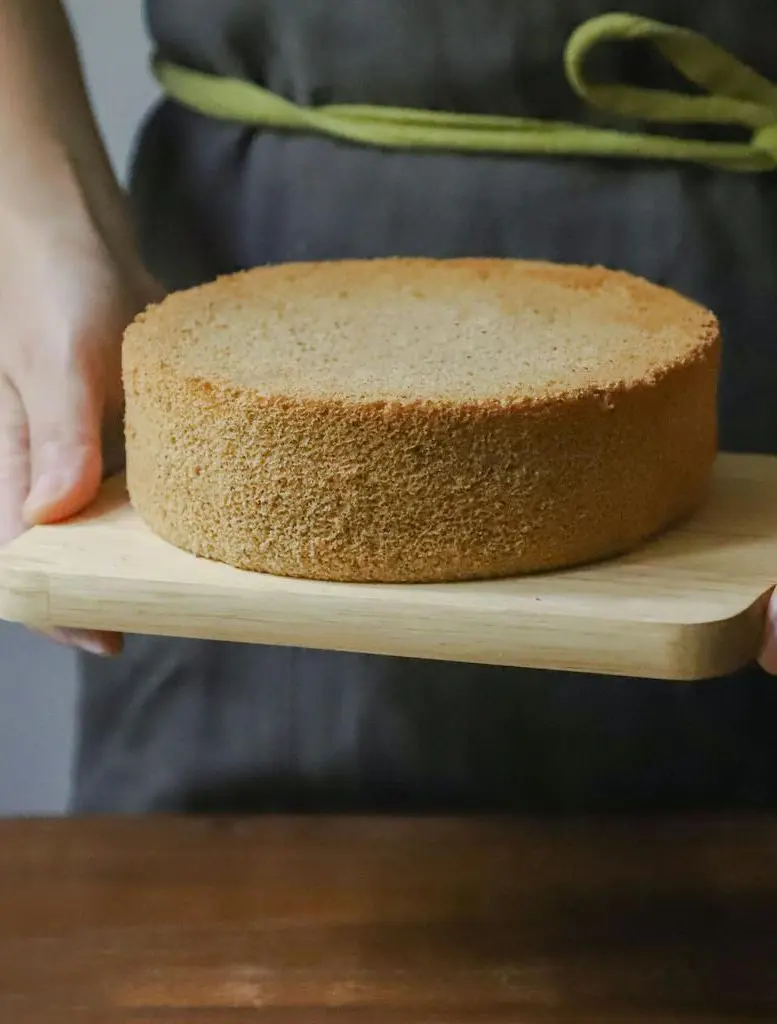
Step 1 - Let it cool completely
First of all, the golden rule is that the cake has to be completely cooled before freezing. Place your baked cake layers on a cooling rack, giving them ample time to cool down-usually several hours.
That is an important step because when you put a warm cake in the freezer, the steam gets caught inside the wrappings, and when it thaws, your cake is soggy.
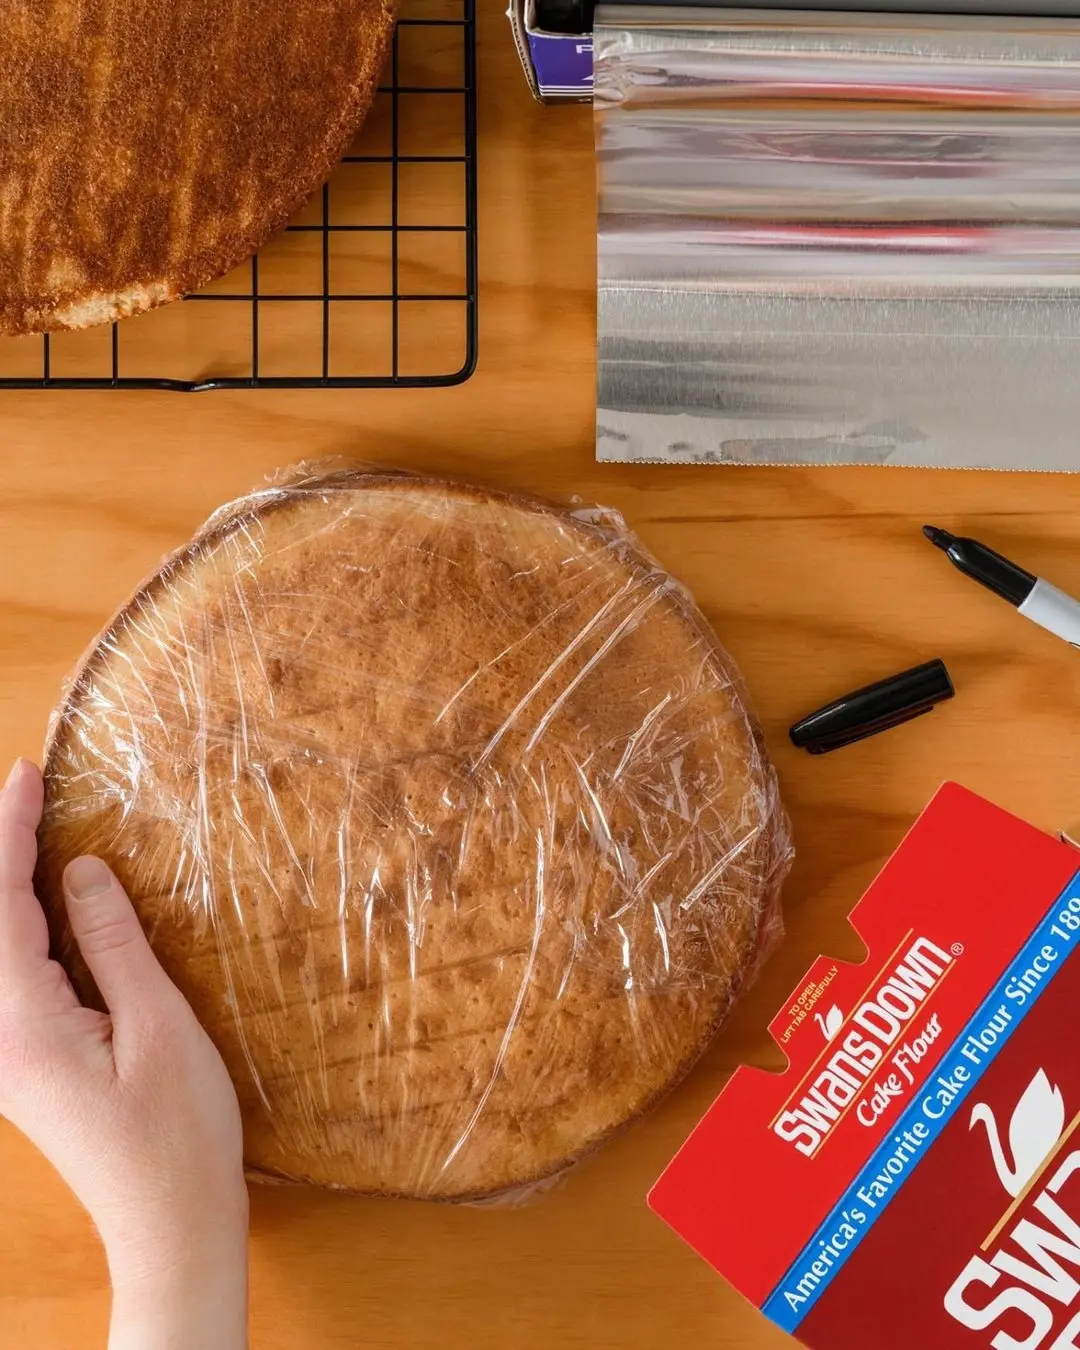
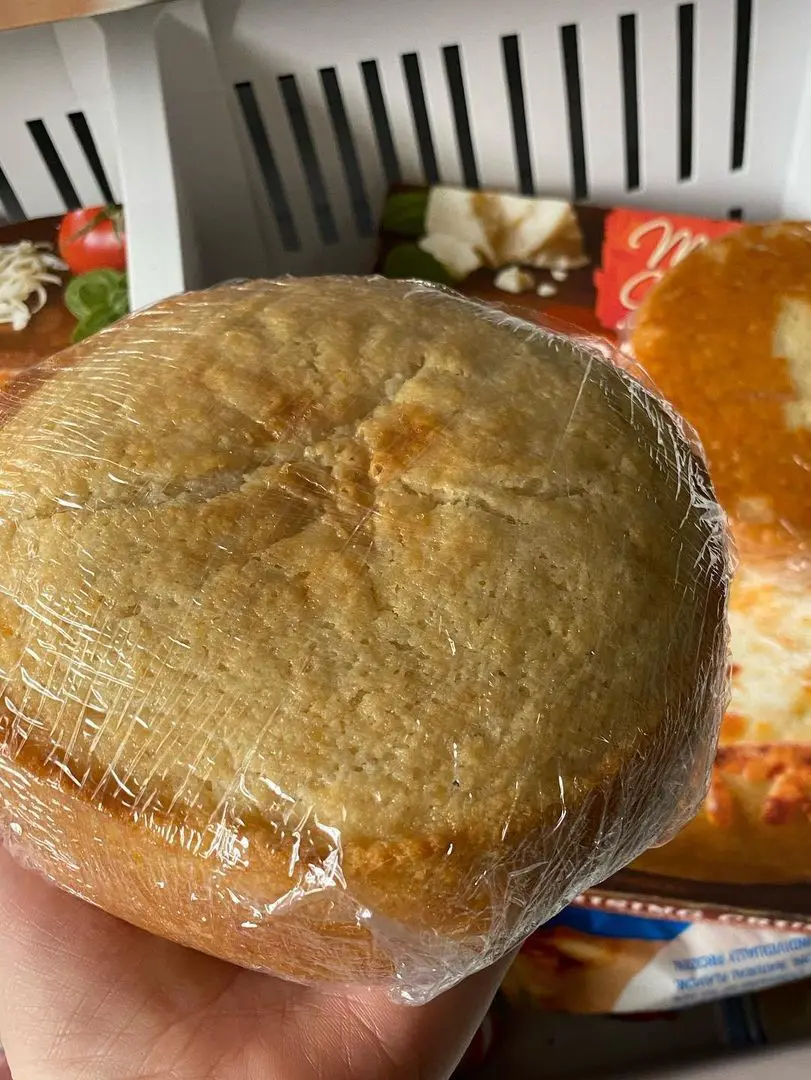
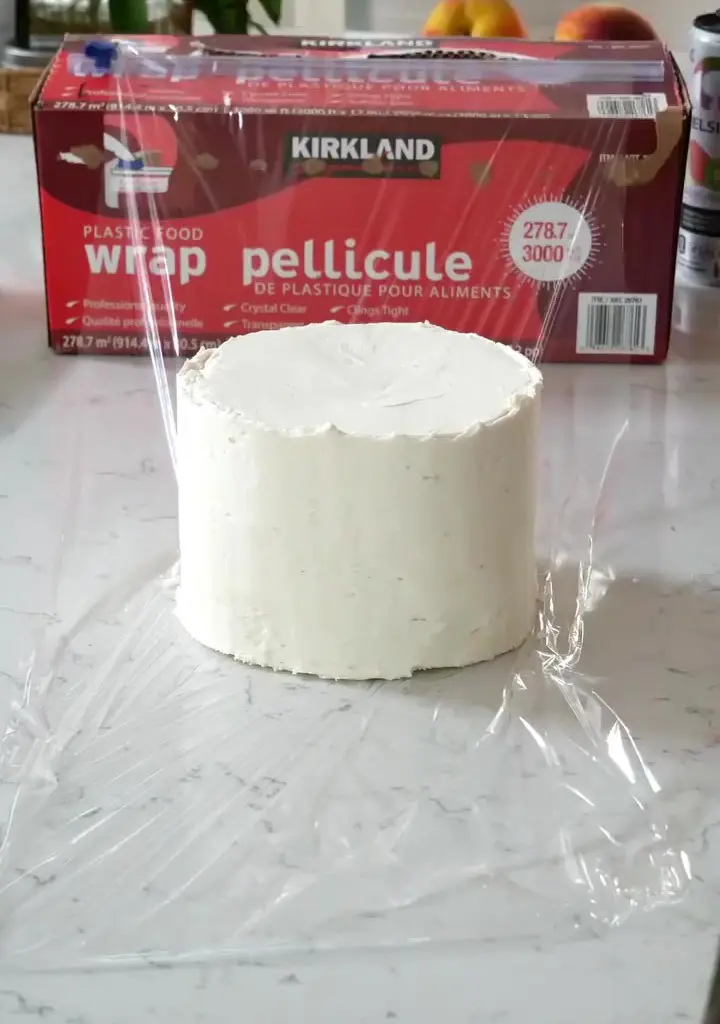
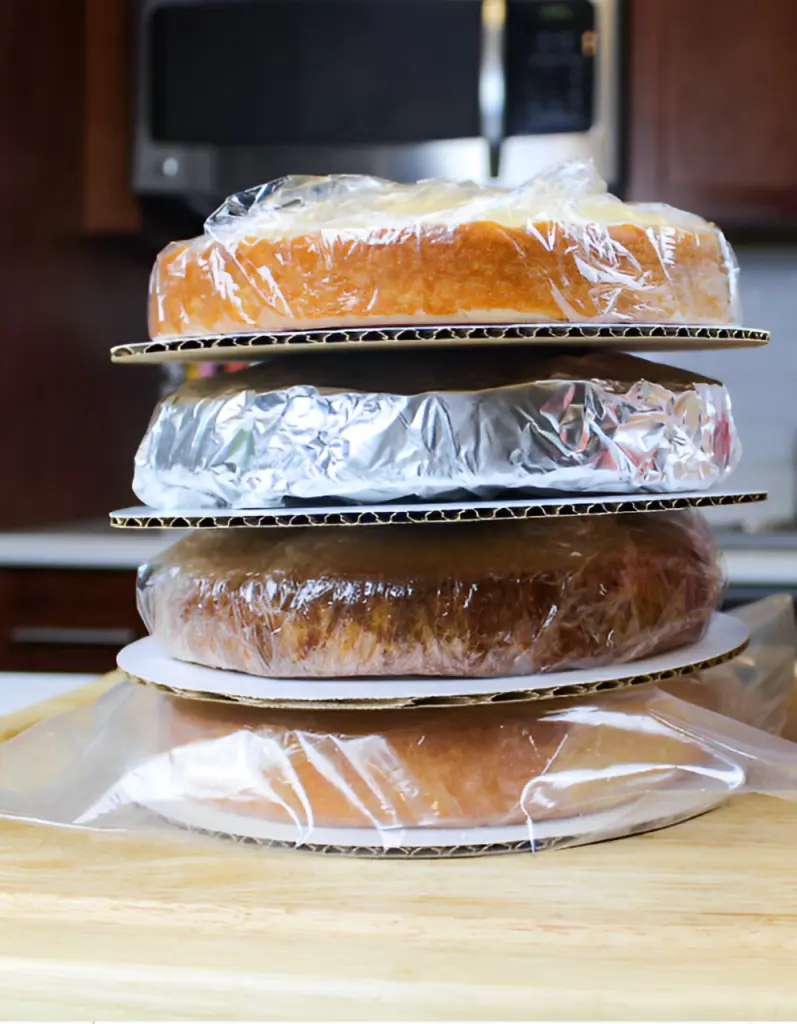
Once the cake is cool, it is time to wrap it correctly. Place a good layer of plastic wrap atop, making sure that every inch of this cake is covered snugly. Add a second complete wrap for extra protection.
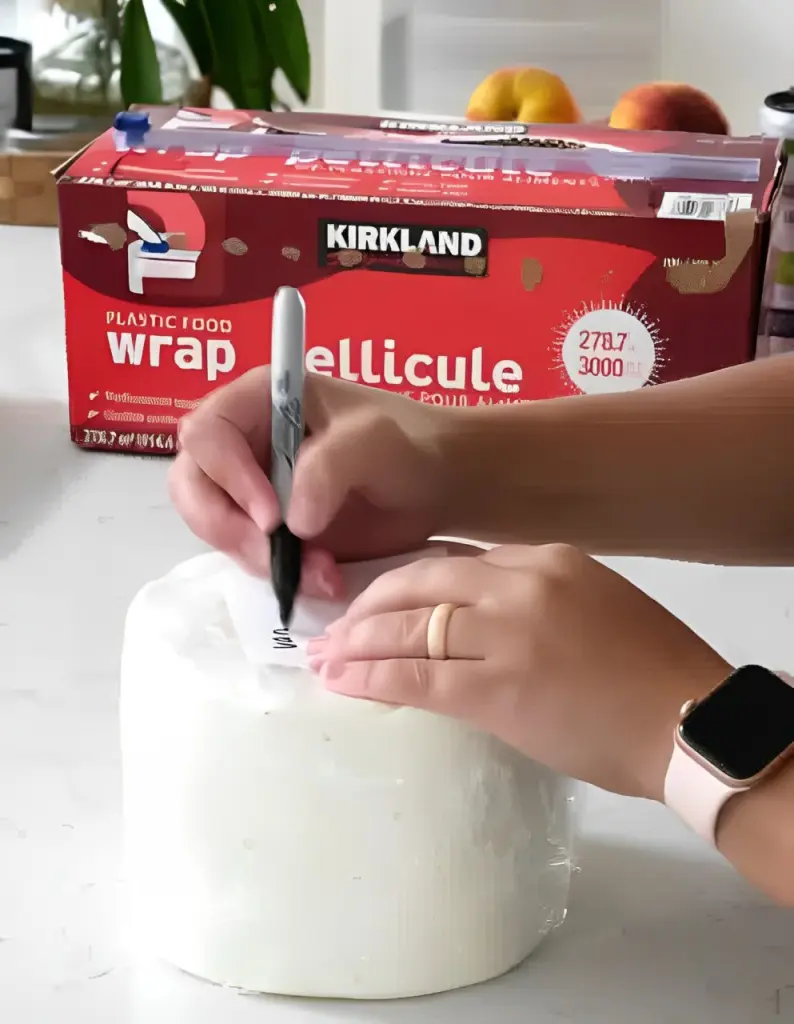
It's a good idea to wrap the cake in aluminum foil for the final layer of protection - to store it longer - or slip it into a freezer-safe storage bag, great for keeping things organized. Don't forget to label your wrapped cake with the type and date.
Pro Wrapping Tip for Layer Cakes
Want perfectly flat layers? Here's a baker's secret:
Place your wrapped layers on a flat baking sheet and freeze them this way first.
Once they're solid, you can remove the sheet and stack the layers in your freezer to save space.
This simple trick ensures you'll have one perfectly flat side when it's time to stack and decorate your cake.
Find a flat spot in your freezer where your cake can rest undisturbed. Keep it away from strong-smelling foods and store layers horizontally to prevent any warping. When stored properly, these cakes will stay fresh and delicious for up to two months.
When you are ready to use your cake, simply pull it from the freezer and let it sit on your counter for about an hour. One little trick that professional bakers do is that if you plan on frosting it, you don't need to wait for it to totally thaw.
A partially frozen cake is actually easier to work with, as it creates fewer crumbs when frosting, holds shapes better, and gives a firmer base to stack layers upon.
Extra Tips for Success:
Always use fresh, high-quality wrap without any tears, and double-check all seals before freezing. Consider freezing layers separately for large cakes, and keep track of what you have stored.
This way, you're always prepared to welcome new neighbors, surprise book club meetings, last-minute guests, or those emergency dessert cravings that we all get!
How To Freeze Cake With Icing
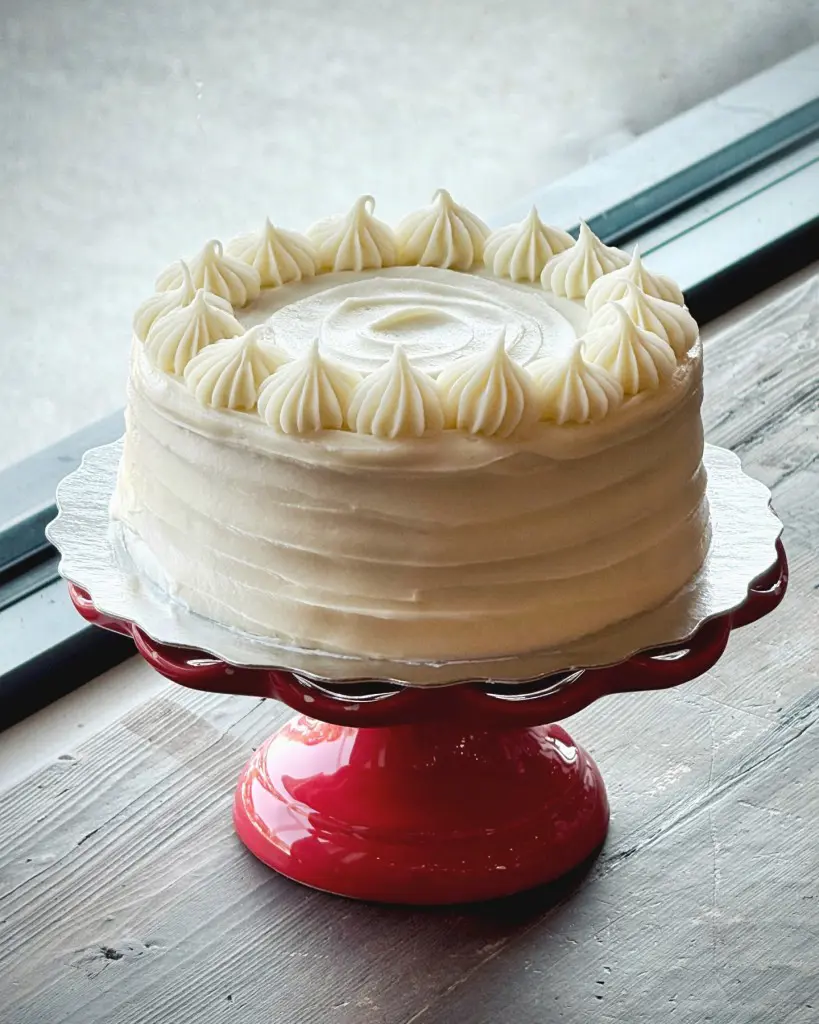
Want to get ahead on your party planning? Freezing a decorated cake is a total game-changer! Most frostings handle the freezer beautifully, especially the ones you probably use most - buttercream and cream cheese frostings.
They'll come out tasting just as fresh as the day you made them. Just stay away from those delicate meringue frostings - they tend to get weird and grainy in the freezer.
Here's your foolproof guide to freezing that masterpiece:
Step 1 - Freeze uncovered cake for 1-2 hours:
Before wrapping anything, your cake needs a little alone time in the freezer. Place your decorated cake, completely uncovered, right in the freezer. After an hour, do the touch test - gently press the frosting with your finger.
Still feeling soft? Give it another hour. You want the frosting to feel firm enough that it will not stick to your finger or get smooshed on wrapping. This step is important because it will keep the frosting from getting messed up while wrapping.
Once your frosting is firmly set, it's time to wrap it up like a precious gift. Start with two good layers of plastic wrap - this is super important! Make sure you're wrapping snugly but not so tight that you squish the cake.
Think of it like tucking your cake into a cozy blanket. Then, add a final armor of aluminum foil. This triple-layer protection fights off freezer burn and keeps those unwanted freezer smells away from your cake.
Find a flat spot in your freezer where the cake won't get bumped or crushed. Write the date and type of cake on the foil - trust me, this helps when you've got multiple cakes stored! Your cake will stay fresh for up to 3 months.
When cake time arrives, patience is key. Remove the frozen decorated cake from the freezer and unwrap all layers completely - don't leave any wrap on while thawing.
Place on a flat surface either on your counter or in the fridge. Let it thaw for several hours (overnight in the fridge works best). Don't rush the process - a slow thaw prevents condensation from making the frosting soggy.
Pro Tips for Success:
Always start with a completely cooled cake.
Check your plastic wrap and foil for holes or tears before using.
Keep the cake level while freezing and thawing.
Don't refreeze a thawed cake.
For extra-tall or tiered cakes, consider freezing layers separately.
Let the cake come to room temperature before serving for the best flavor.
If using a fridge to thaw, place the cake away from strong-smelling foods.
How To Freeze Cake Slices
While all cakes need protection from freezer burn and proper wrapping, their preparation methods vary slightly depending on whether they're frosted, unfrosted, or already sliced. Here's a detail on how do you freeze cake slices:
For Unfrosted Cake Slices:
Slice your cake in portions desired to be consumed later. Wrap each slice tightly in plastic wrap, with no part of the cake exposed to air. Add a layer of aluminum foil to further protect it. Label on the foil the kind of cake and the date, then put inside the freezer.
For Frosted Cake Slices:
Start by pre-freezing the slices! Now, place your cut pieces on a baking sheet lined with parchment paper and freeze for about 2 hours, till the frosting hardens. This stops the frosting from sticking to the wrap.
When firm, wrap each slice in plastic wrap, followed by aluminum foil. Label and date them. Since frosting may change the texture within some time they are ideal for use within 2 months at most.
Some cakes are a bit needier - like cheesecake or those yummy cakes with cream cheese frosting (like carrot cake or red velvet). These need to live in your fridge because they have ingredients that can go bad if left out.
But here's a thing: refrigerators will dry your cake out, somewhat like what they do to bread. So, refrigerate your cake only if you absolutely must! If you do, loosely wrap it in plastic wrap first, and try to consume it within 3 days.
On Your Counter (Room Temperature Storage):
Most regular cakes can hang out on your counter for about 3 days. Think of simple cakes, like chocolate or vanilla, or any cake with standard sugary frosting - those are perfectly good at room temperature.
Just cover your cake with plastic wrap-not too tightly - or simply place a large bowl upside down over it.
Already cut into your cake? Here's a neat trick: press a piece of parchment paper right against the cut parts. This works like a shield and stops your cake from getting dry and sad-looking.
How To Defrost Frozen Cake
Now that you know how to freeze cakes, let’s talk about how to bring back to life a frozen cake. If you’ve got some leftover birthday cake that you’ve frozen or already baked unsaved for later, then thawing it just right ensures you still get that just baked – like – right texture and taste.
For Unfrosted Cakes:
Simply take your frozen cake out and let it sit on your kitchen counter at room temperature. You can keep the wrapping on or take it off - both ways work great!
If you leave the wrap on, any moisture that forms while thawing will stick to the plastic instead of your cake. When you finally unwrap it, you'll have a perfectly dry cake ready to frost or eat.
If you choose to unwrap it right away, don't worry if your cake gets a little damp from condensation - this moisture will soak in evenly and won't hurt the taste or texture at all.
For Frosted Cakes:
When it comes to cakes with frosting, the process is even simpler! Just remove all the wrapping and place your cake on the counter at room temperature.
Let it sit there until it's completely thawed through. The frosting might look a bit firm at first, but it will gradually soften to its original creamy texture.
While some bakers suggest thawing cakes slowly in the refrigerator, letting them warm up on your counter is usually faster and works just as well.
Your cake will be ready to enjoy sooner, and you'll still get that fresh-baked taste you're looking for. Once your cake has completely thawed, you can serve it right away - it'll taste just like it was freshly made!
Below are some tips and tricks in freezing cake like a pro. Be it planning in advance for some certain event or just wanting to tuck away delicious leftovers, knowing what and when to freeze can make all the difference.
Follow these helpful tips that will make your cakes taste fresh-baked, even after freezing!
1. Wait to decorate:
If you're planning a special event, freeze just the plain cake or cake layers. Save the decorating for closer to party time. Why? Your cake naturally shrinks and expands a bit during freezing and thawing, which can mess up those pretty decorations you worked so hard on.
2. Fresh frosting is best:
You can make frosting a day ahead and keep it refrigerated but the freshly made stuff will definitely taste better. Make it fresh, when you’re trying to impress your guests.
3. Plan your timing carefully:
Try to decorate your cake as close to serving time as possible. This way, everything looks and tastes its absolute best when people dig in.
4. Don't stress about leftover cake:
Already enjoyed your birthday party or special event? Go ahead and freeze those leftover slices, decorations and all. Since you're just saving them for yourself or family snacks, it doesn't matter if the frosting isn't picture-perfect anymore.
5. Freeze the bare cake layers:
If you're making a cake for a special occasion, freeze the bare cake layers. If you're just saving leftovers from a celebration, feel free to freeze the whole decorated thing.
Author
Editor
Saroj Rayamajhi
Saroj Rayamajhi is a dedicated and skilled baker with years of experience crafting delicious, high-quality baked goods across multiple prestigious locations. Currently working at Bakers Delight in Australia, Saroj brings his extensive knowledge of baking to a new level, having previously honed his skills at Beechworth Bakery in Victoria, Australia.
Before his time in Australia, Saroj worked at Mademoiselle Colette, Inc in California, USA, where he spent a year perfecting his craft. He has also held key positions in renowned hotels and resorts, including Andaz Capital Gate in Abu Dhabi and Five Hotel and Resort in Palm Jumeirah, Dubai, where he served as Chef de Partie (Baker Incharge) and DCDP Baker.
For Saroj, baking is not just a job—it’s a passion. He believes in the purity and authenticity of homemade bread and pastries, showcasing only his own creations on his platforms. Each item he makes is a reflection of his dedication to the art of baking, driven by a love for quality and craftsmanship.