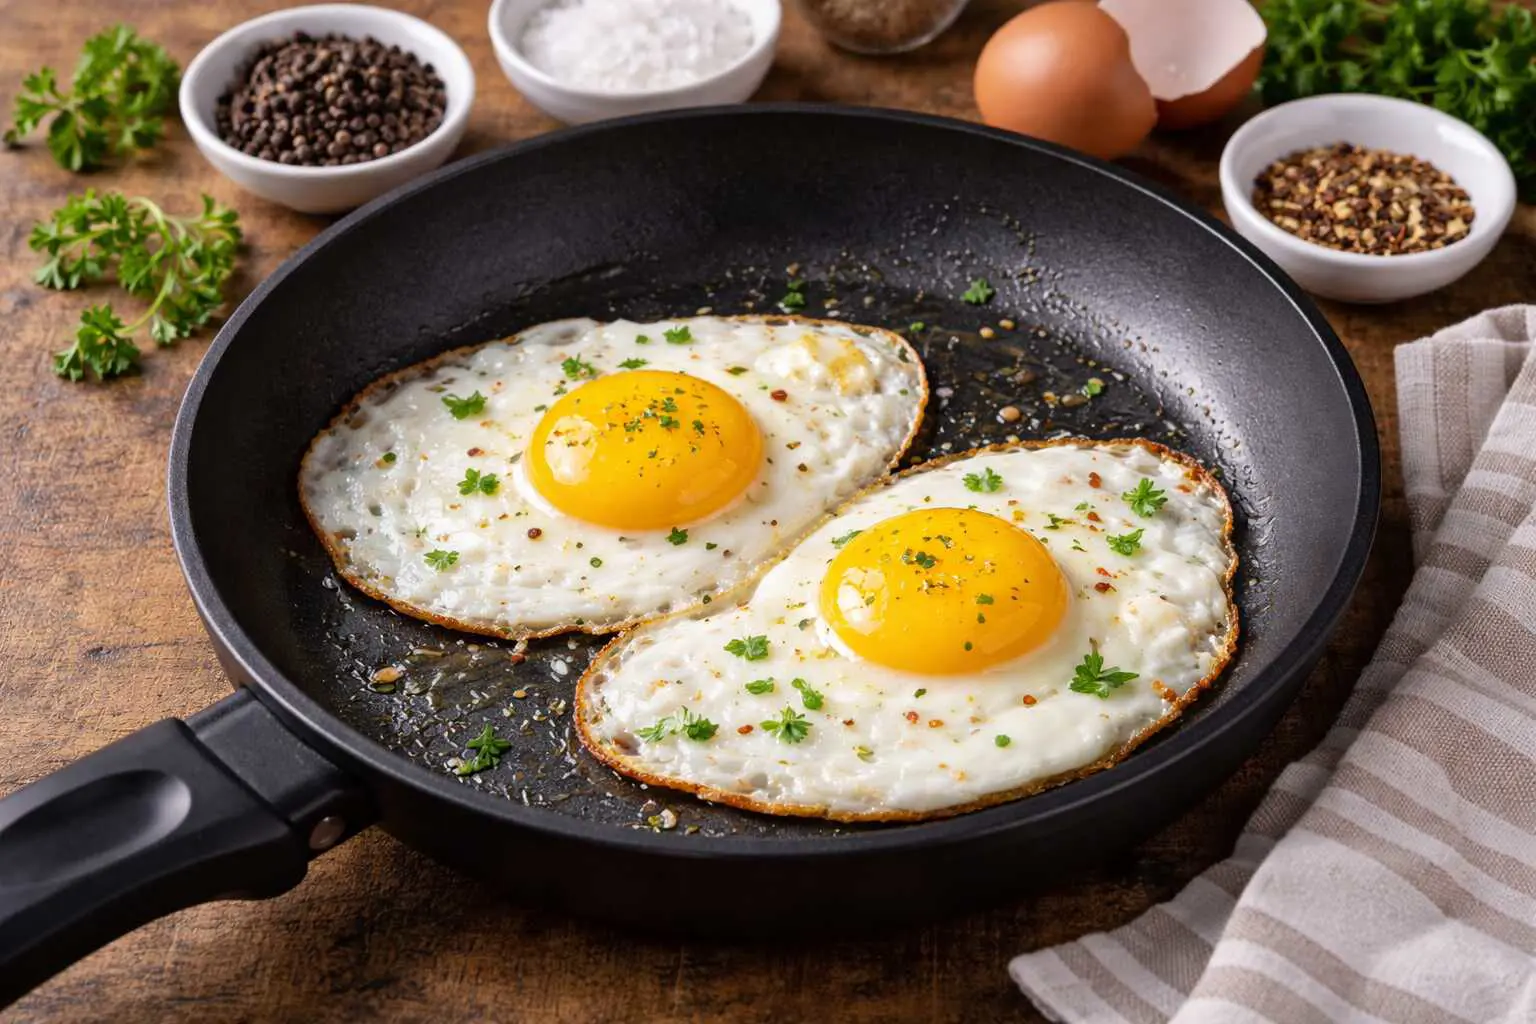
A warm, fluffy, golden layer of eggs, perfectly folded with a delicious filling - what more could you ask for in the morning? And they’re just as perfect for lunch or dinner whenever a craving hits.
Omelettes are easy to customize, and you can even sneak in leftover vegetables with a little cheese. No one will know! They might feel a bit intimidating if you’ve never made them before. But don’t worry! Here’s a simple recipe to help you out.
French Vs American Omelettes
The art of making omelettes has evolved differently across cultures, with French and American styles standing out as distinct preparations.
While both start with beaten eggs, their cooking techniques, appearance, and textures create two uniquely delicious experiences. Each style carries its own charm and reflects the culinary traditions of its origin.
The French omelette represents elegance and refinement. Its pale, blonde exterior showcases a delicate cooking technique where the eggs never brown. The surface remains smooth, like silk draped over a pillow.
Inside, the texture stays creamy and slightly runny, achieved through constant stirring and careful heat control. When rolled into its signature cigar shape, it appears almost like a perfectly wrapped gift.
Traditional French omelettes often feature subtle fillings like fresh herbs or soft cheese, allowing the eggs to remain the star.
The American omelette embraces boldness and heartiness. Its golden-brown exterior displays a higher-heat cooking technique, bringing out a richer, more strong flavor profile.
Folded into a half-moon shape, it serves as a generous pocket for abundant fillings – from crispy bacon and melted cheese to sauteed veggies and mushrooms.
The interior stays fully cooked but tender, offering a satisfying bite without any runny eggs. This style celebrates the diner culture, where generous portions and creative combinations are celebrated.
What You'll Need To Make This Omelette
A traditional omelette is noticeably easy - all it takes is a little oil for the pan, eggs, and a pinch of salt and pepper. But omelettes get a lot more interesting when you include some flavorful fillings!
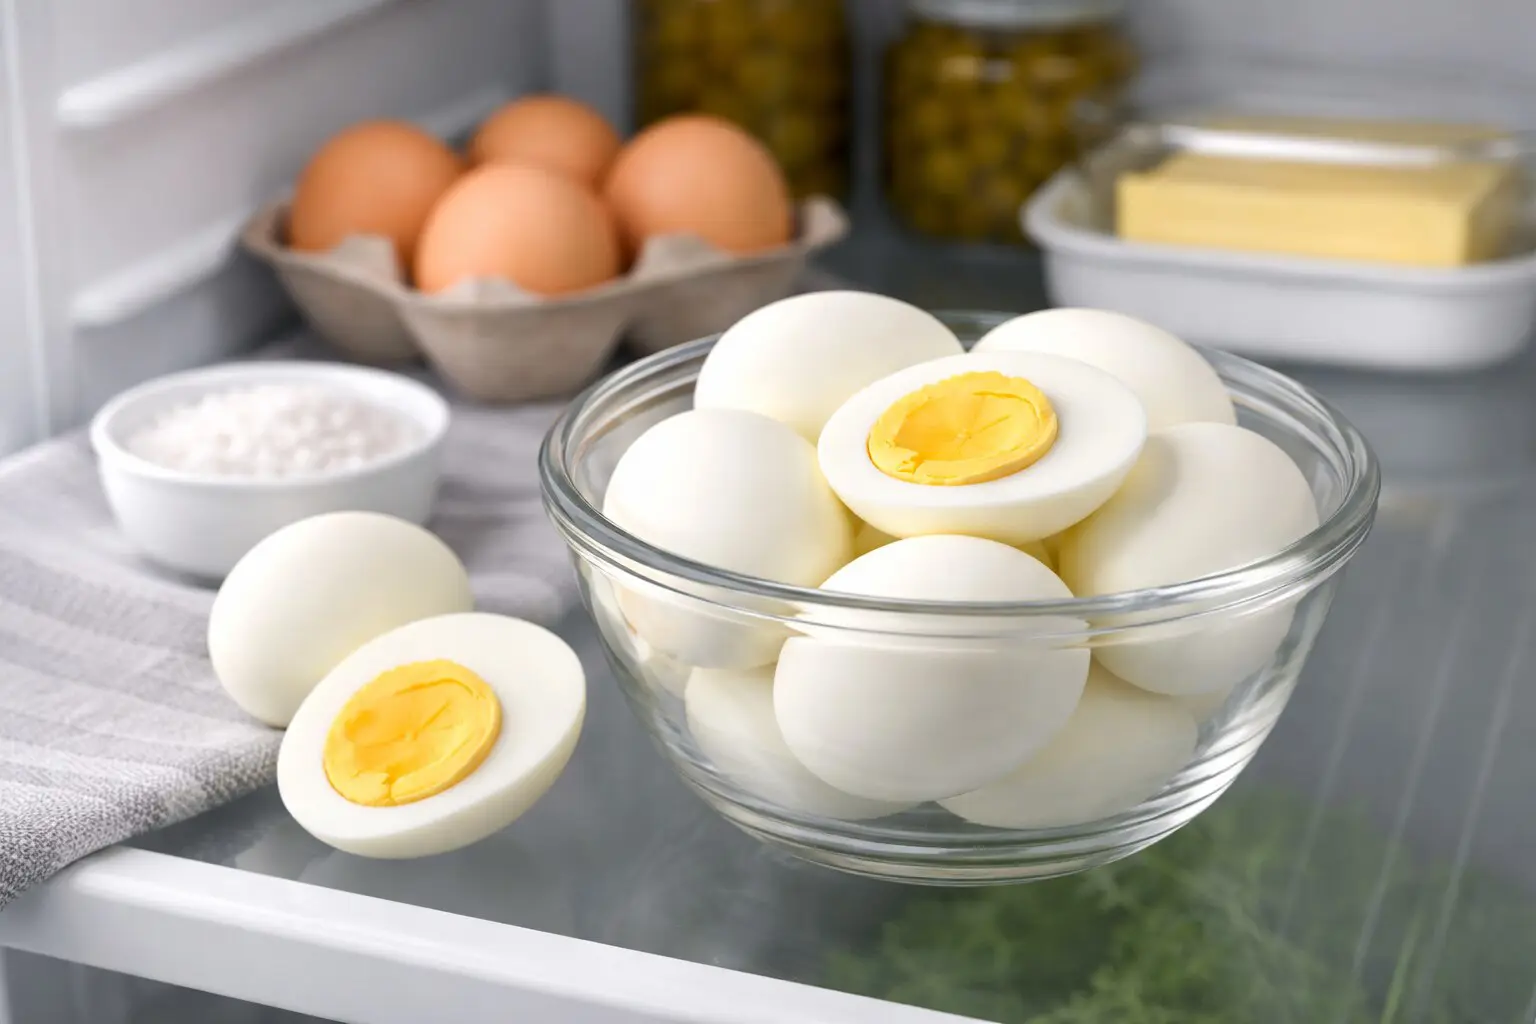
Eggs: For optimal results, go for fresh eggs. Check the carton’s date to make sure they’re within the freshness duration. Avoid any eggs with cracks or peculiar spots on the shell. If you’re uncertain whether your eggs are good, do the float test
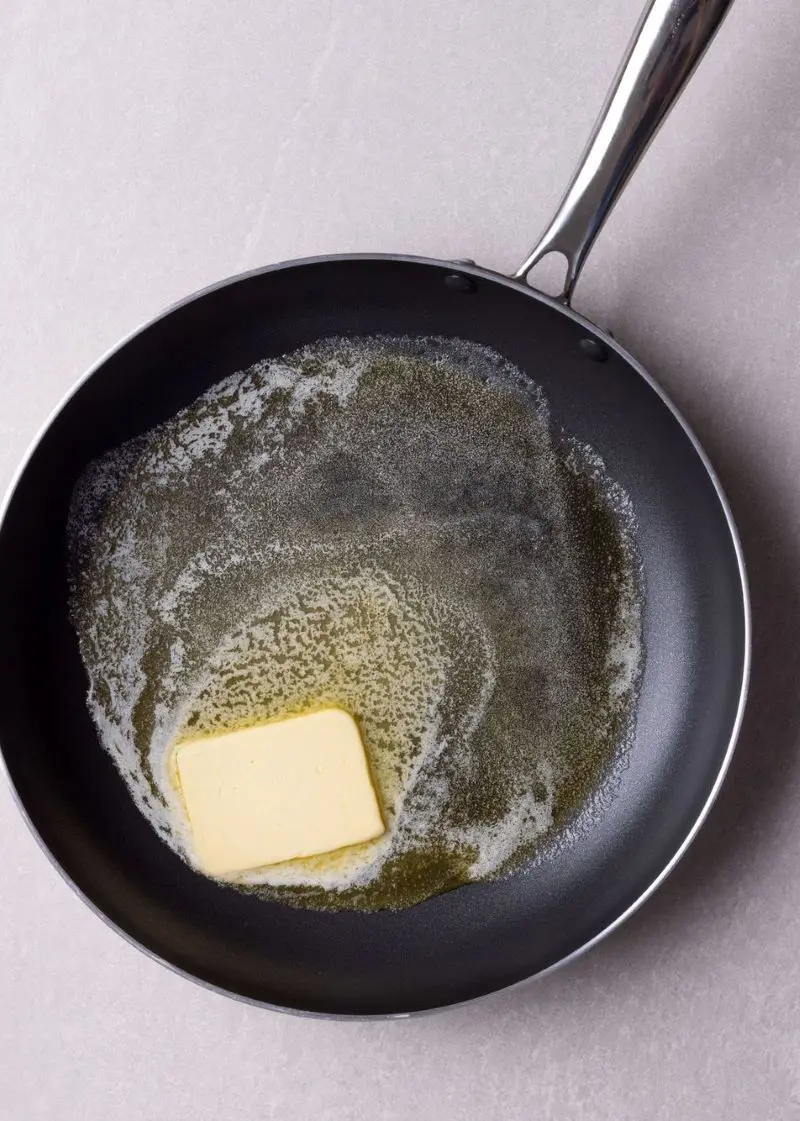
Butter or Olive Oil: To coat the pan properly, you could use butter or oil; the selection is yours. This prevents the eggs from sticking to the pan and allows you to fold or slide the omelette easily. For a delectable twist, try substituting it with bacon grease. You won't regret it!
Sea Salt and Pepper: A pinch of kosher salt works wonders for the egg mixture, seasoning the eggs perfectly and helping to create an even fluffier texture. As for pepper, it provides a pleasing kick and complements the other flavors. Adjust the amount to your liking.
Desired Fillings: There are endless options when it comes to stuffing your omelette. This recipe makes use of cheese, cherry tomatoes, and fresh herbs. Don’t hesitate to discover new ideas - feel free to include vegetables, fruits, and even meat. Just be sure you revel in the flavors!
Tools Required
Non-stick skillet or frying pan
Spatula
Whisk or fork (for beating eggs)
Bowl (for mixing eggs)
Measuring spoons (if adding precise amounts of ingredients)
How To Make An Omelette: Easy Steps
Ingredients
2 large eggs
1 tablespoon butter, unsalted
Salt and pepper, to taste
2 tablespoons grated cheese, any kind
2 tablespoons chopped parsley, basil, or herb of your choice
3 to 4 cherry tomatoes, halved, sprinkled lightly with salt
Instructions
Step 1: Prepare your Workspace
Get all of your elements ready at arm's reach. There's nothing worse than scrambling for components while your eggs are cooking!
Lay out your eggs, butter, selected fillings, and most importantly, make certain your nonstick pan is clean and prepared to go.
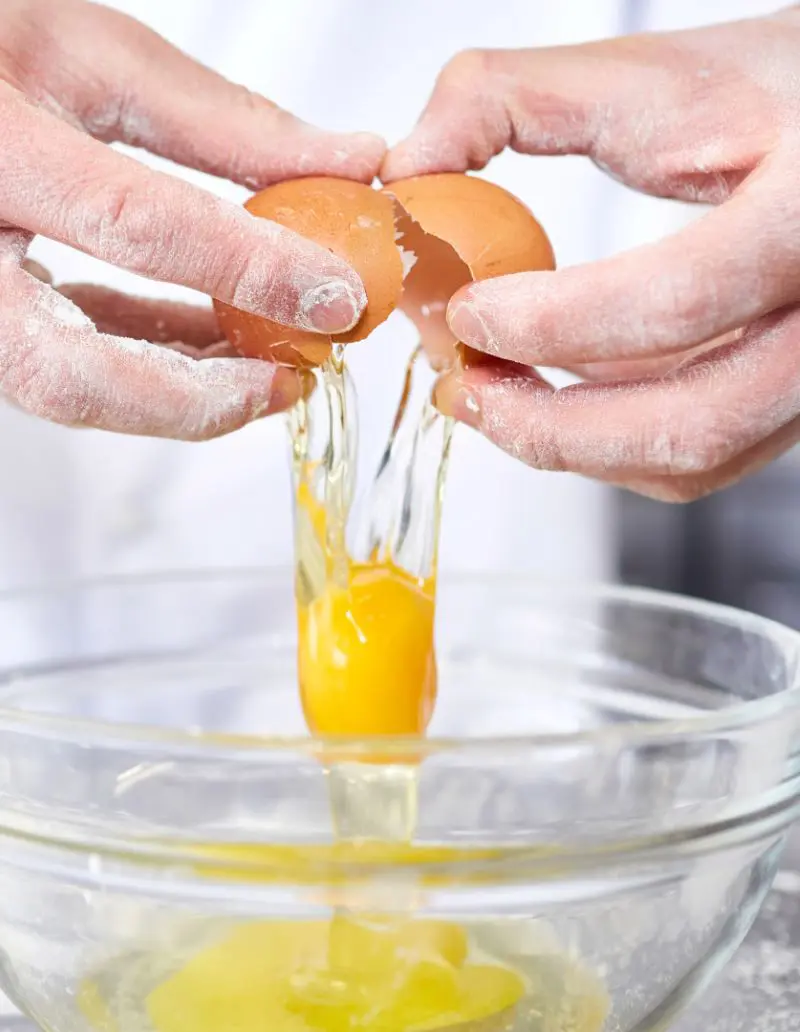
Start by carefully cracking your eggs into a bowl – watch out for those sneaky shells! Give them a good beating with a fork until the whites and yolks become one. A pinch of salt at this stage helps season the eggs from within.
Gently pour the beaten eggs into the pan, allowing them to begin their transformation into an omelette. You’ll notice the edges setting first, forming a delicate frame for your dish.
As the edges set, use your spatula to gently push them toward the center. Tilt your pan to let the runny eggs flow to the edges. Keep doing this until you have a mostly set but still slightly wet surface. It takes about 6 minutes.
Now comes the fun part! Sprinkle your chosen ingredients down the center of your omelette. Whether it's the classic cheese-tomato-herb combination or your own creative mix, lay them in a neat line.
This creates a beautiful filling that will be hugged by the eggs.
Step 6: Folding
Once your fillings are in place and your eggs are just right (remember, slightly wet in the middle is perfect), it's time for the fold.
Slide your spatula under one side and, with the confidence of a pro chef, fold it over to create that classic half-moon shape.
The final step is getting the dish onto the plate. Tilt your pan at an angle over your serving plate, and with your trusty spatula, guide the omelette onto its final destination. A perfect landing is crucial for presentation!
The pan should be hot enough that butter sizzles gently, but not so hot that it browns
Your eggs should be room temperature for the best results
Less is more with fillings – don't overstuff!
How to Tell When An Omelet Is Done
Knowing when an omelet is perfectly done requires keen observation and understanding of egg behavior. The surface should appear mostly set but maintain a slight glossiness in the center, indicating the ideal level of moisture.
Watch for the edges – they should be firm but not browned or crispy. The ultimate test comes when gently shaking the pan: the omelet should move as one piece, with only the very center having a slight jiggle.
When adding cheese, the ideal moment arrives as it begins to melt but isn't completely liquid. These visual cues signal the sweet spot between undercooked and overdone.
Remember that eggs continue their cooking journey even after leaving the pan, thanks to residual heat. For a luxuriously creamy texture, slide the omelet onto the plate when it still looks slightly wet in the middle.
Those preferring firmer eggs can cook a bit longer, though be cautious – just 30 seconds too much can transform a silky omelet into a rubbery disappointment.
The secret lies in finding that perfect moment when the eggs transition from fluid to set.
Omelettes are like blank canvases waiting for your creative touch. The right fillings can turn a simple egg dish into an exciting meal. Let's explore some tasty filling combinations that will make your omelette special.
Classic Cheese Combinations
Cheddar gives a sharp, rich taste and melts perfectly. Mix it with diced ham for a timeless combo. Mozzarella offers a milder, stretchy texture that pairs well with tomatoes and basil. Feta adds a salty kick and works great with spinach.
Meat Lovers' Options
Crispy bacon bits add a smoky crunch - crumble them small for even distribution. Diced chicken breast keeps things light and protein-rich.
Ground sausage brings bold flavors - cook it first and drain the extra fat. Ham chunks add a salty touch without overwhelming the eggs.
Vegetable Mix-ins
Mushrooms offer a meaty texture - saute them first to bring out their flavor. Bell peppers add sweet crunch and bright color. Spinach wilts perfectly into the eggs and adds healthy nutrients.
Onions become sweet when cooked - try both raw and caramelized versions.
Fresh Herbs and Extras
Chives add a mild onion flavor without being too strong. Parsley brings freshness to any combination. Basil works magic with tomatoes and cheese. Green onions give a sharp bite and nice color.
Remember: Always saute vegetables before adding them to your omelette. This makes sure they're properly cooked and enhances their flavors. Pre-cook any meat fillings for food safety.
Don't overstuff - use about 3-4 tablespoons of fillings total. Sprinkle cheese last so it melts perfectly. Cut ingredients into small, even pieces for better cooking.
Get Your Eggs Right: Use two to three fresh eggs for one serving. Crack them on a flat surface, not the bowl's edge, to avoid shell fragments. Check for any remaining egg white in shells and use your finger to get every last drop.
Combine Properly: Mix eggs gently with a fork until yolks and whites blend completely. Don't overbeat – too much air creates bubbles that cause uneven cooking. Add salt during mixing to keep eggs moist and flavorful.
Choose Pan Wisely: Pick an 8-inch nonstick pan for a two-egg omelette. Nonstick surfaces make flipping easier and help achieve that perfect golden finish. The right size pan ensures your omelette has the ideal thickness.
Heat Management: Start with a hot pan – eggs should sizzle when they hit the surface. Then quickly turn the heat to medium-low. This technique creates fluffy eggs without unwanted browning. For even cooking, try using a lid if the top cooks too slowly.
Keep Moving: Stay active at the stove! Keep pushing edges toward the center and tilting the pan to spread the uncooked egg. Quick, constant movement prevents burning and creates that perfect texture.
Don't Go Overboard with Fillings: Stick to 1/2 cup total fillings for a two-to-three egg omelette. Too much stuffing makes folding difficult and can break your omelette. Remember: less is more!
Watch Your Temperature: If the bottom cooks faster than the top, lower the heat or move to a smaller burner.
Time it Right: Work quickly once eggs hit the pan – they cook fast! Keep a close eye on the texture and don't step away from the stove. The whole process takes just a few minutes.
Here's what you may serve together with your omelette to make a tasty meal:
Toast or Bread: Crispy toast adds the ideal crunch for your soft omelette. Butter it while it's hot, and use it to scoop up any bits of egg that fall off your fork. Brown or white bread both work great.
Fresh Salad: Toss together some crisp lettuce, tomatoes, and cucumbers. The cold, crunchy veggies balance out the nice and cozy, fluffy omelette. A mild dressing of olive oil and lemon juice keeps things amazing.
Hash Browns: Golden-brown, crispy potatoes complement any omelette. The starchy goodness fills you up, and the crunchy outside adds great texture to your meal. Fresh Fruit: Add color and beauty with sliced oranges, strawberries, or melon. Fruit offers a fresh touch and makes your breakfast extra nutritious.
Bacon or Sausage: These meaty sides add a salty, savory punch. They particularly work well if your omelette is plain or just has cheese in it.
Grilled Mushrooms: Sauteed mushrooms are meaty and flavorful. They work great inside the omelette or on the side. Cook them in butter until they're golden brown.
Baked Beans: Hot, saucy beans make your breakfast more filling. They add protein and their tomato sauce tastes great with eggs.
Coffee or Tea: A hot drink helps wash everything down. Make a hot coffee for an instant energy boost and tea if you want a lighter option.
Mix and match these sides based on what you like. For a light meal, stick to salad and fruit. For a heavier breakfast, add potatoes and meat. The best part is that most of these sides are easy to prepare while your omelette cooks.
How To Store
We all know how filling omelettes can be, and sometimes we cannot finish them in a single go. Don't fear! Your leftover omelette can still taste good the following day if you store it nicely.
Storing Inside the Fridge
First let your omelette cool down to room temperature, however do not leave it out for more than 2 hours. Put it in a hermetic box - this keeps other food smells out and prevents the egg from drying.
Place the container on your refrigerator and consume it within 3-4 days for the best taste and safety. This technique works super when you plan to consume your omelette within some days.
Freezing Your Omelette
If you're wondering long-term, freezing is your ultimate choice. Wait for the omelette to chill completely, then wrap it tightly in plastic wrap to prevent freezer burn.
Place the wrapped omelette in a freezer bag or container, and remember to write the date on it - it stays good for up to three months. This method is ideal for meal prep or when you've made too much.
Reheating
When it comes to reheating, you have got several alternatives. For refrigerator-stored omelettes, microwave for 1 minute covered with a moist paper towel, or warm in a covered pan on low heat for 2-3 mins.
Adding a tiny bit of butter helps keep it moist.
For frozen omelettes, transfer them to the fridge the night before you want to consume them. Once thawed, microwave for 1-2 mins or heat in a pan on low.
Tips:
Don't store omelettes with runny fillings - they get soggy
Keep fillings like tomatoes separate if possible
Cut into portions before storing if you plan to eat bit by bit
Always smell and check for any odd colors before eating the stored omelette
Author
Editor
Biswas Kharel
Biswas Kharel is a food blogger and writer who brings a sharp eye and adventurous palate to every bite he writes about. Known for his thoughtful reflections and down-to-earth style, Biswas blends personal anecdotes with rich culinary insights—from quiet village kitchens to lively urban eateries.
His blog is a flavorful mix of travel, tradition, and honest food reviews, offering readers a window into the heart of every dish. For Biswas, writing about food isn’t just a passion—it’s a way of documenting life, one meal at a time.