Air frying is a cooking method that allows you to fry your food without using unhealthy oils. The "fryer" works by rapidly circulating hot air, which helps produce food that often tastes like deep fried. To cook using this method, all you need is an air fryer, some ingredient and seasoning options, and the food itself!
Chicken wings prove to be the ideal food when it comes to air frying - the hot air will make the skin crispy and delicious while also cooking the meat inside. They're great for a get-together, a meal, or just to get your fried food fixed. Give this recipe a try as a fun way to introduce a new method of cooking into your life!
When it comes to air frying chicken wings, several types can be used, each offering a different flavor profile and texture. Here are the most common types:
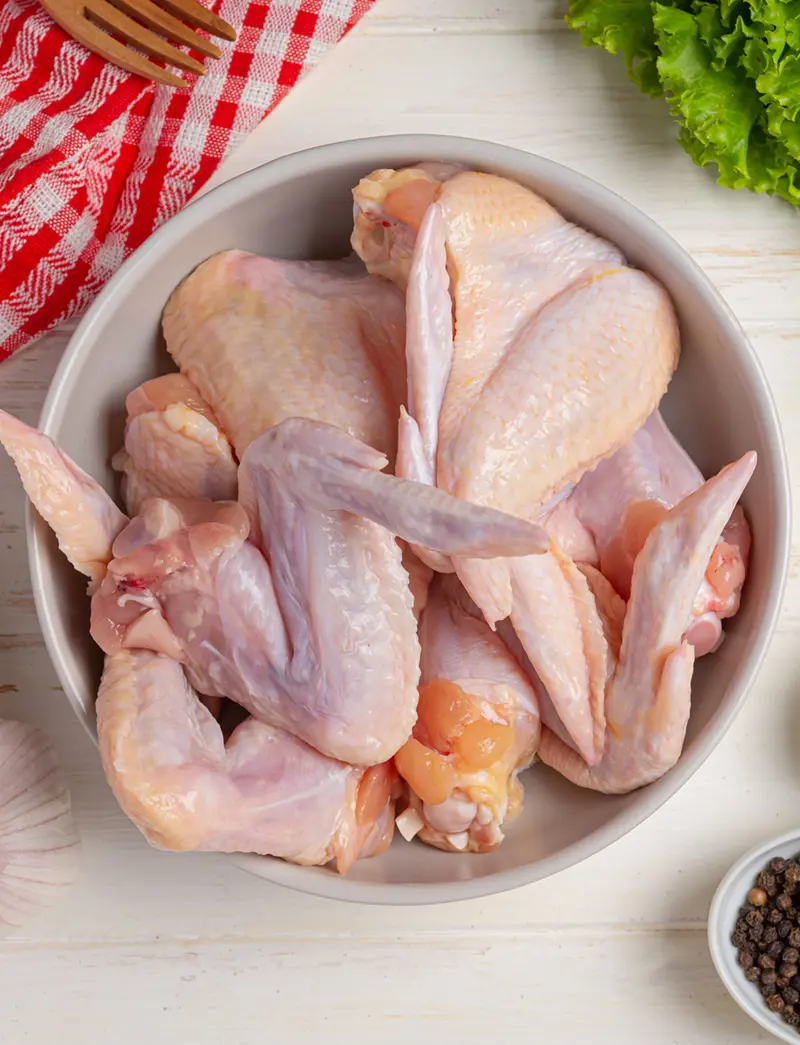
Traditional Chicken Wings: These are the classic wings that include both the drumette (the meatier part that looks like a small drumstick) and the wingette (the flatter, two-boned section). They’re perfect for air frying, giving you a crispy exterior while keeping the inside juicy.
Boneless Wings: Although not technically wings, boneless wings are usually made from chicken breast meat, cut into bite-sized pieces, breaded, and fried. Air frying these gives you a healthier, crispy, and tender option without the bones.
Frozen Wings: Frozen wings can be air-fried directly without thawing. They usually come pre-cooked or raw, and air frying them results in a quick, easy meal with a crispy texture.
Seasoned or Marinated Wings: Wings that have been pre-seasoned or marinated bring extra flavor to your dish. The air fryer helps lock in the flavors while providing a crispy skin.
Breaded Wings: These wings are coated with a breadcrumb mixture or seasoned flour before air frying. They’re ideal if you’re looking for an extra crispy, crunchy texture.
How To Cook Chicken Wings In An Air Fryer
Ingredients
1 to 2 pounds of chicken wings (whole or separated into drumettes and wingettes)
1 to 2 tablespoons of vegetable oil
Salt and pepper, to taste
Step-By-Step Guide
1. Preparation
Begin by preheating your air fryer to 375°F (190°C). Since the air fryer cooks food by circulating hot air, the process typically starts when the unit gets preheated. This preheating process will save time when cooking later on, and it will give better results.
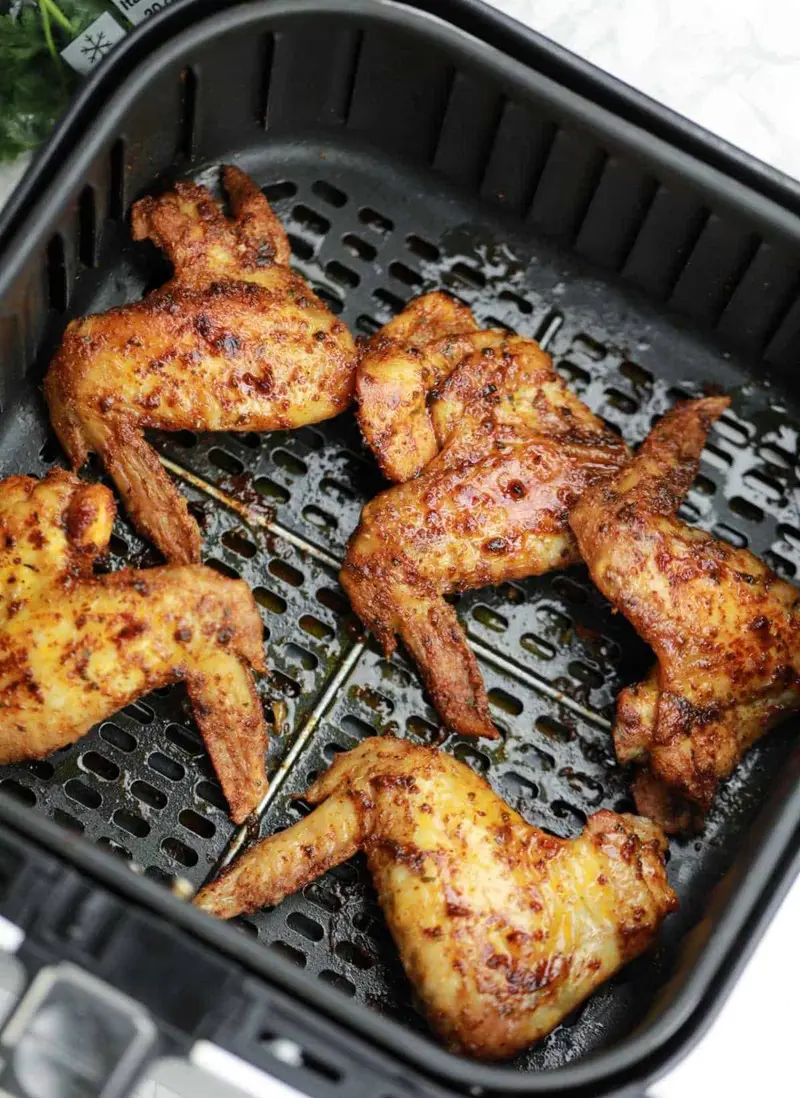
As the air fryer warms, prepare your ingredients and tools. Coat the basket's base with a thin layer of oil, such as corn oil, vegetable oil, rapeseed oil, or canola oil, to ensure the chicken wings heat and brown evenly. After applying the oil, use a piece of kitchen towel with a few drops of oil to evenly rub it over the basket’s surface, then wipe off any excess.
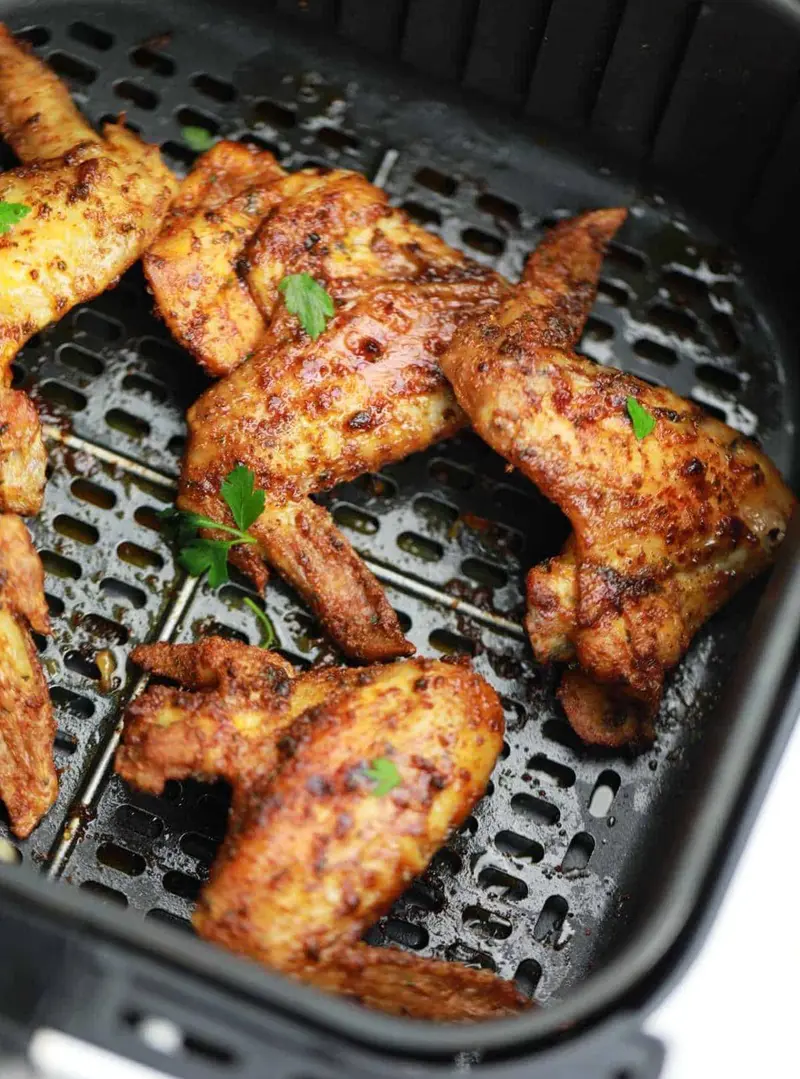
Once the air fryer is ready and the basket is prepared, arrange the seasoned wings in the preheated air fryer basket in a single layer. Avoid overcrowding the basket to allow proper air circulation for even cooking.
With your chicken wings arranged in the air fryer basket, close the air fryer and set the timer for 25 minutes. During this time, the hot air circulating in the fryer will cook the wings and start to crisp them up.
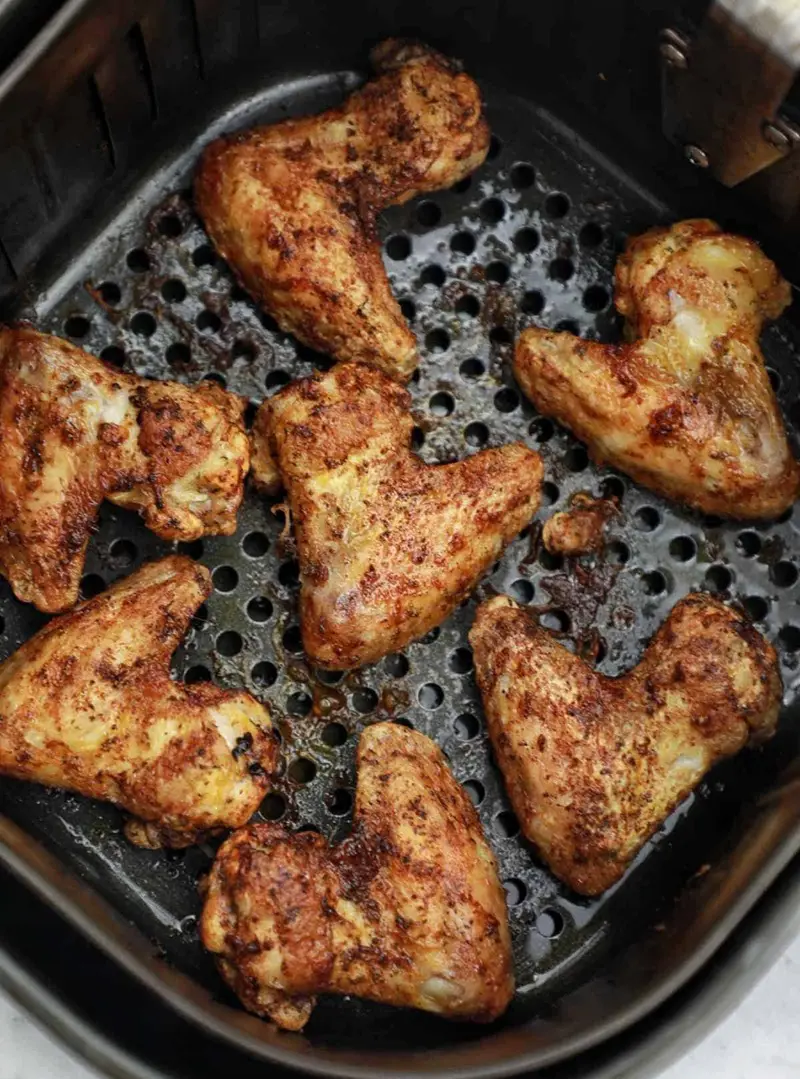
After 12 to 15 minutes, carefully open the air fryer—using oven mitts if necessary, as it will be hot. Using tongs, flip each wing to ensure they cook evenly on both sides. Close the air fryer and continue cooking for the remaining time.
If you prefer your wings extra crispy, you can increase the temperature to 400°F (200°C) for the last 5 minutes of cooking. This additional heat will help achieve a crispier texture.
In the final minutes of cooking, check the wings to ensure they are golden brown and have reached an internal temperature of 165°F (74°C). Use a meat thermometer to verify doneness. If needed, give the wings a final check and flip them if one side is crisping faster than the other.
When your chicken wings are as crispy and golden brown as you want them to be, it is time to take them out of the air fryer. Using the tongs, it is important to transfer the wings to another plate with paper towels. The paper towels will help to soak up any extra oil and prevent the wings from becoming greasy.
Let the wings rest on the paper towels for about 2 to 3 minutes. This short resting period allows the wings to cool slightly, which helps them finish crisping up. The paper towels also help in absorbing any residual oil, making the wings even more enjoyable.
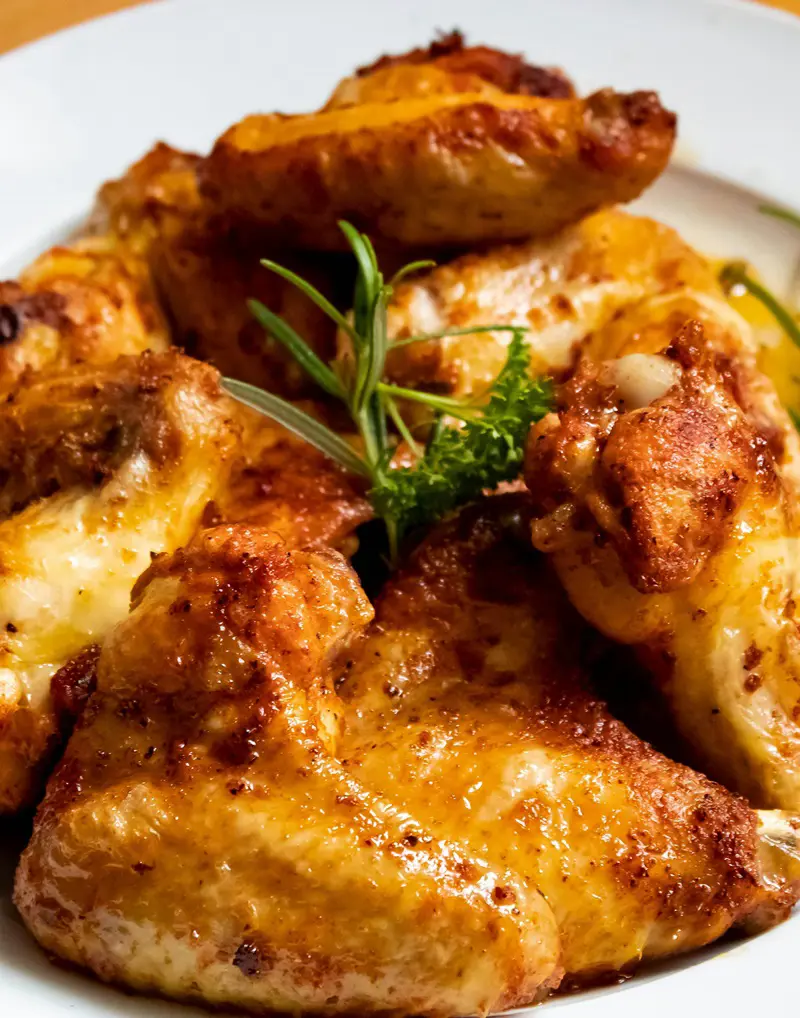
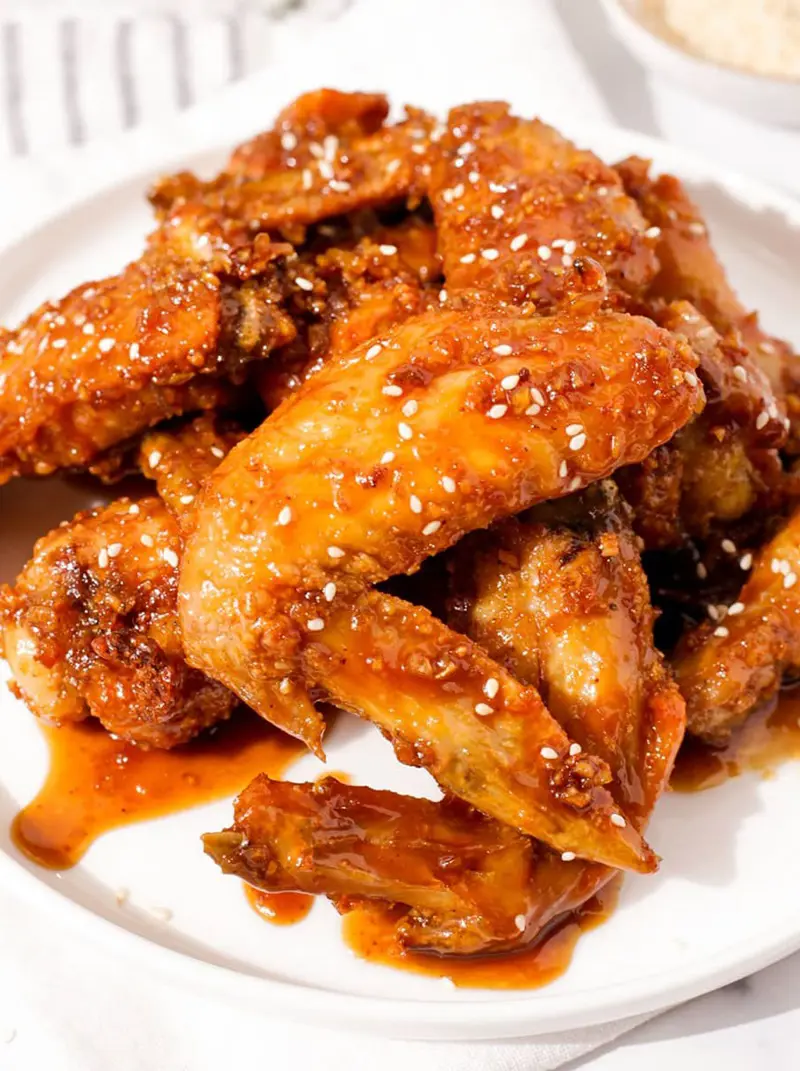
To add some extra taste, you could also dip the wings in the sauce of your choice, for instance, BBQ, buffalo, or honey mustard, right after you have taken the wings out of the air fryer. This will assist in the sauce sticking to the wings properly. Or, you can serve the wings with dipping sauces on the side such as ranch or blue cheese.
It is recommended that the wings be served hot for the best of the taste and texture. Whether they’re the centerpiece of a meal or a delicious snack, they’re sure to be a hit when enjoyed fresh and crispy.
Getting chicken wings perfectly crispy in an air fryer involves knowing the right cooking times for different types. From traditional wings to boneless and frozen options, each needs a specific approach to achieve that ideal crunch. Here's a quick guide to help you cook each type just right.
1. Traditional Chicken Wings
Cooking Time: 25 to 30 minutes at 375°F (190°C).
For Crispy Texture: For extra crispiness, increase the temperature to 400°F (200°C) for the last 5 minutes of cooking. Flip the wings halfway through to ensure even crisping.
2. Boneless Wings
Cooking Time: 15 to 20 minutes at 375°F (190°C).
For Crispy Texture: Increase the temperature to 400°F (200°C) for the last 3 to 5 minutes of cooking. Flip or shake the basket halfway through to ensure an even crisp.
3. Frozen Wings
Cooking Time: 30 to 35 minutes at 375°F (190°C).
For Crispy Texture: After 20 minutes, increase the temperature to 400°F (200°C) and cook for an additional 5 to 10 minutes. Flip or shake the basket halfway through to ensure an even crisp.
4. Seasoned or Marinated Wings
Cooking Time: 25 to 30 minutes at 375°F (190°C).
For Crispy Texture: Increase the temperature to 400°F (200°C) for the last 5 minutes of cooking. Flip the wings halfway through for even crisping.
5. Breaded Wings
Cooking Time: 20 to 25 minutes at 375°F (190°C).
For Crispy Texture: Increase the temperature to 400°F (200°C) for the last 5 minutes of cooking. Flip the wings halfway through to ensure a uniformly crispy texture.
Adjusting the temperature and cooking time as described will help you achieve the desired level of crispiness for each type of chicken wing.
Lightly coat the basket with oil to prevent sticking and enhance crispiness.
Apply a small amount of oil to the wings as well to help achieve a golden, crispy texture.
2. Avoid Overcrowding:
Arrange wings in a single layer to allow proper air circulation.
Cook in batches if needed to ensure even cooking and crispiness.
3. Flip Halfway Through:
Turn the wings halfway through cooking to ensure they crisp up evenly on all sides.
This prevents uneven cooking and helps achieve a uniformly crispy texture.
4. Adjust Cooking Time for Crispiness:
Increase the temperature to 400°F (200°C) during the last few minutes for extra crispiness.
Monitor the wings closely during this time to avoid overcooking.
5. Check for Doneness:
Use a meat thermometer to ensure the internal temperature reaches 165°F (74°C).
This guarantees that the wings are fully cooked and safe to eat.
6. Experiment with Flavors:
Marinate or season the wings before cooking to add flavor.
Toss wings in your favorite sauce or seasoning after cooking for a flavorful finish.
7. Keep the Basket Clean:
Wipe out excess oil and residue from the basket between batches to prevent smoke and maintain optimal cooking conditions.
8. Monitor Cooking Time:
Adjust the cooking time based on the size of the wings and your air fryer’s performance.
Check wings regularly to ensure they cook to your desired level of crispiness.
9. Cleaning:
After cooking, pour out any collected grease from the basket.
Wash the basket with warm, soapy water to remove any residue. After cooling, wipe the inside of the air fryer with a cloth to clean grease splatters and ensure the appliance stays in good condition.
Benefits of Air Frying
Air fryers have gained worldwide popularity as versatile kitchen appliances that offer numerous benefits. These devices use convection cooking with minimal added fat, aiding in weight loss and expanding healthy cooking options beyond steaming.
Here’s why you should consider incorporating an air fryer into your cooking routine:
Healthier option: One of the biggest advantages of air frying is its ability to produce healthier meals. By using significantly less oil compared to traditional frying, air fryers reduce the fat and calorie content of your dishes without sacrificing flavor or texture.
Easy to Use: With user-friendly controls and preset cooking programs, air fryers are easy to operate. Many models come with intuitive interfaces that allow you to set cooking times and temperatures with just a few button presses. This simplicity makes air frying accessible to cooks of all skill levels.
Consistent Results: Air fryers are designed to provide consistent results with every use. The precise temperature control and even heat distribution ensure that your food cooks uniformly, reducing the risk of burnt edges or undercooked centers.
Less Mess: Cooking with an air fryer means less mess in the kitchen. The enclosed cooking chamber helps contain grease and splatters, reducing the need for extensive cleanup.
How To Store And Reheat Wings
If you have any leftover wings, you can either store them in the fridge or freezer. Allow the chicken wings to cool completely to room temperature before you store them. Place the wings in a single layer in an airtight container.
For longer storage use a freezer to store the chicken wings. Wrap the container in an extra layer of foil or another freezer bag. The aluminum foil will prevent the wings from getting freezer burn. Place the container in the coldest part of the freezer, and it will last for 2 to 3 months.
For short-term storage, place the wings in a single layer in an airtight container and store the chicken wings in the fridge (no foil needed) if you plan to eat them within 3 to 4 days.
Reheat:
To reheat chicken wings, you can use an oven, microwave, or air fryer.
To reheat in the oven: Preheat the oven to 375 degrees F, place the wings on a baking sheet in a single layer, and bake for about 10 to 15 minutes. Reheat it in the oven only if frozen, it will take 15 to 20 minutes.
To reheat in the microwave: Microwave on high for 30 seconds to 1 minute. Keep in mind that they will have a different texture after reheating. Reheat in the microwave only if previously refrigerated.
To reheat in the air fryer: Preheat the air fryer to 360 degrees F and pop the wings into scorching air for about 4 to 5 minutes. Increase or decrease the time if needed to achieve your desired level of crispiness.
Ensure the wings are heated through and crispy to your liking.
Chicken wings are a versatile and beloved dish that can be tailored to fit a variety of flavors and occasions. Whether you prefer classic sides or creative pairings, the right pairing can make your wings even more enjoyable. Check out these serving suggestions to find the perfect match for your next wing feast.
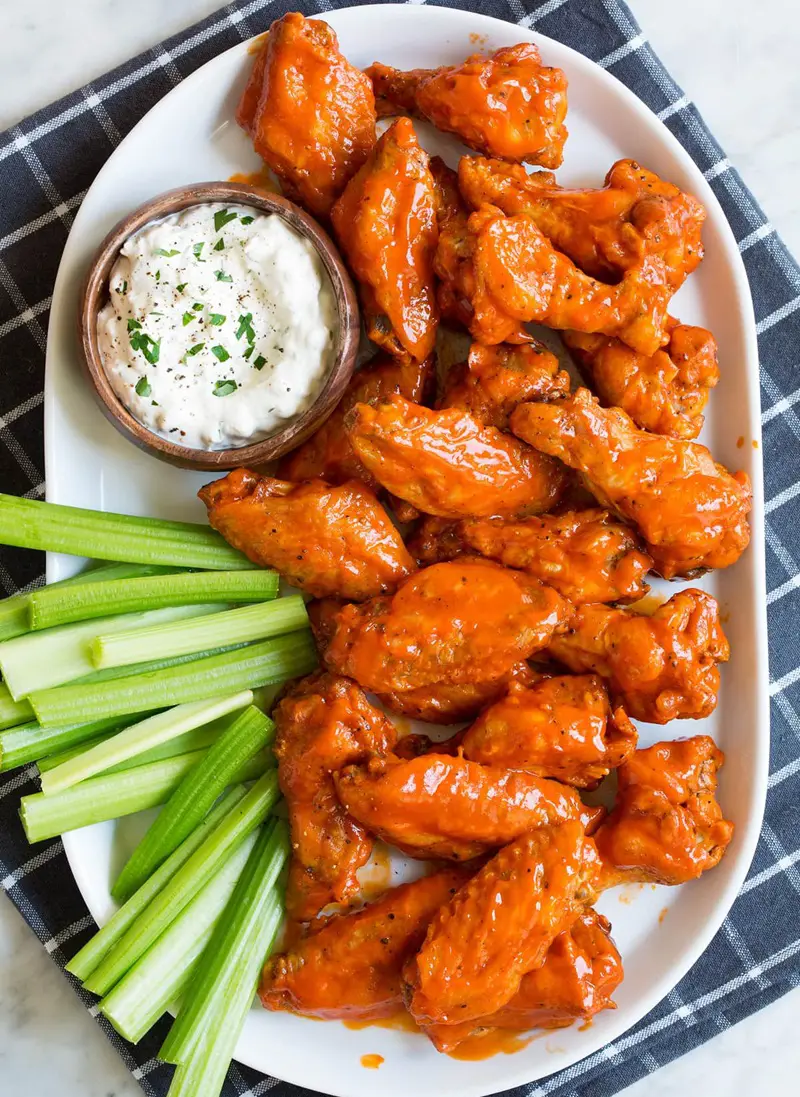
1. Classic Pairings: Serve wings with celery and carrot sticks, along with creamy ranch or blue cheese dressing. This classic combination offers a crisp, refreshing contrast to the savory wings and adds a cool, creamy element with the dips. It’s a popular choice for balancing flavors and providing a crunchy, satisfying side.
2. Buffalo Wing Platter: Create a mouthwatering spread with a variety of wing flavors, such as tangy Buffalo, smoky barbecue, and savory garlic Parmesan. Accompany with an array of dipping sauces, coleslaw, and crispy potato wedges. This diverse platter caters to different tastes, making it an ideal choice for gatherings and ensuring there's something for everyone to enjoy.
3. Loaded Nachos: Pile tortilla chips topped with melted cheese, jalapeños, and chopped chicken wings. Bake until bubbly and golden, then top with salsa, sour cream, and guacamole. This indulgent dish combines the crunch of nachos with the savory, spicy flavors of wings, making it a perfect, shareable treat for any occasion.
4. Sweet Potato Wings: Pair your wings with sweet potato fries or roasted sweet potatoes. The natural sweetness of the sweet potatoes creates a delightful contrast to the savory and spicy flavors of the wings. This combination not only adds a delicious balance to your meal but also offers a satisfying and nutritious side.
Author
Editor
Shyam Babu Shah
Shyam Babu Shah is a passionate Indian chef with a rich background in the culinary arts. With experience working at prestigious hotels like Grand Hyatt Doha, Grand Hyatt Kuala Lumpur, and Hyatt Regency Kathmandu, Shyam has honed his skills and developed a deep appreciation for diverse cuisines. He is currently working at the Grand Hyatt Jakarta, where he continues to perfect his craft and share his love for cooking.
Shyam's cooking philosophy is simple – his recipes are no secret, but if they inspire or help others, he considers it the greatest reward. His work is dedicated to guiding others in the kitchen with step-by-step recipes that bring joy and flavor to every meal. For him, the greatest payment is the Duas (blessings) from those he inspires.